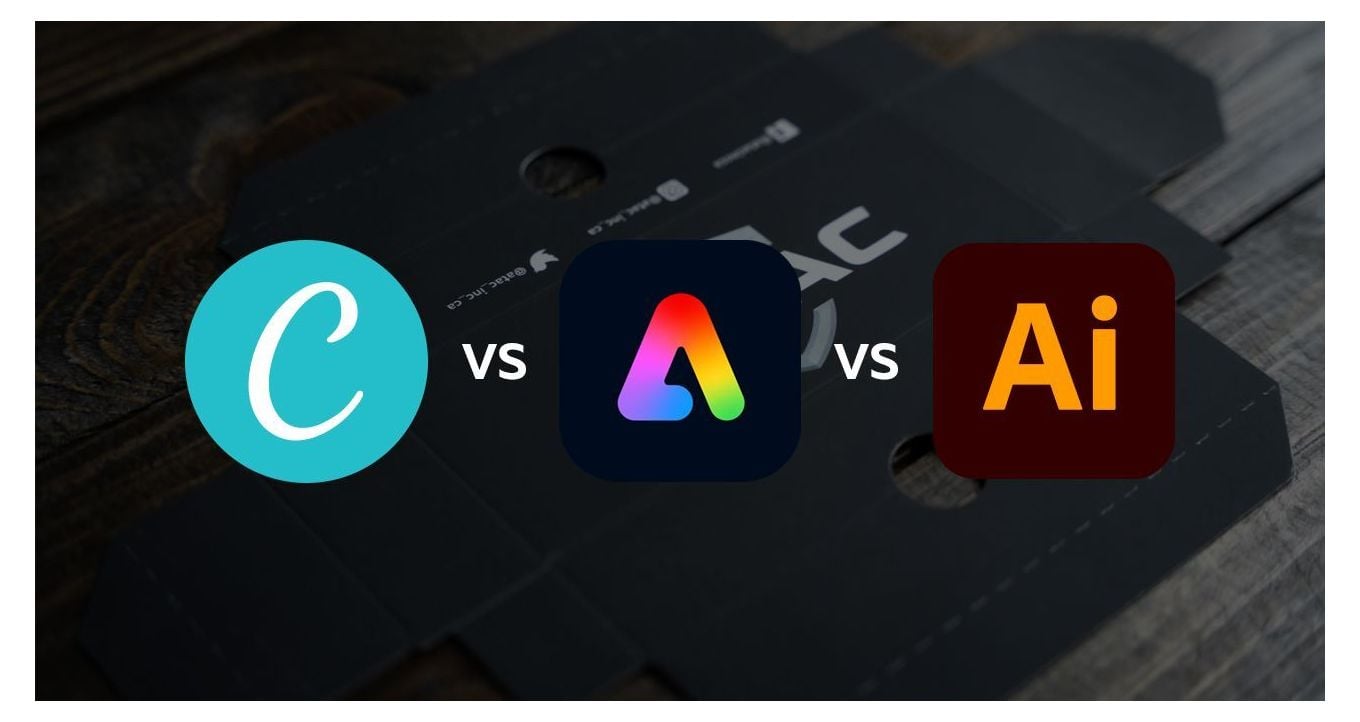
Read our Canva vs Adobe Express vs Adobe Illustrator report to find the best tool to use for packaging design. We tested all three, and here is the results.
Do you want to know how the battle named “Canva vs Adobe Express vs Adobe Illustrator” would end when it comes to packaging design? Will Canva beat Adobe? Read on to find out.
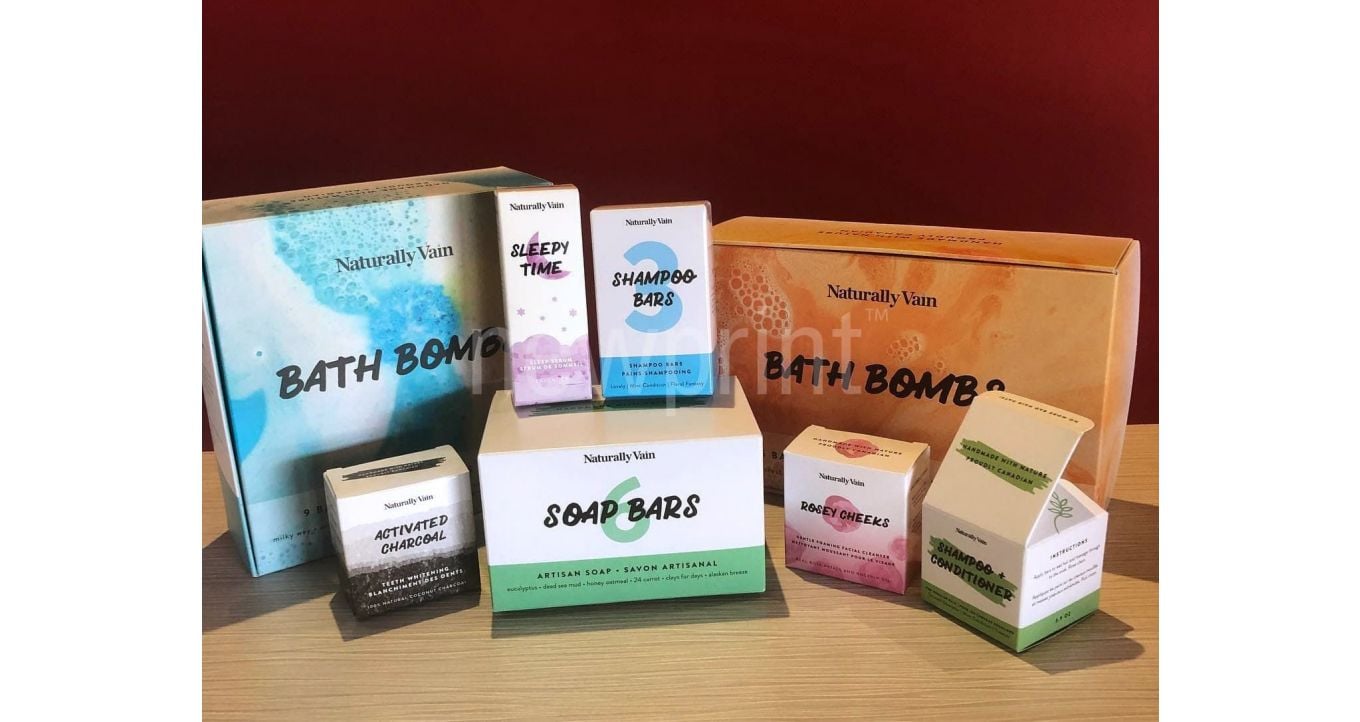
Are you a designer who has to design packaging and wondering what program is best to use? Or a business owner who needs the packaging design but unsure if you can do it yourself? For some, having a subscription to Adobe is not an acceptable option. You may not need it often enough to justify the cost. Or you simply don’t have enough design experience to dabble in professional design software. In this case, we would always recommend hiring experienced designers. But you might not be willing to do this or don’t have the budget. For this reason, we were curious to find out if you can use popular online design tools such as Canva and Adobe Express to prepare print-ready files for packaging.
First things first - Adobe Illustrator was and remains the industry standard for creating print-ready designs. Especially when it comes to packaging. However, ever since online design tools such as Canva became widely popular among business owners with none to little design experience, we are getting more and more orders where clients provide PDF files created with these online tools. Although this is ok for less complex products such as flyers or posters, creating print-ready packaging design without Adobe Illustrator is still a big challenge.
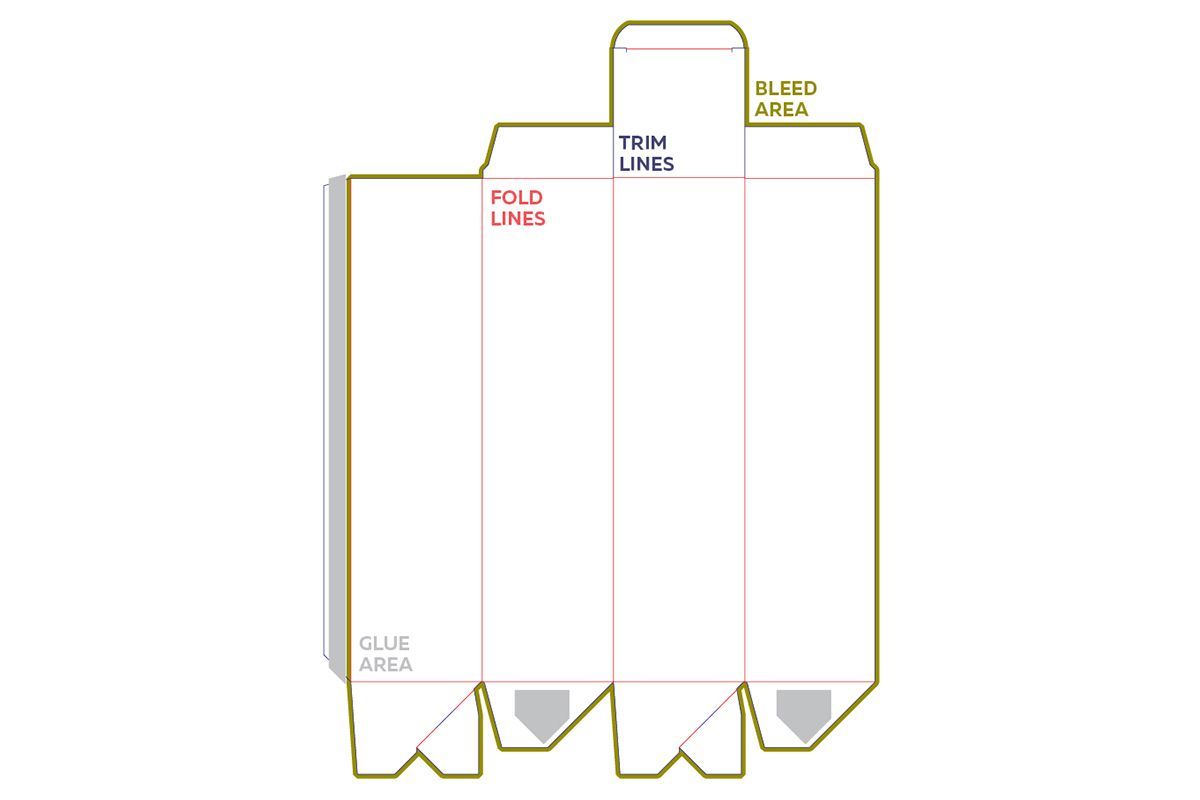
Packaging Dieline
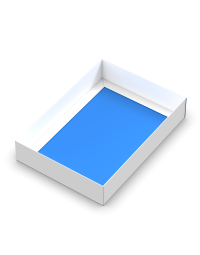
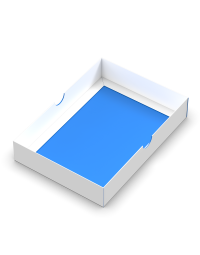
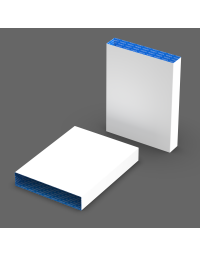
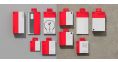
One of the main reasons it’s hard to start the do-it-yourself packaging design is that you need a professional dieline file. In the packaging and printing industry, we use the term “dieline” to describe a diagram of a flat paperboard or cardboard box that has all the cuts and folds marked on it. A dieline file is a vector file containing this box diagram, and print designers use it to correctly set up a box design for printing. It is vital to use the right dieline as it will ensure the correct design layout. Not having a good dieline file can lead to additional setup costs, printing mistakes, and longer turnaround times.
Usually, these dieline files are created and provided by your printer using professional CAD tools created specifically for the printing industry. And in most cases, there would be a charge involved. However, now there is a much easier way to get a professional dieline file using Newprint’s Free Dieline Generator.
How to Create a Dieline in 3 Easy Steps
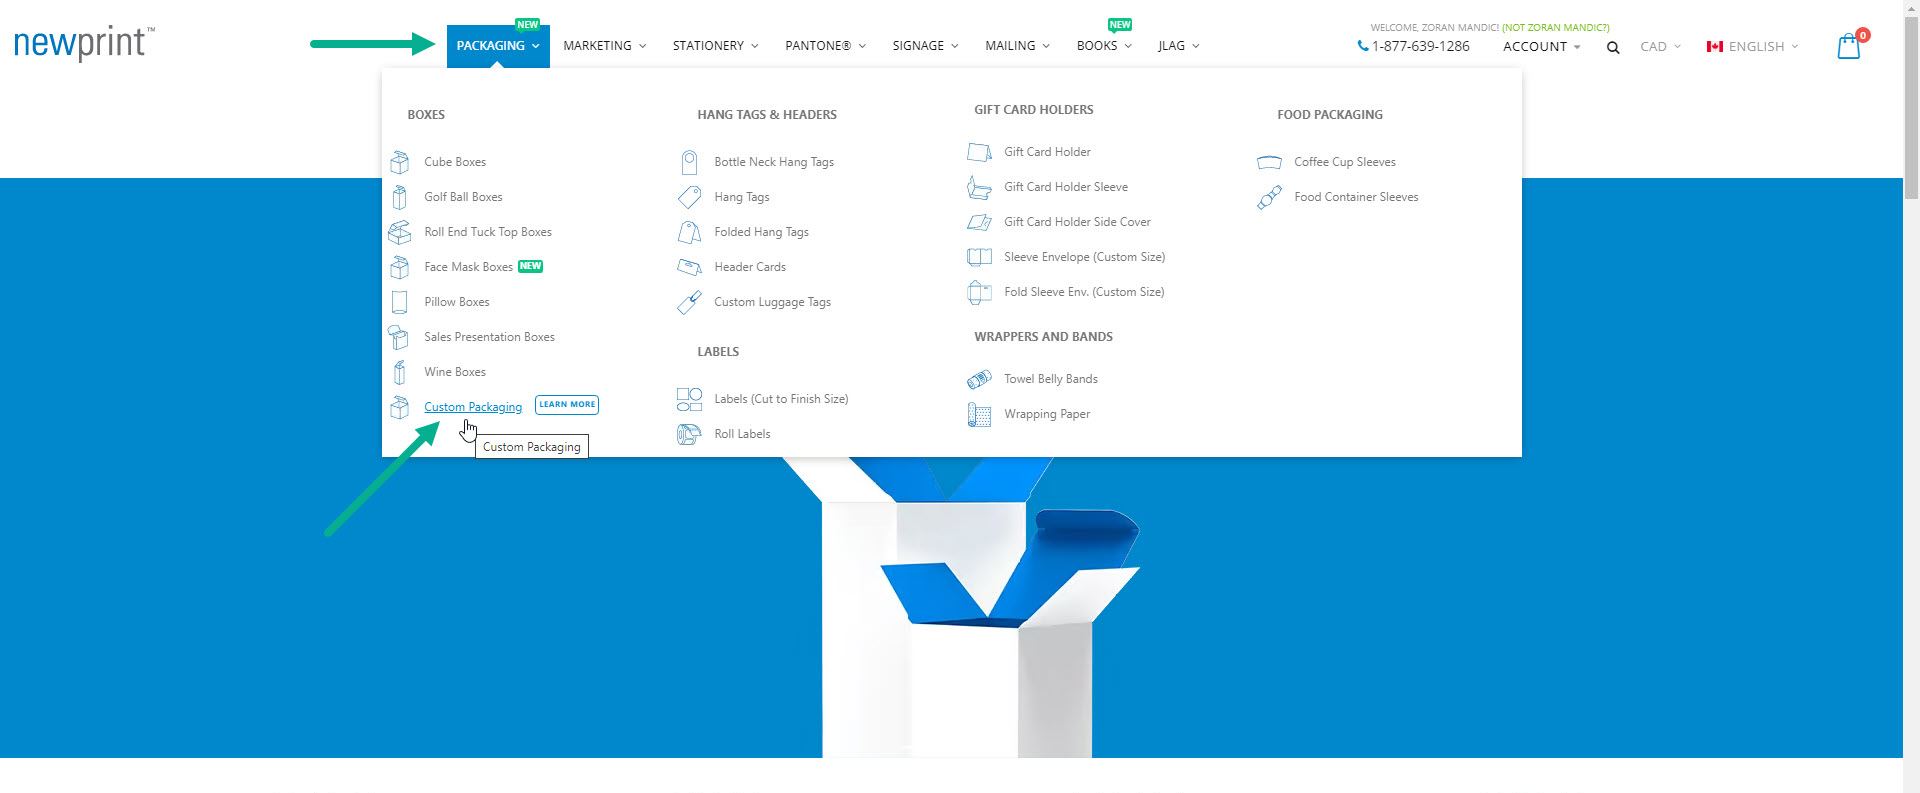
- Go to Newprint Custom Packaging page and choose the type of box you need.
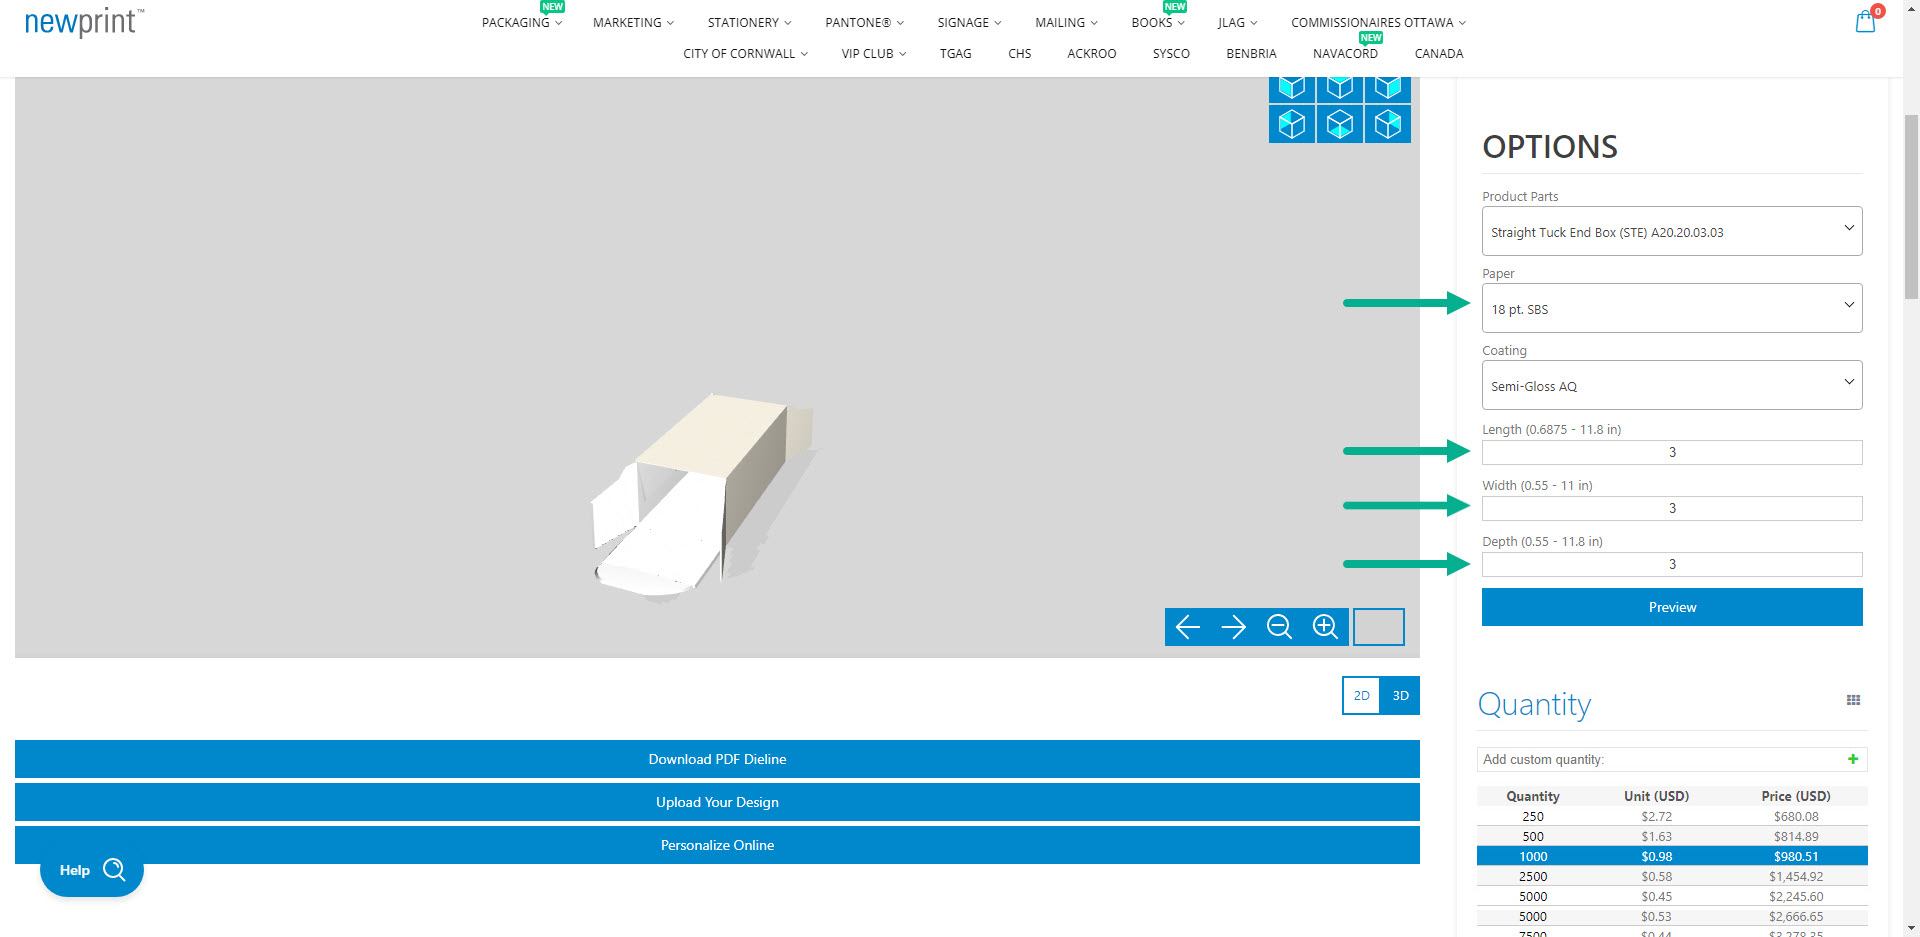
- Choose the paper type and enter your box dimensions.
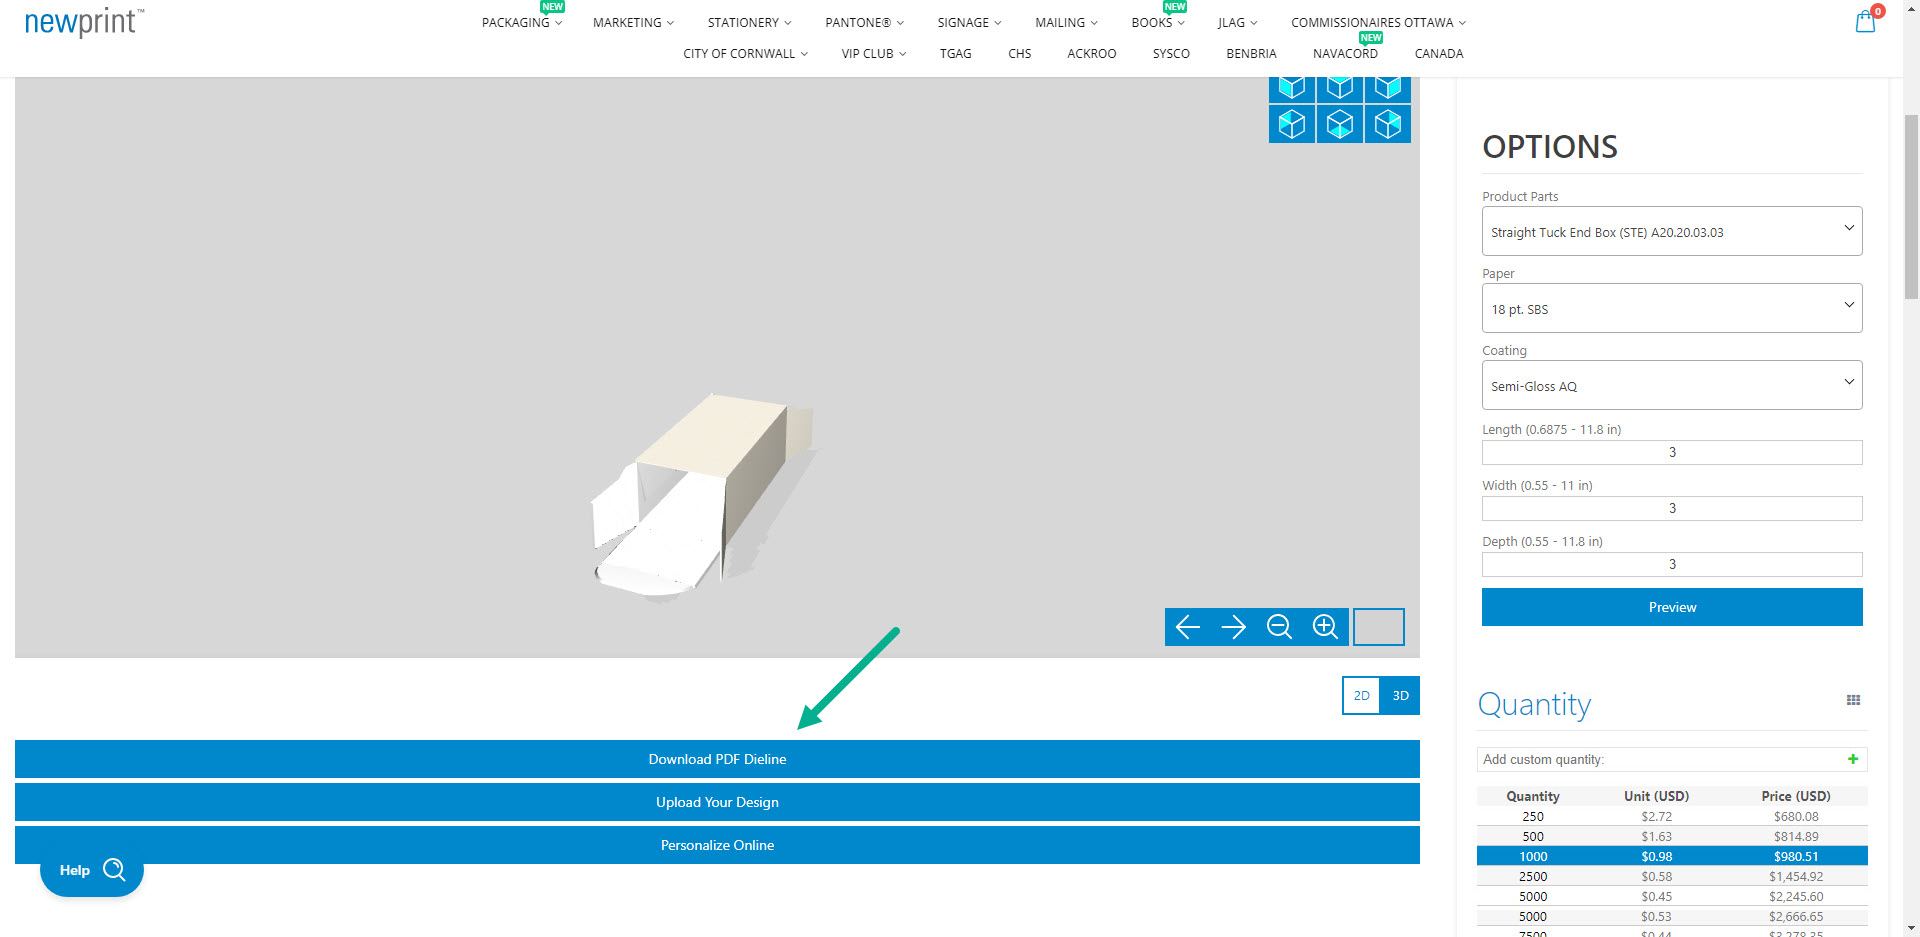
- Click ‘Download PDF Dieline’
Now, let’s open this dieline file and see what’s in there.
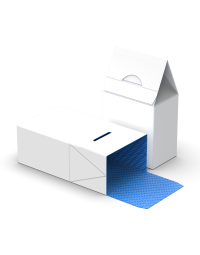
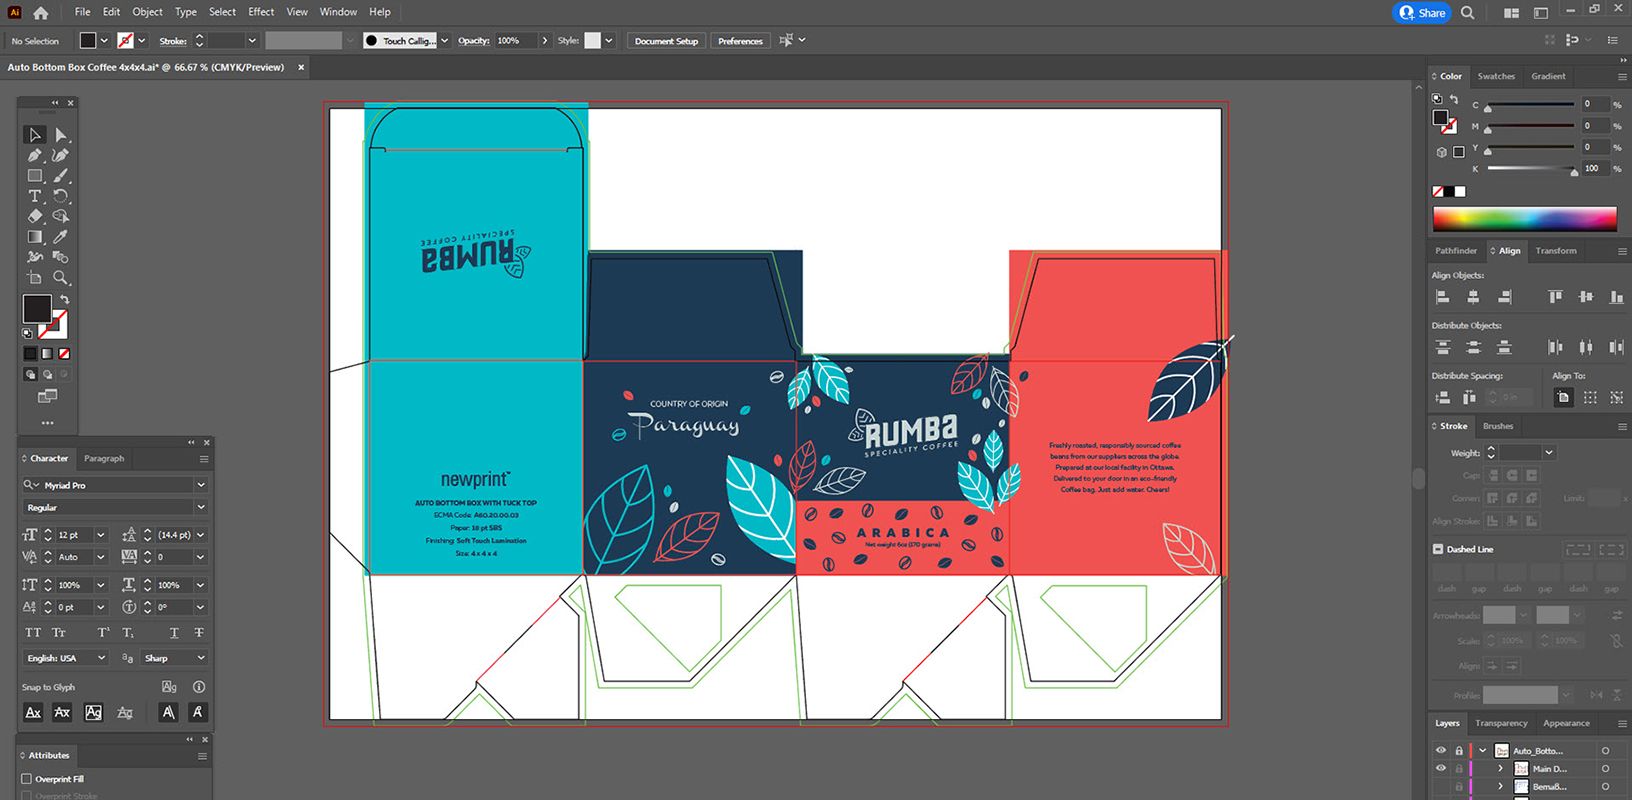
As already mentioned, a dieline file has a diagram of a flat box with cut lines and fold lines. The reason why this is a flat diagram is that this is how the box will be printed. And once it’s printed on a sheet of paper, it will be cut, folded, and glued to get the actual box.
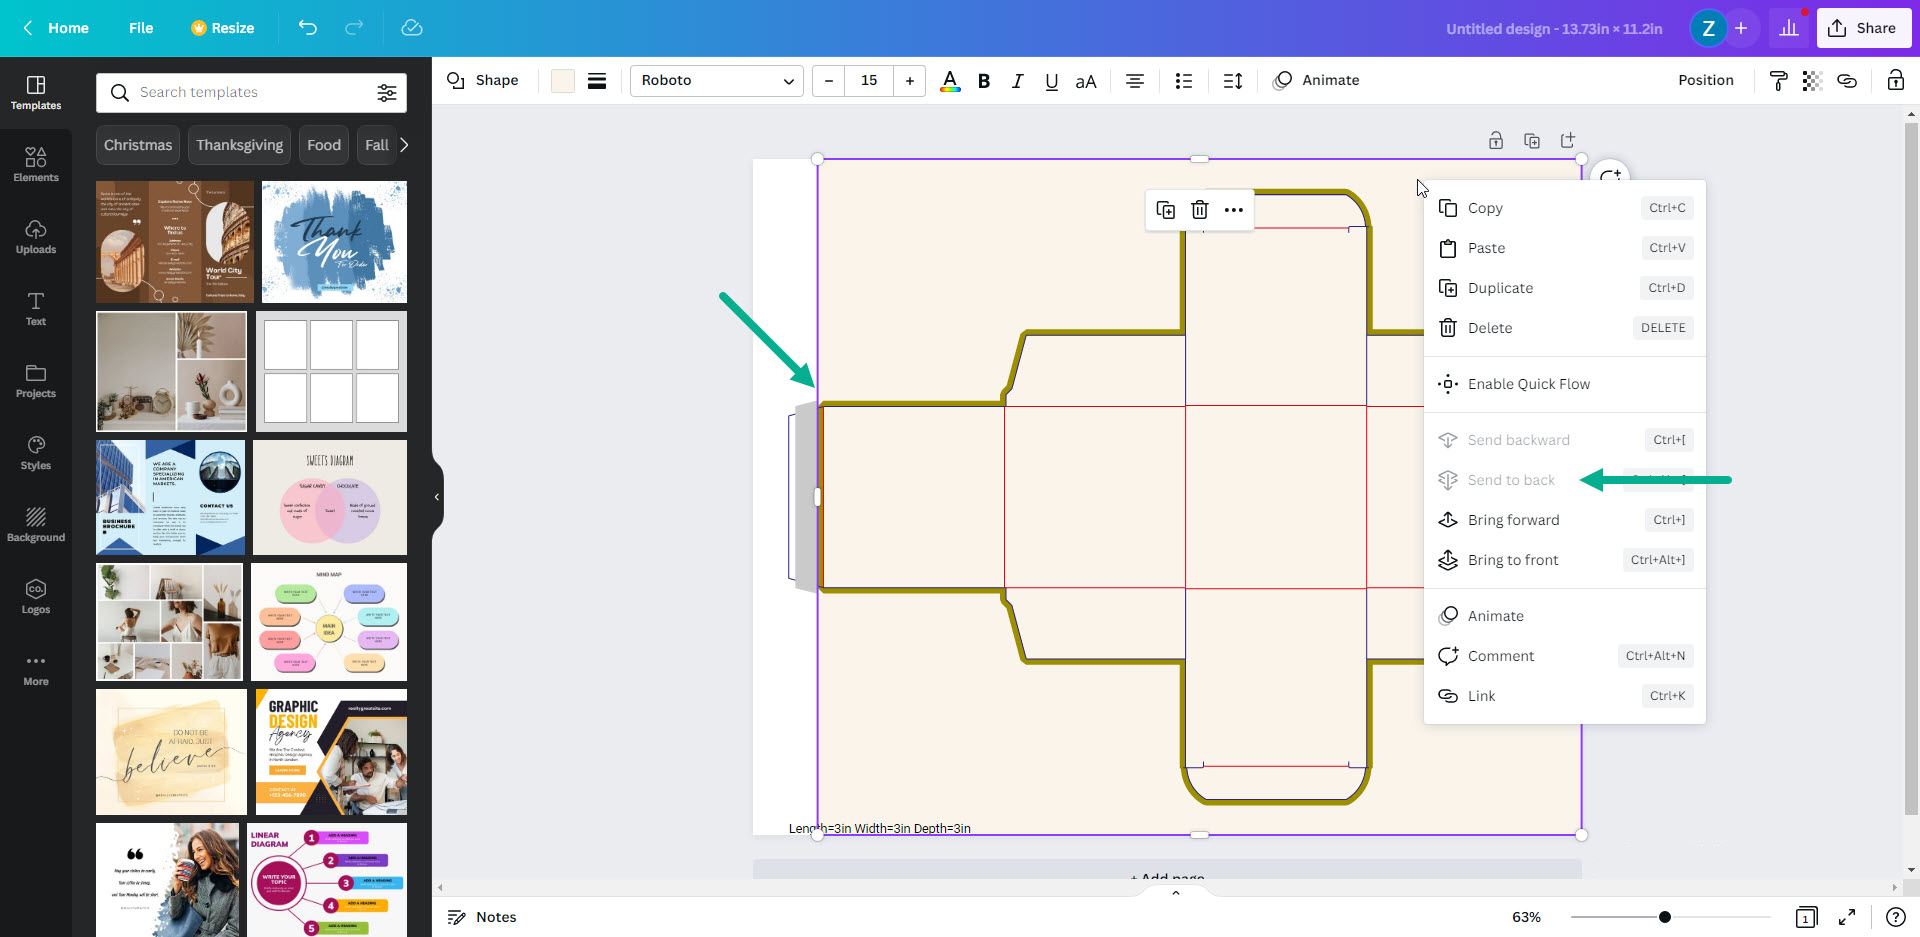
The blue lines in the dieline file represent the cut lines. The red lines are the fold lines. The gold area is bleed, and the grey area is where glue will be applied.
So now you have the dieline file. That’s great! But what’s next?
The best thing to do would be to open this dieline file in Adobe Illustrator and design your packaging that way. But the point of this article is to give you an alternative (don’t worry, we will deep dive into Illustrator later).
Canva VS Adobe Express
Canva Hack: How To Use Canva For Print-Ready Packaging Design
Why is this a hack? Because Canva can help you with many things, but packaging design is not one of them. That is simply not what it is intended for. This being said, we have to point out that there will be some limitations in what you can and can not do design-wise. But it is possible to create packaging design in Canva, starting with our Free Dieline Generator.
Note: this hack will only work if you have Canva Pro, since it enables you to export a high-resolution PDF file in CMYK color mode, and the free version doesn’t.
Step 1
Generate the dieline file using Newprint’s Free Dieline Generator.
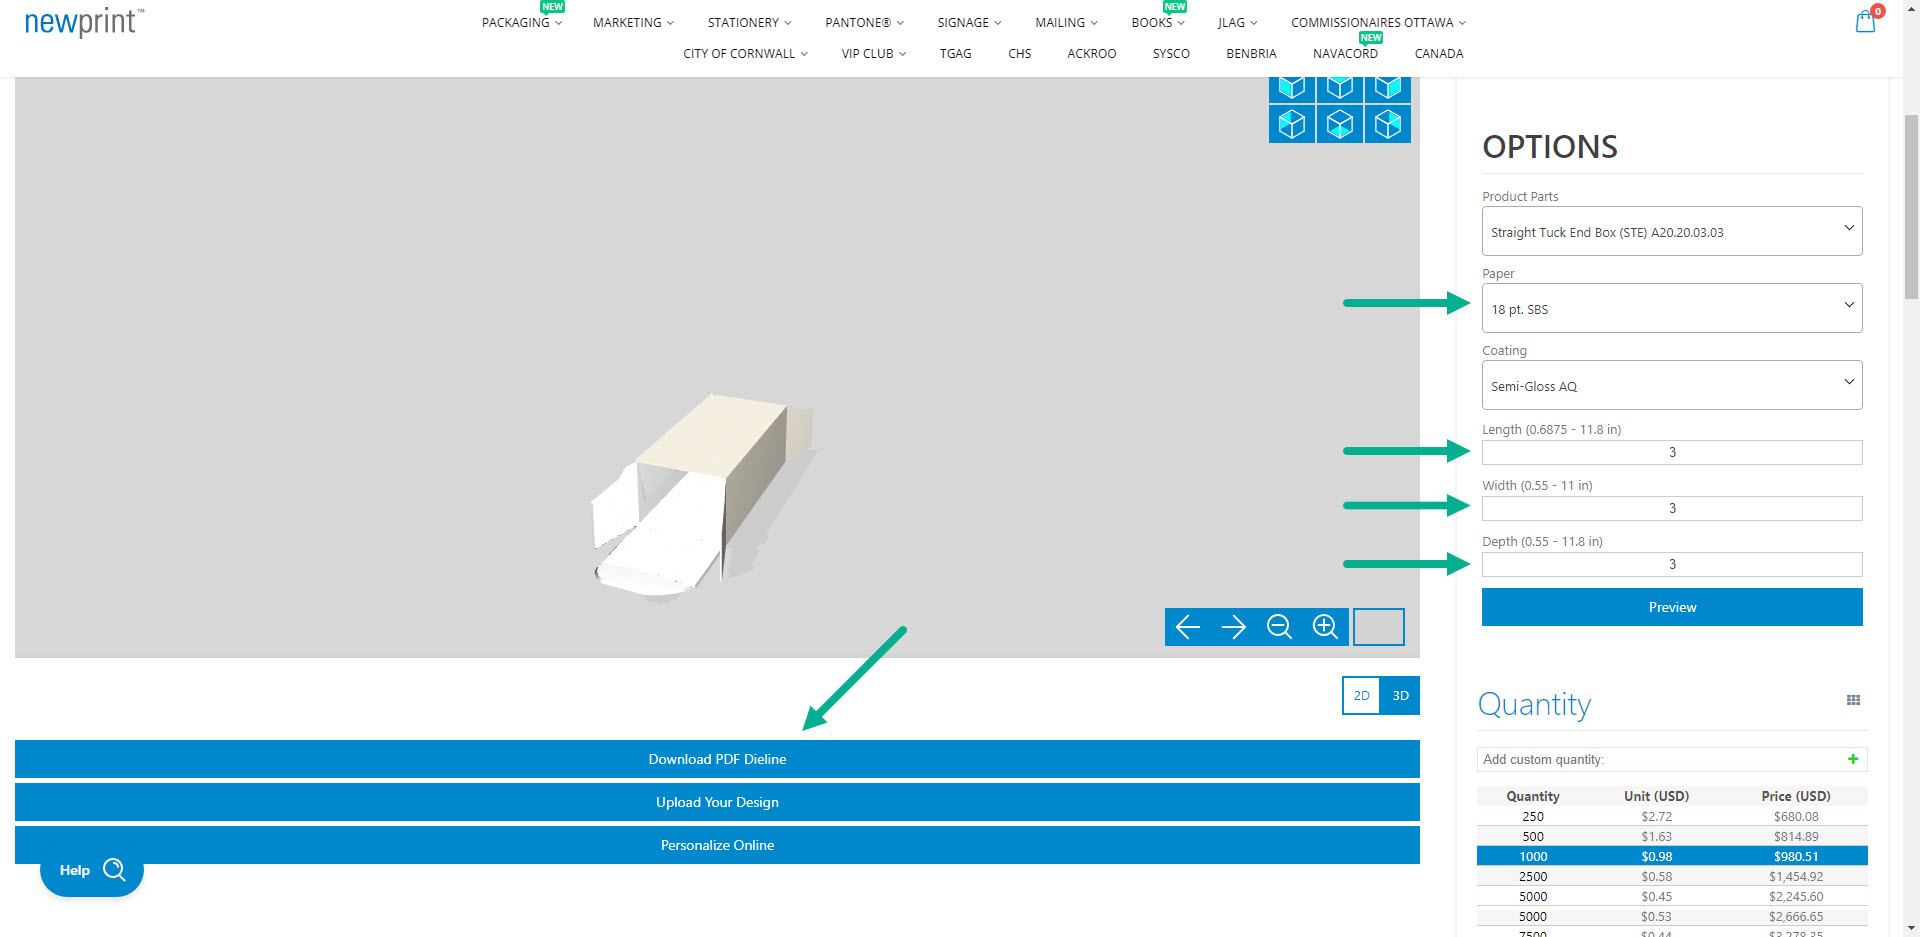
We have already explained how to do this at the beginning of this article. For demonstration purposes, we will use a dieline for a Straight Tuck End Box with dimensions 3” x 3” x 3”.
Step 2
Get the dimensions of the artboard in the dieline file.
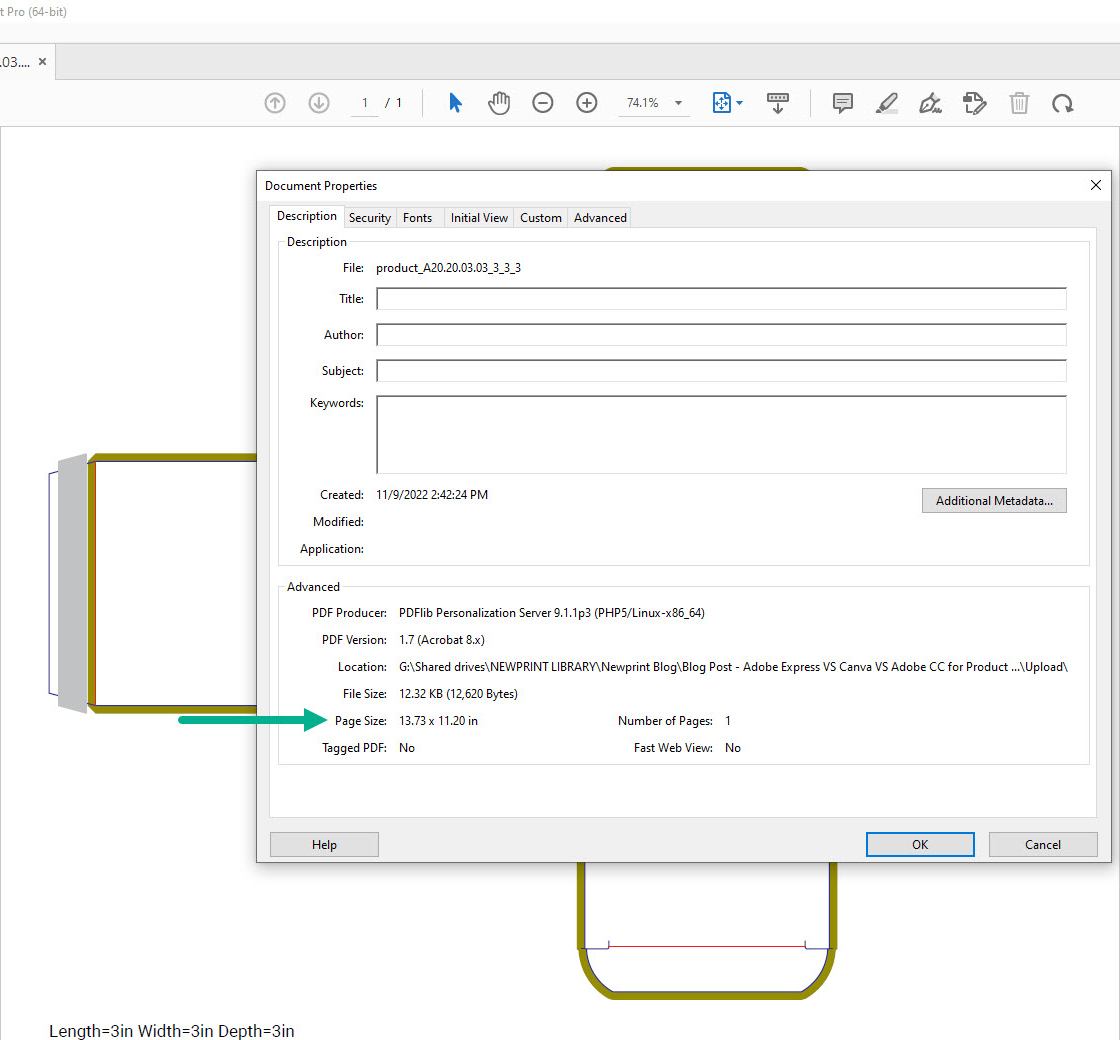
These dimensions will be needed for the next step. Open the generated PDF dieline file in Adobe Acrobat to get the dimensions. Right-click and go to Document Properties. At the bottom of this window, you will see ‘Page Size’. In our example dieline, the size is 13.73” x 11.20”.
Step 3
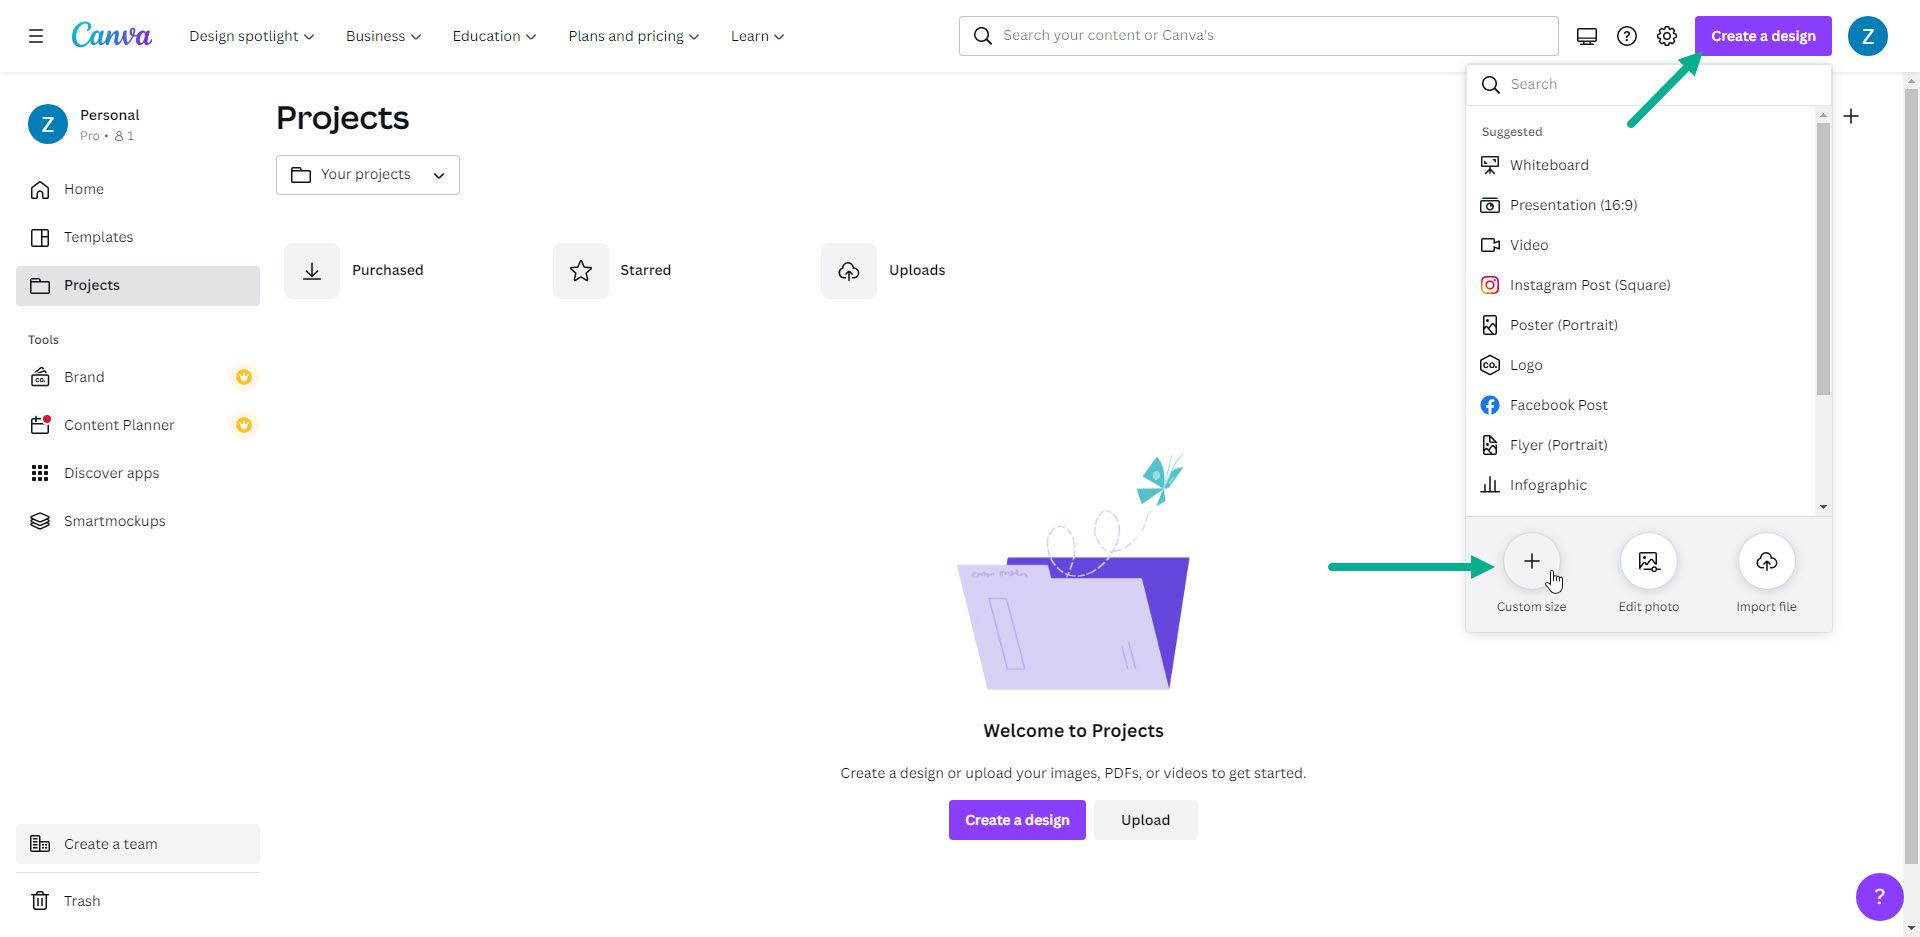
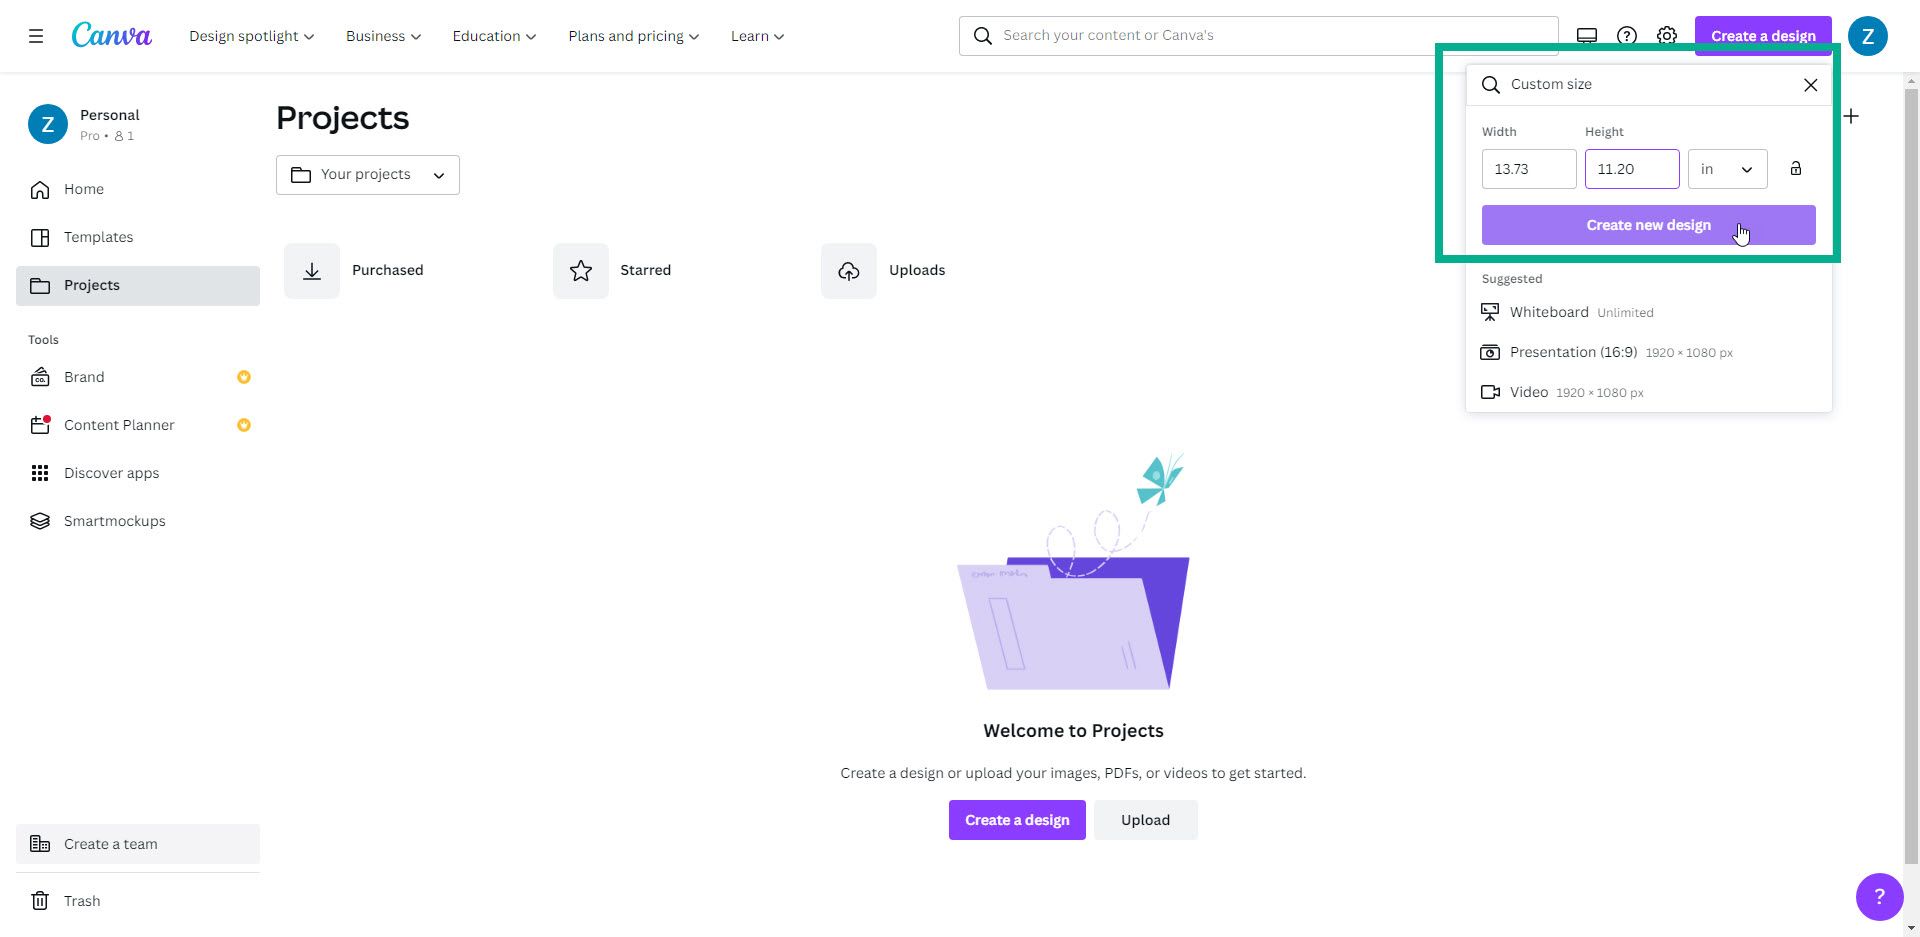
Go To Canva and create a new custom-size design.
Step 4
Change the units to inches, type in the size of your dieline artboard from step 2 and click “Create new design”.
Step 5
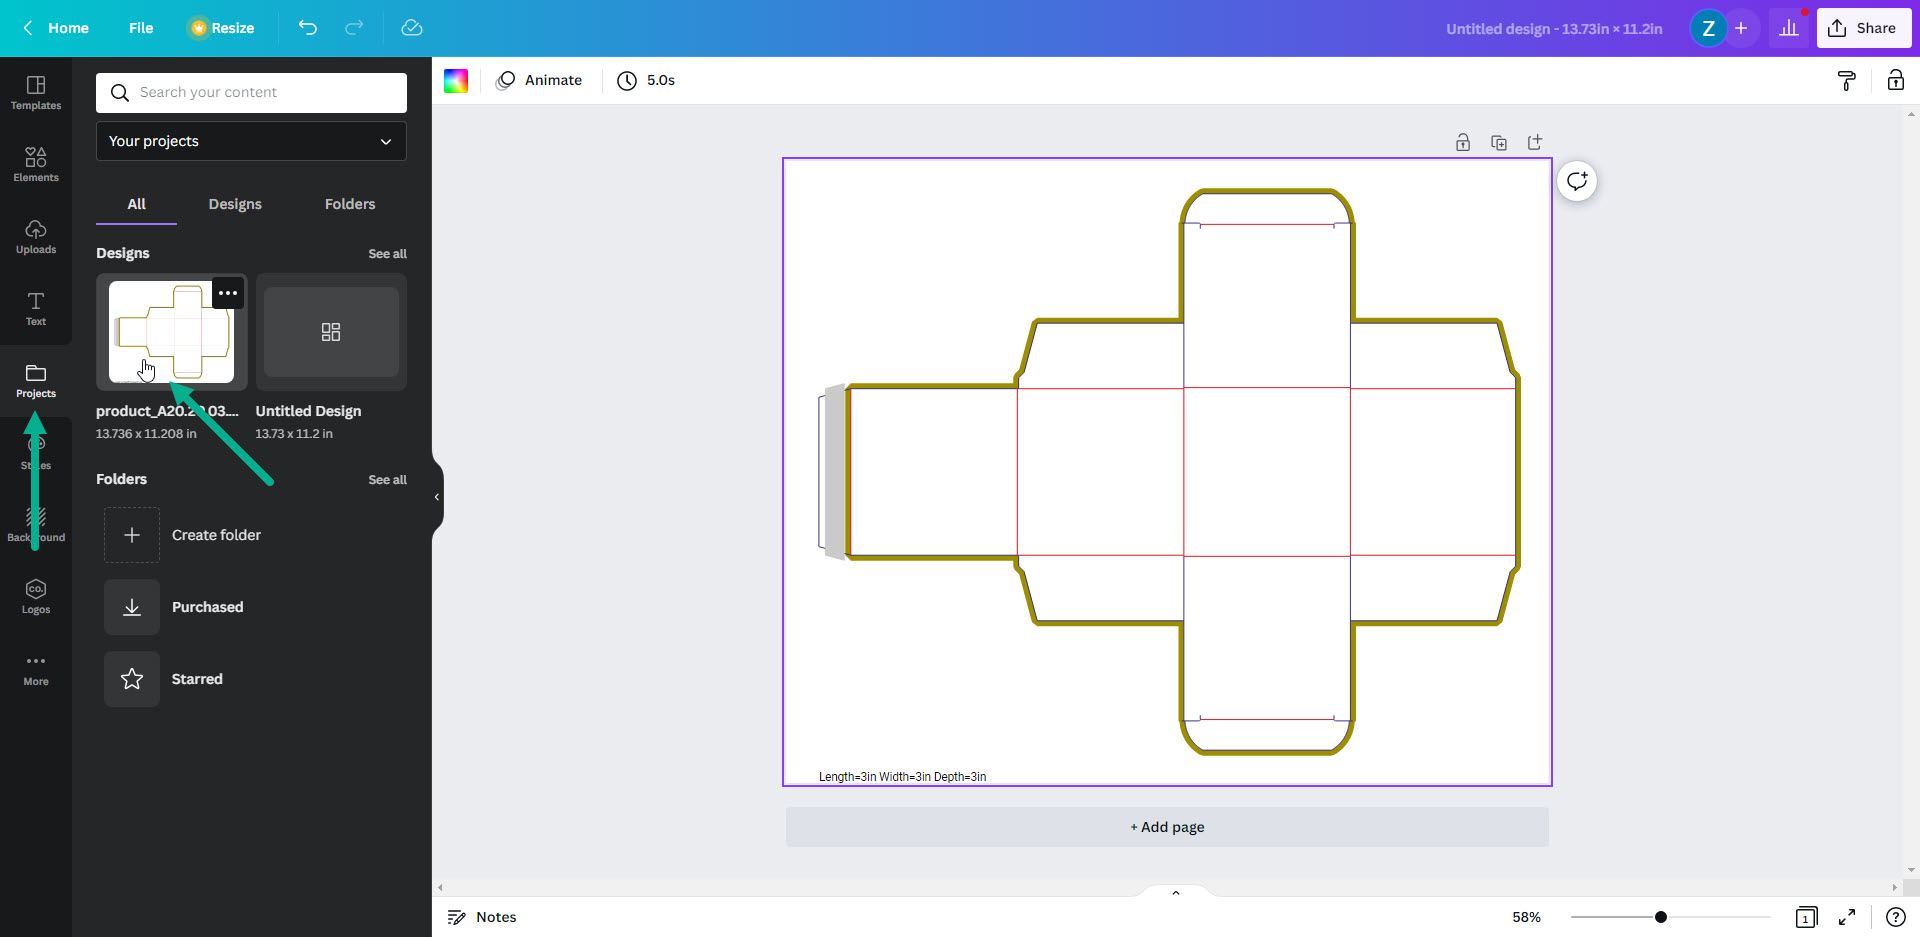
Go to “Uploads” section, click “Upload files” and choose the generated dieline file on your hard drive.
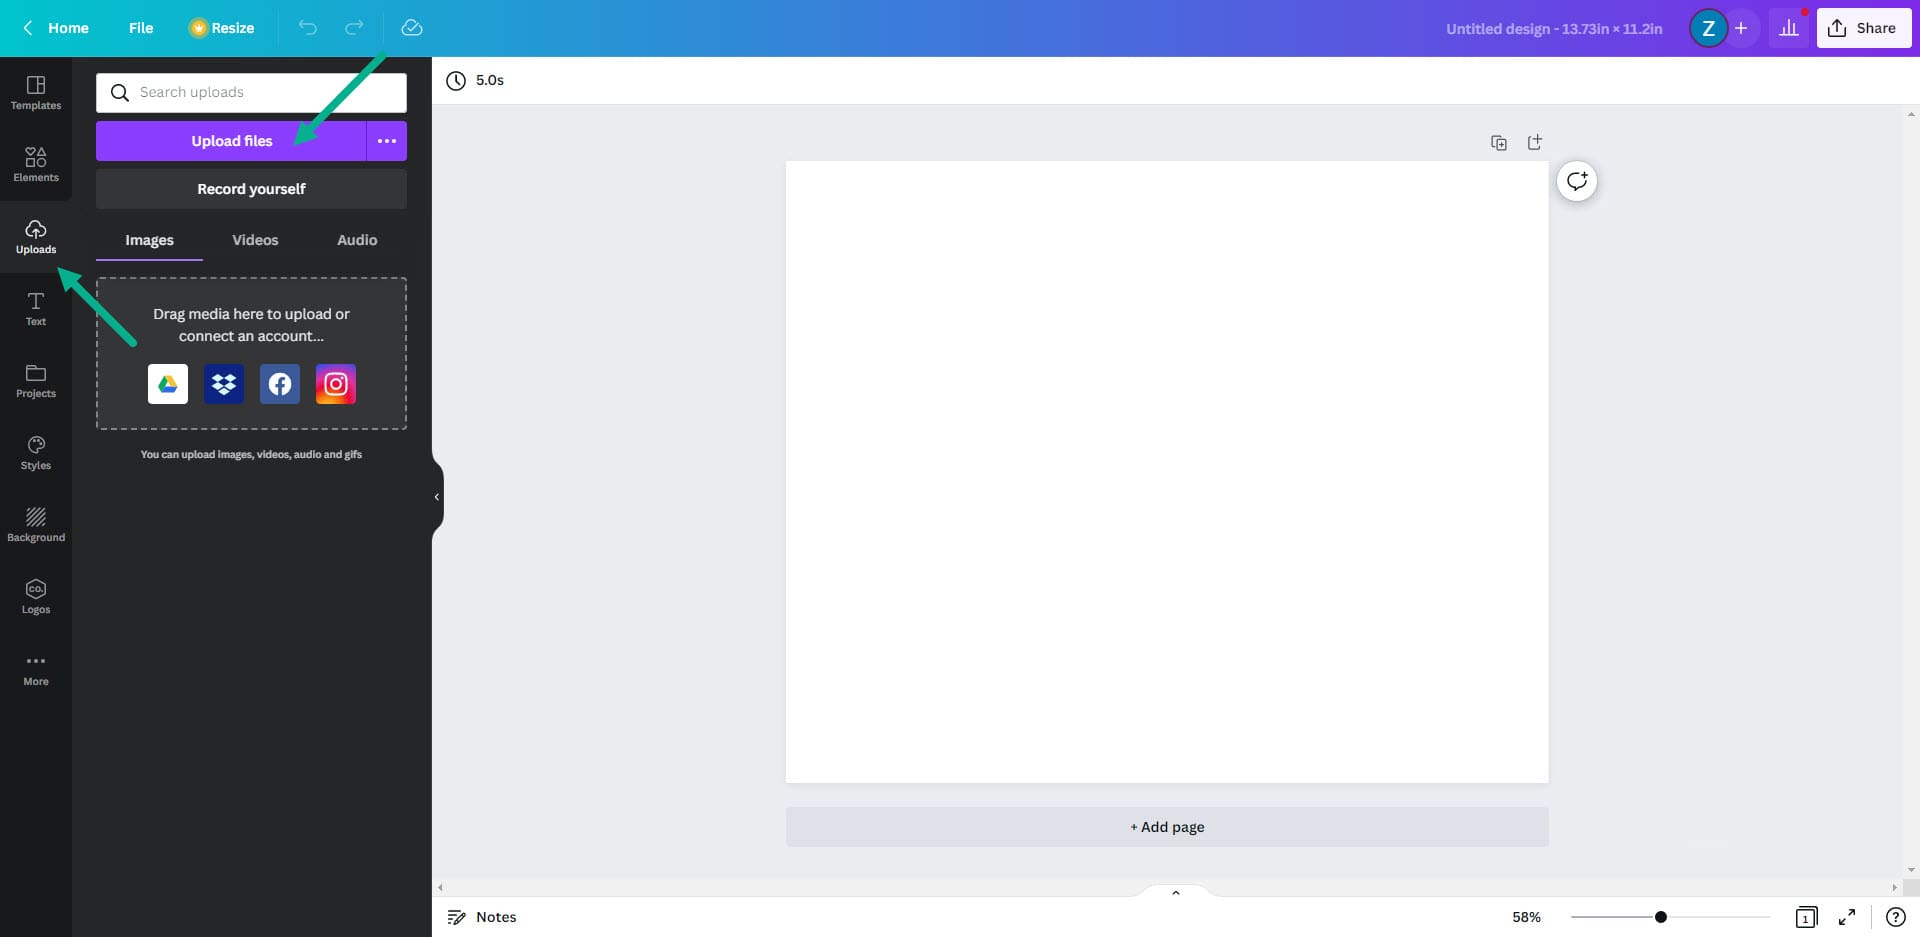
Now go to “Projects” tab and click on the dieline thumbnail to add it to the artboard.
Step 6
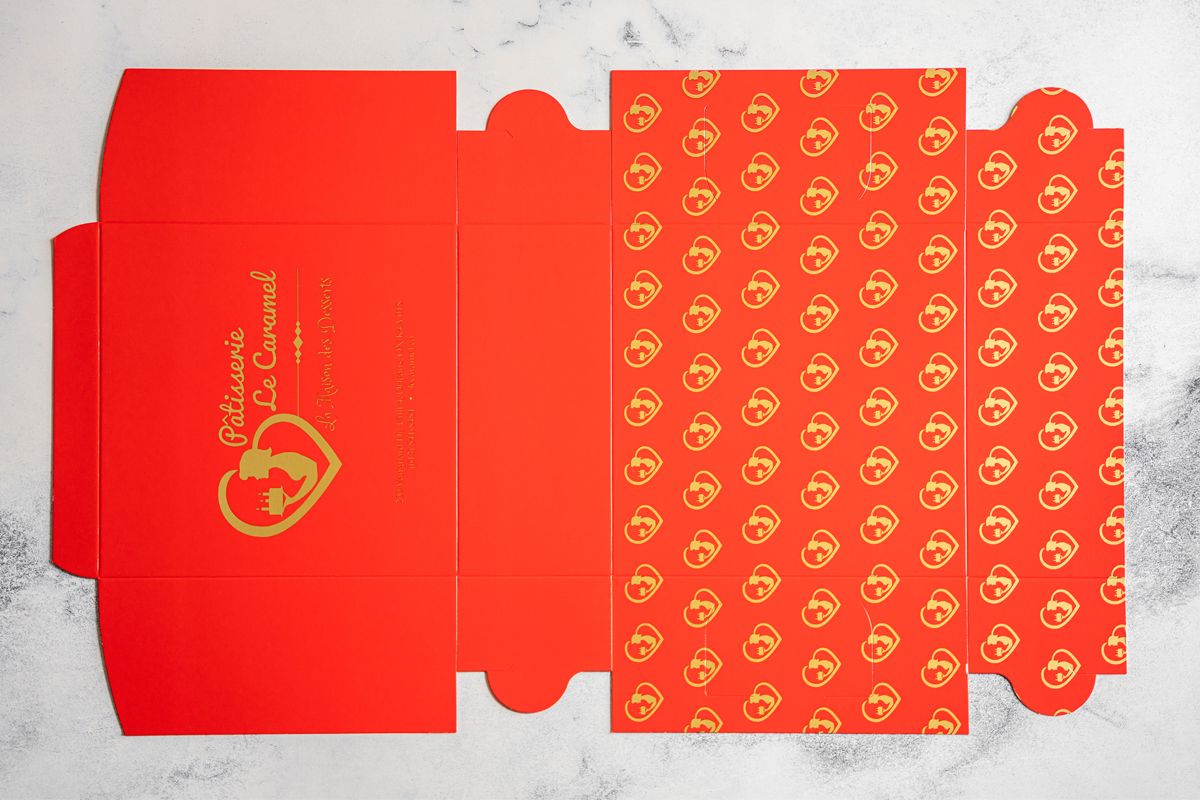
Design your box using Canva’s shapes, photos, and your own design resources (more on this in the next section).
Step 7
Export print-ready PDF
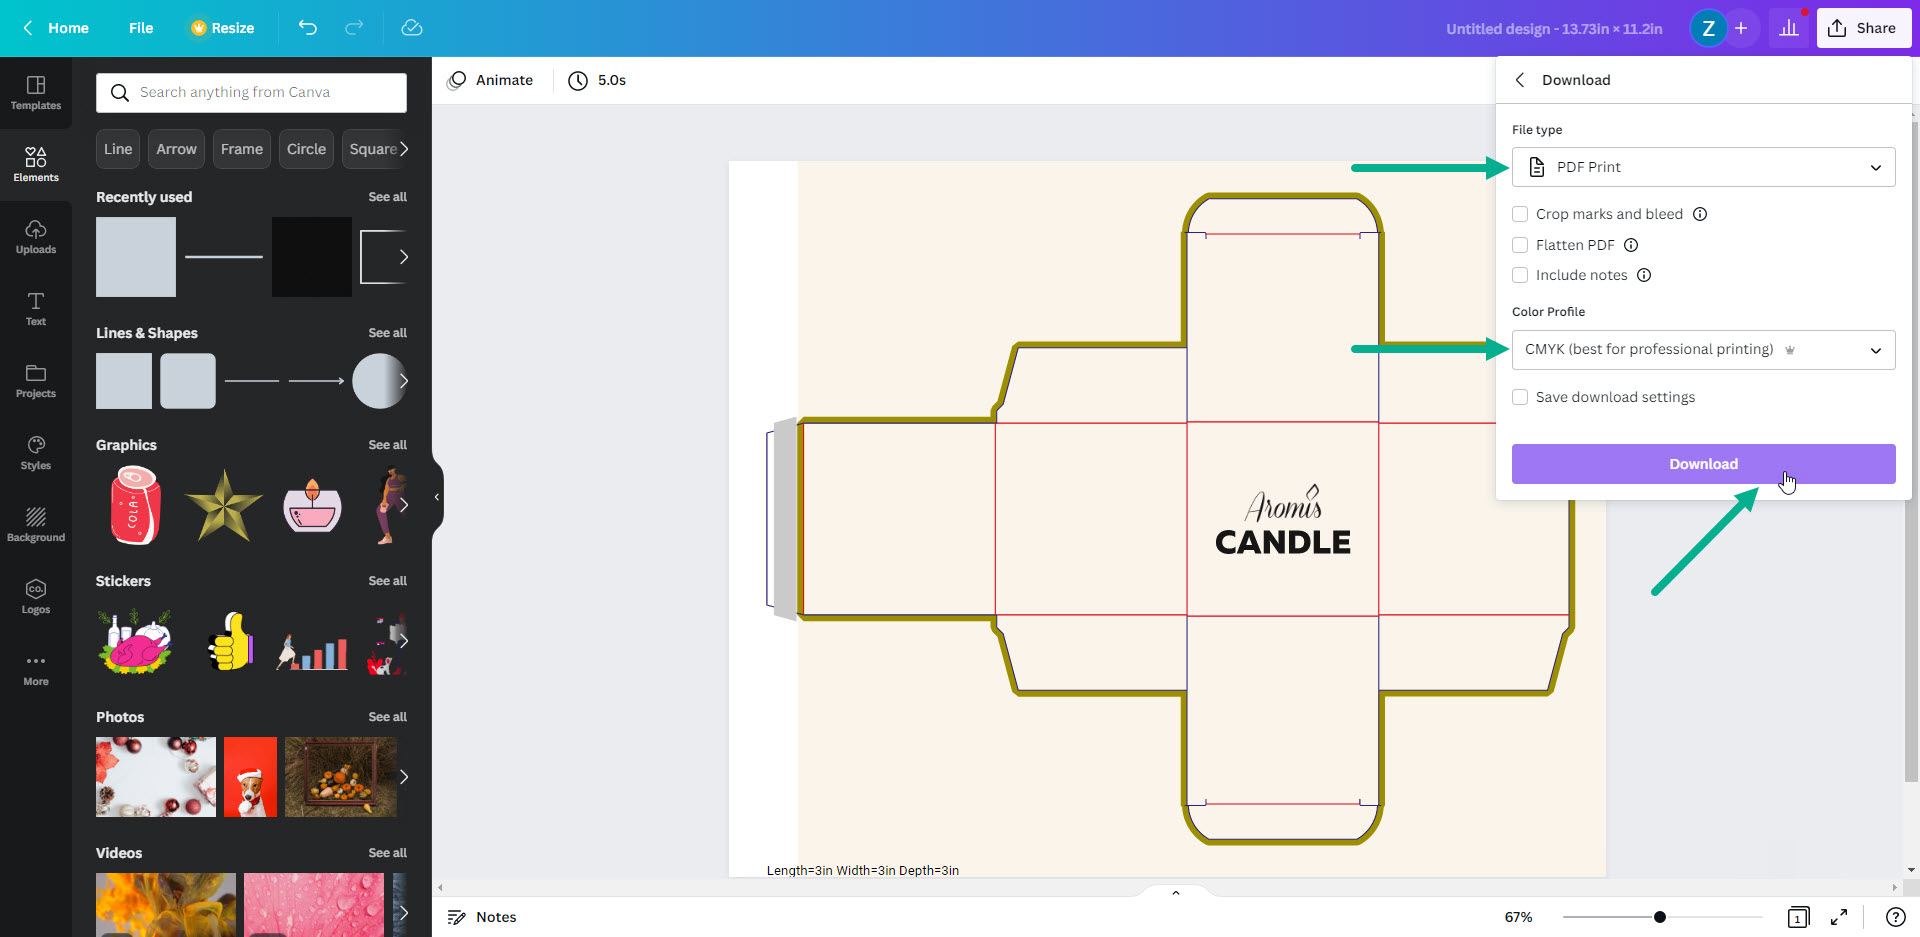
- Click the “Share” button in the top right corner
- Click “Download”
- In the “File type” dropdown menu, choose PDF print
- Leave the first three boxes unchecked, and under “Color profile” select CMYK
- Click “Download”
Design notes and tips
We’ve already mentioned that Canva has certain limitations that can affect the printing quality and overall user experience. However, we found that the most concerning issues are fixable.
Have your dieline visible at all times
You will probably want to start your packaging design by adding a background color. To do this:
- Go to the “Elements” tab, type “Rectangle” in the search box, and click on a basic solid color rectangle. This will place it on your artboard.
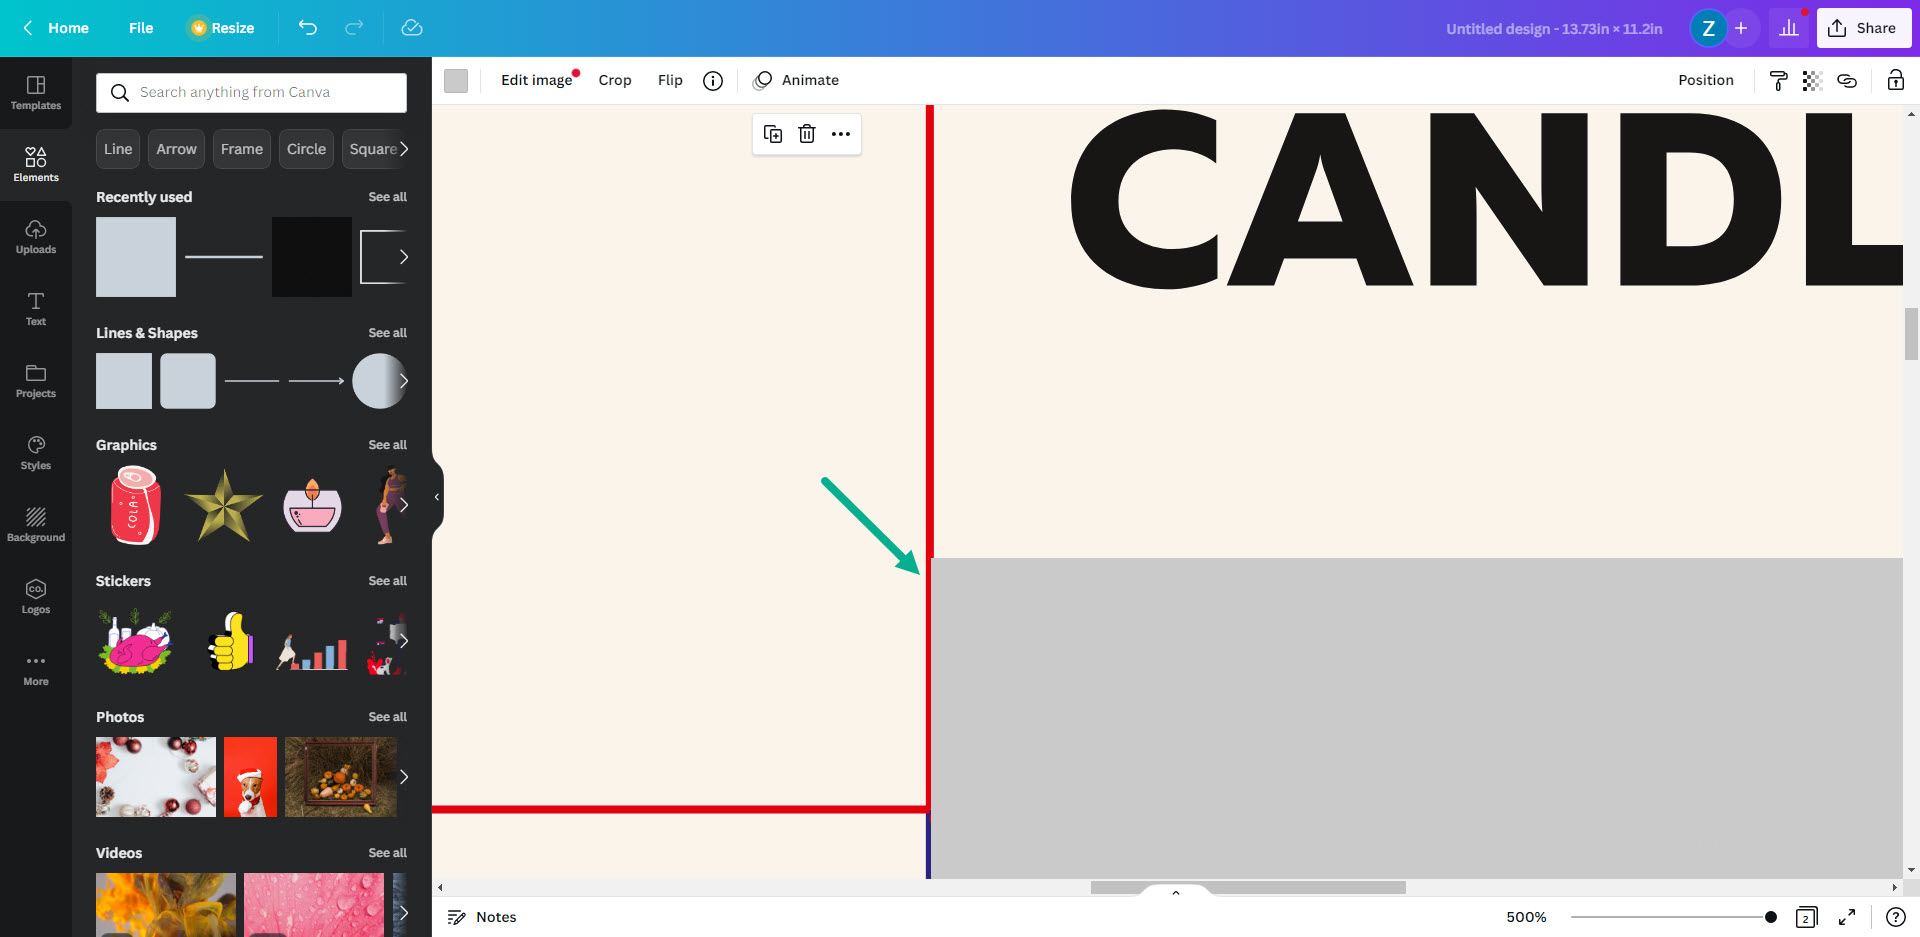
- Stretch this rectangle across the entire artboard, but avoid the gray gluing area on the dieline. The glue area must remain ink-free (white).
- Change the color of the rectangle to your desired background color.
At this point, this colored rectangle is on top of the dieline, so the dieline is no longer visible. To send the rectangle behind the dieline, select the rectangle, then right-click and choose “Send to back”.
Uploading Vector Files
Certain branding elements must be established, no matter how big or small your business is. At the very least, you should have a vector version of your company logo in PDF format.
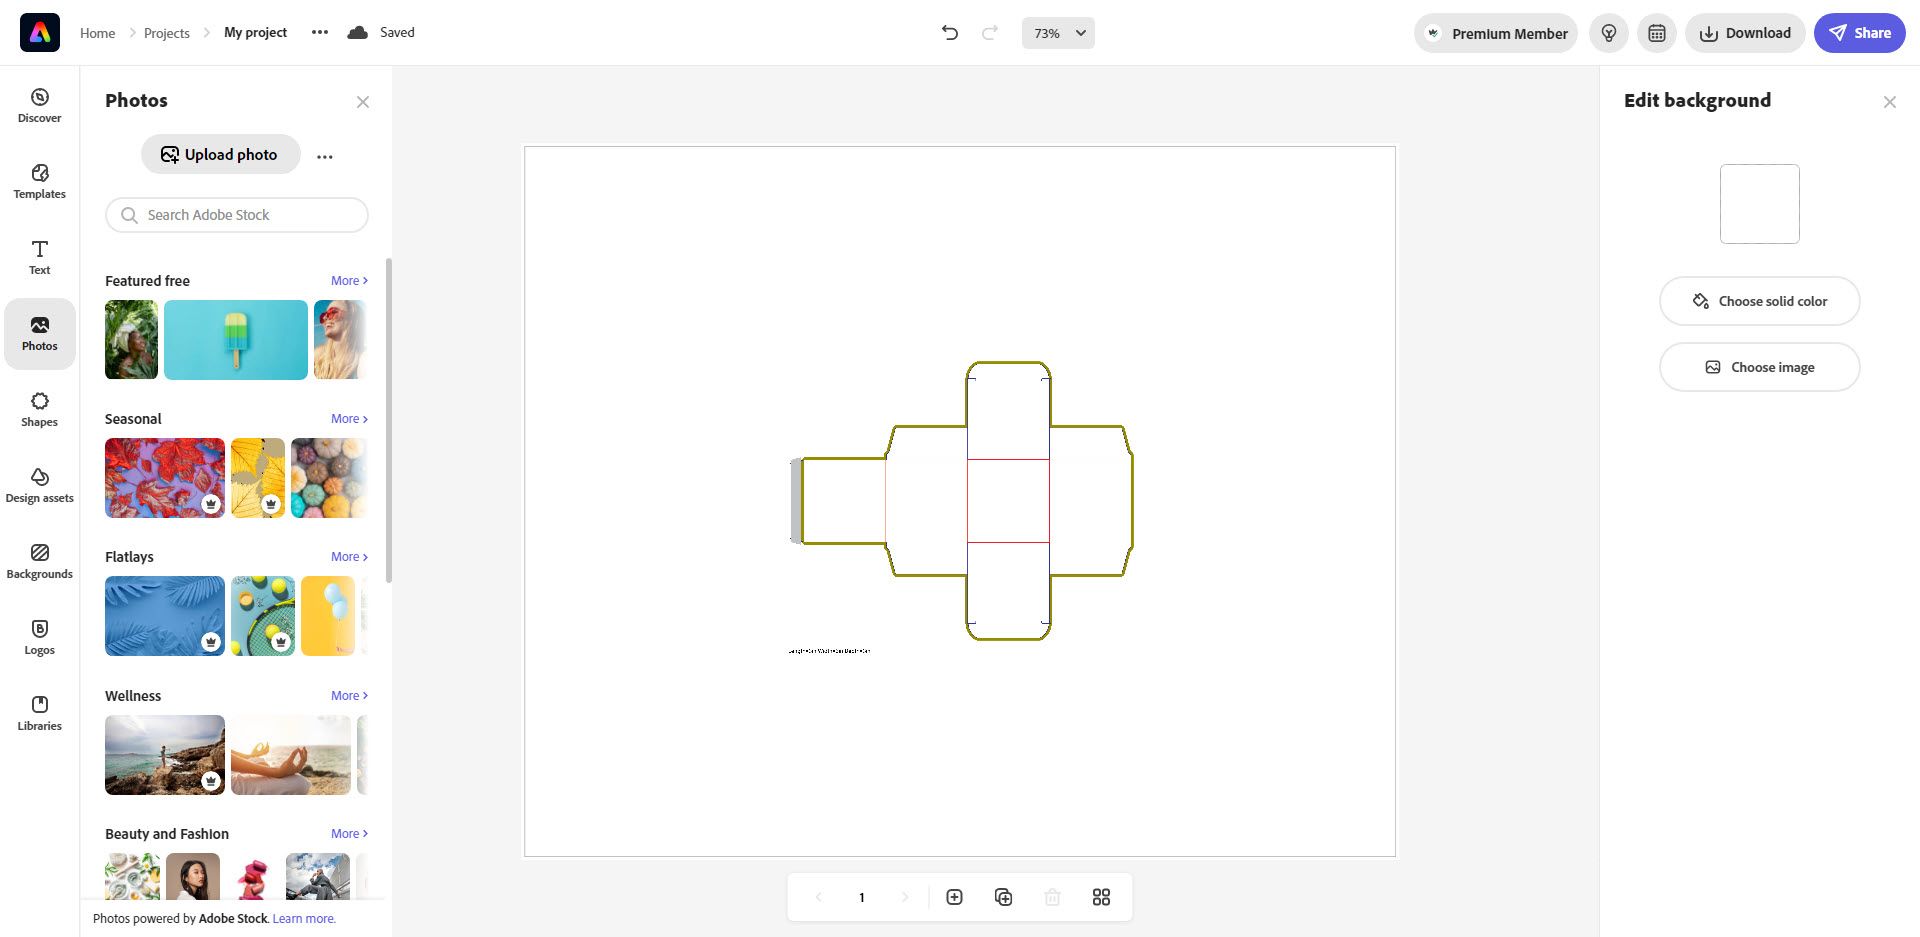
Using vector graphics in your design ensures high-quality print output. However, if you try to upload a vector PDF file to Canva’s “Uploads” section, you will not be able to see it there. But this doesn’t mean it’s not uploaded.
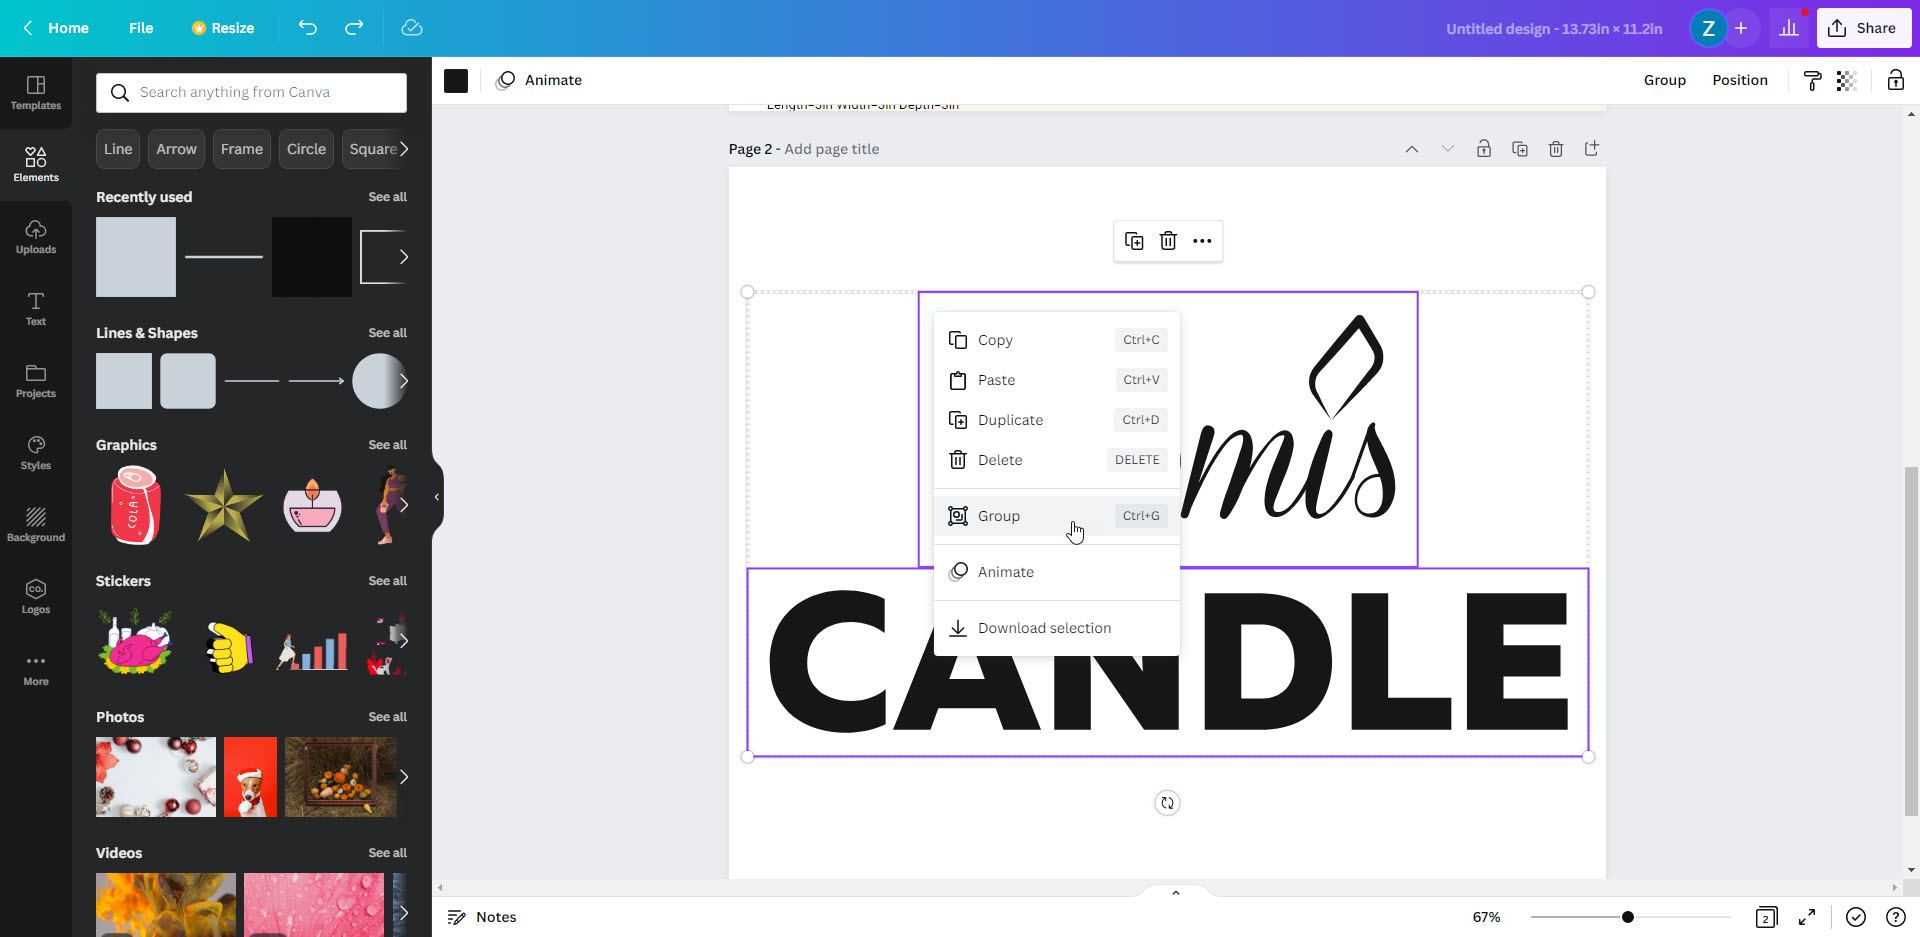
So, go to the “Uploads” tab and click “Upload files”. Choose your PDF logo or any other PDF file you wish to upload and use in your design. As already mentioned, the files you uploaded will not be visible in this tab. Instead, go to the “Projects” tab. In this tab, you will be able to see your PDF file. However, this is not a design element you can just place on the artboard. If you click on it, Canva will consider it a new project, replacing your existing design.
To fix that, first click on “Add page” at the bottom of the screen. With this new Page 2 selected, you can now click on your PDF logo thumbnail (or whichever other vector graphic you uploaded). This will add the contents of your uploaded PDF file to Page 2. Drag your mouse across the entire Page 2 to select all the graphics. Then, right-click inside the box containing one of the graphics and click “Group” to group everything together. Now just drag this group to Page 1, where your dieline is. Scale the logo and position it where you want it.
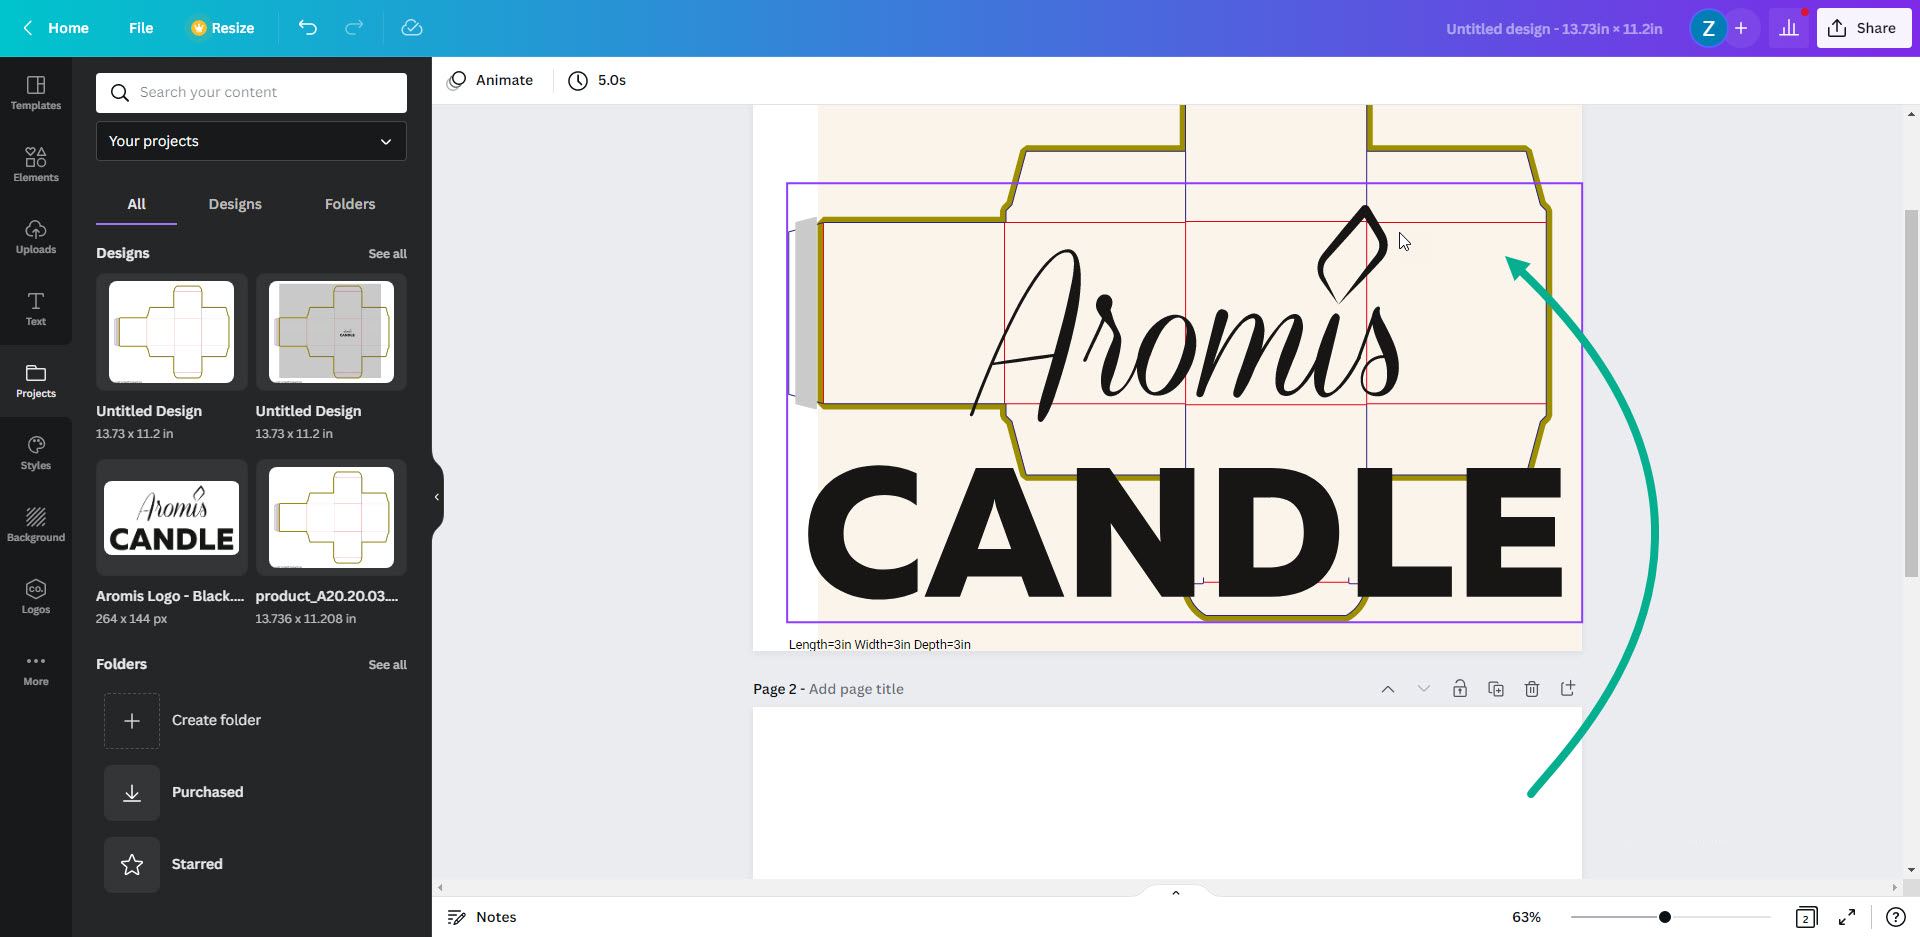
Tip:once you uploaded all the vector PDF files you wanted, you can just delete Page 2.
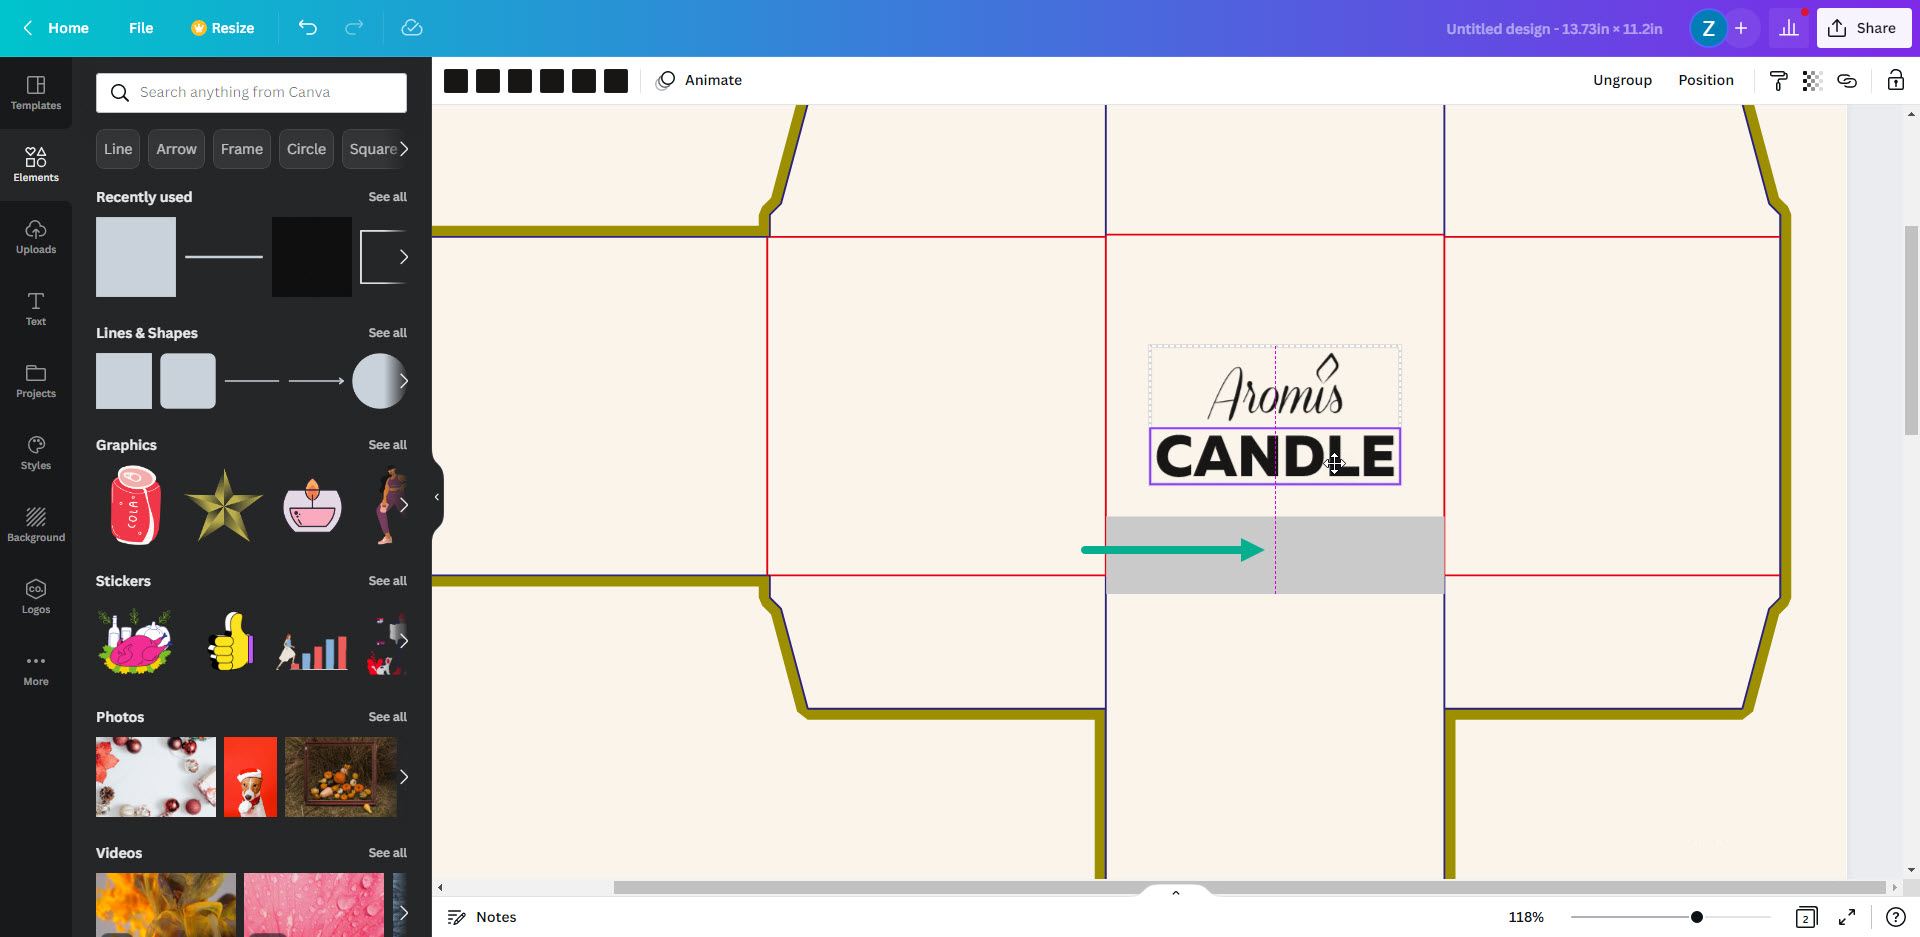
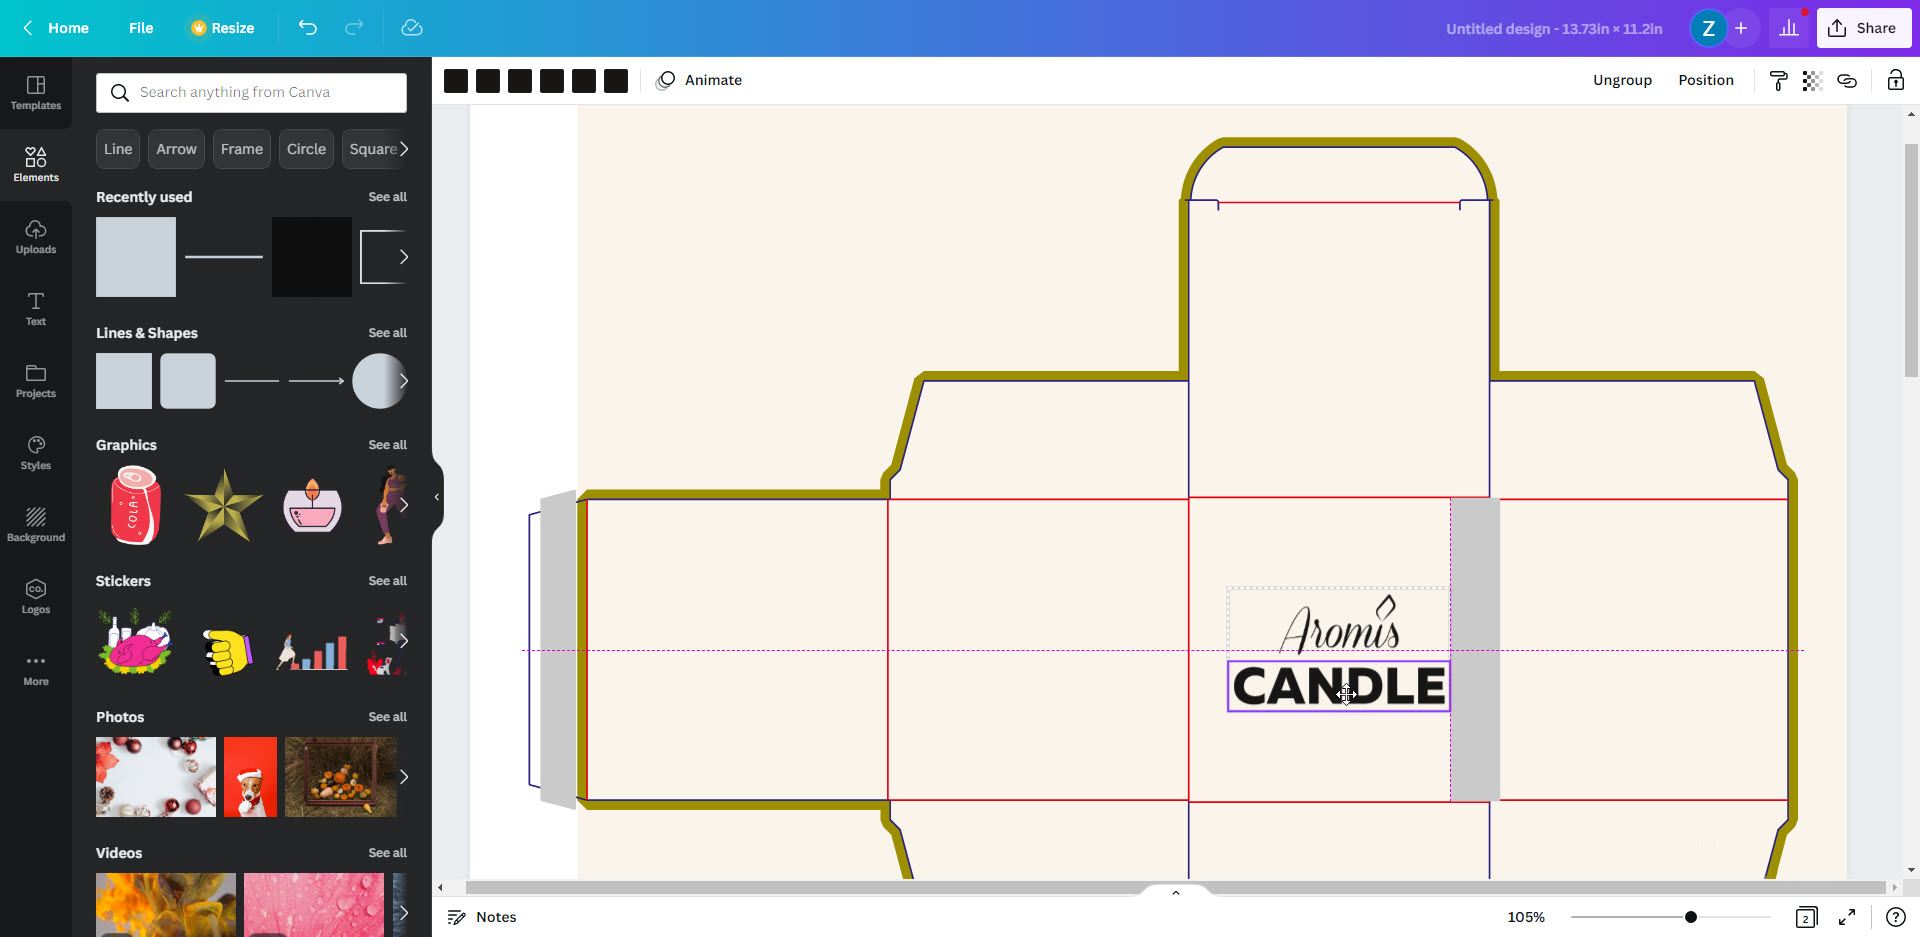
Center your design elements to dieline’s cut and fold lines
This took some out-of-the box thinking, because in Canva, cut and fold lines of our dieline file are not recognized as objects you can align other graphics to. But, you can align graphics to other graphics on your artboard. This means we can use a simple rectangle object that will temporarily serve as a graphic to align to.
Here’s how:
Let’s say we want to center the logo on the front panel of the box. To do this, we will first go to “Elements” tab and add a new rectangle object. Then resize it so it goes from one fold line to the other. Zoom in all the way and be as precise as possible.
Now drag your logo graphic, and it will automatically snap it to the center of the rectangle. Once you are happy with the position of your logo, delete the “help” rectangle object.
Repeat this step for the vertical direction as well.
Tip: holding the Shift key while dragging will move the graphic in a straight line.
Problems with colors
After exporting a few PDF files from Canva, we noticed that the colors don’t quite match. They look different on the PDF compared to those in the Canva editor. We couldn’t determine why this happens or if it happens every time you export a PDF file. This is a big problem because the last thing you want is to invest in your packaging printing and find out that the colors on your printed boxes are totally off.
In case you notice this color mismatch, don’t panic. Our design team can help here and edit the colors to your specifications. The whole point of this experiment was to determine if this method can enable Canva users to create and submit packaging design PDFs for print. And it turns out that all the vector graphics we uploaded to our Canva design, as well as shape graphics created in Canva itself, remained vector graphics once they were exported from Canva. Vector graphics are editable, and we can change the colors of these graphics using Adobe Illustrator.
In case you want to order box printing, and you created your artwork using Canva with the method explained above, but you noticed color mismatches, here’s what to do:
- Order packaging printing on Newprint website.
- Upload your existing PDF created in Canva.
- Send an email to [email protected]. Make sure you reference your order number in the email and let us know the correct color for certain graphics.
- We will send you a digital proof so you can confirm the colors and the overall layout before we start printing.
Adobe Express
Inspired by the results of this method, we wanted to try a similar thing using Adobe Express. We thought the integration of vector PDF files would go even smoother since Adobe created the PDF format back in the early ’90.
But to our surprise, we couldn’t find a way to add our own vector graphics when we tried to upload our PDF dieline file. The only formats that are allowed for upload are JPG and PNG.
This was very discouraging since it was clear right away that uploading your own vector logos and other graphics you might have would be impossible. And as we already mentioned, having vector graphics in your design is crucial for high-quality print output.
We decided to give it one more try and see what happens when we upload JPG and PNG files. We created a new Adobe Express project with custom size document dimensions. These dimensions match our dieline artboard size. To an even bigger surprise, the image we uploaded was placed onto the Adobe Express artboard at roughly half the size. It would make sense to place our image at its full size. But for some reason, this was not the case.
At this point, we gave up trying. Apparently, Adobe Express is much more suitable for web graphics and videos than print design. At least at this moment. It has many capabilities and well designed templates you can use for designing web images and videos. But it is our impression that it lacks options for print design.
Packaging Design in Adobe Illustrator
Now, this is where Adobe excels! Adobe Illustrator is great for illustrators, designers, and digital artists and is also widely used in the printing industry. It has almost limitless possibilities for design, and we could talk about those for days. Instead, we will focus on preparing your Illustrator files for packaging design and printing.
First, you need a dieline file to start your design and ensure your layout is correct. The easiest way to get a professional dieline file is to use Newprint’s Free Dieline Generator. The process of generating the dieline is explained step by step at the beginning of this text.
Prepare your Adobe Illustrator file for packaging design.
Now open the dieline file in Adobe Illustrator. First, let’s get rid of the background object. There will be a white rectangle across the entire artboard, so click anywhere on the white surface and delete this white rectangle.
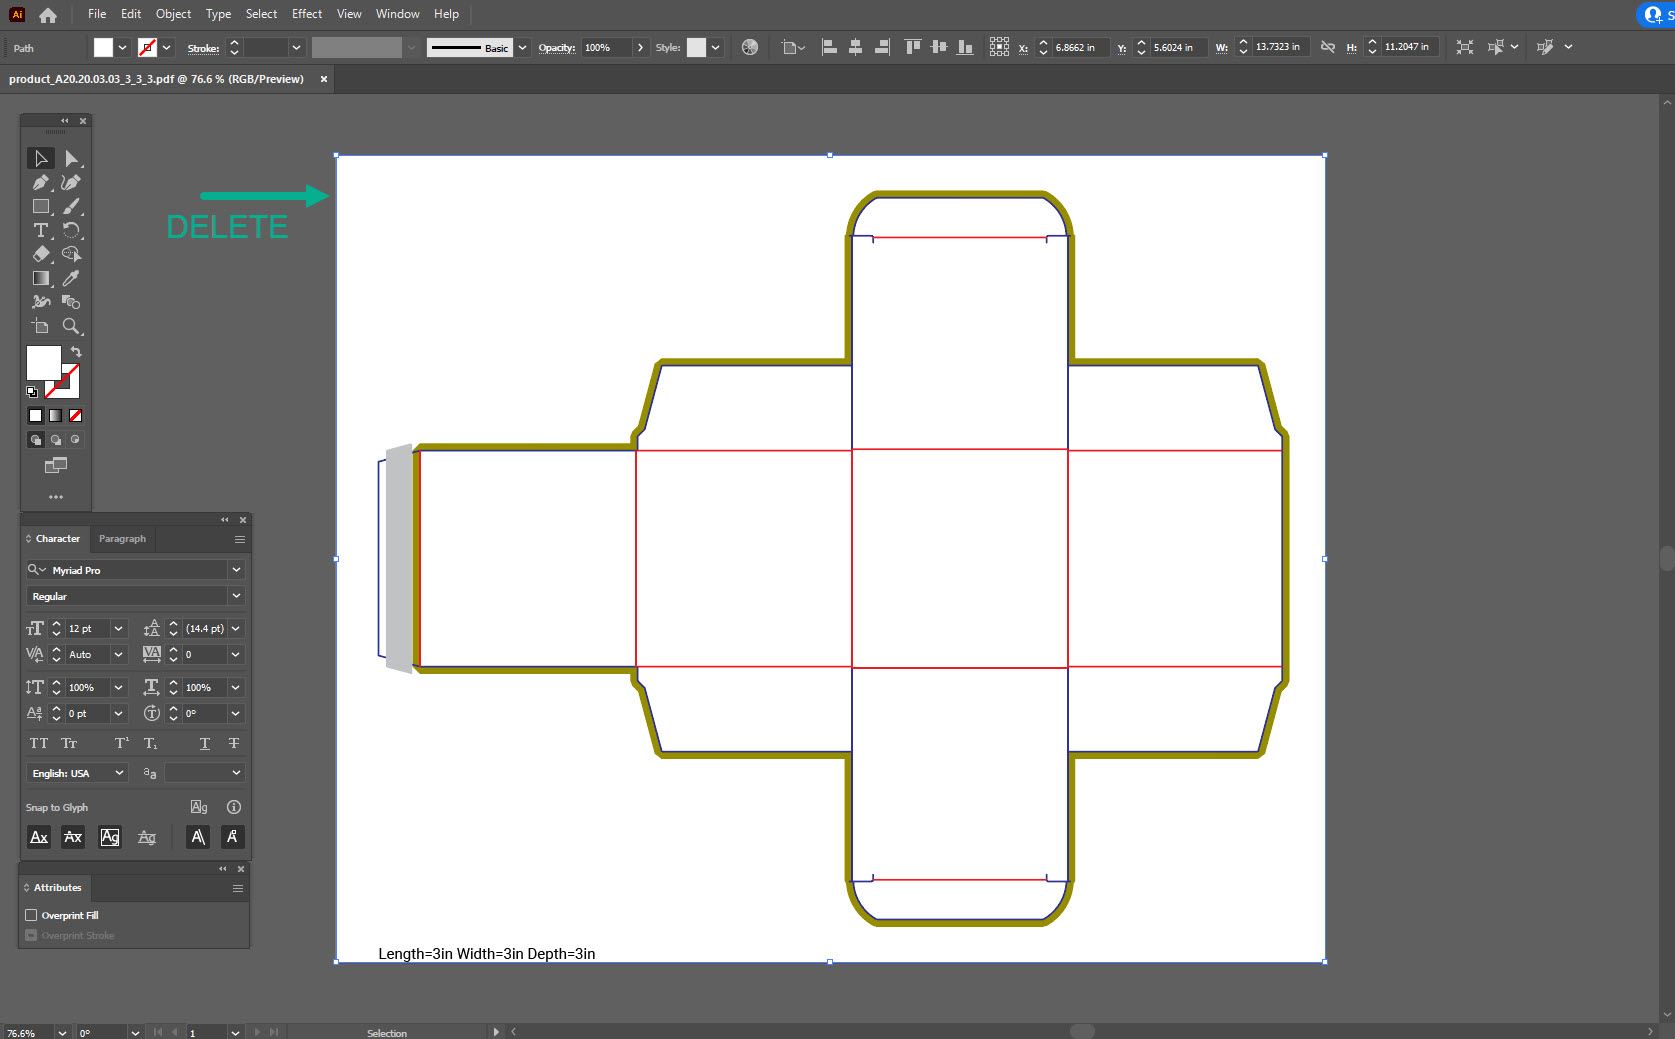
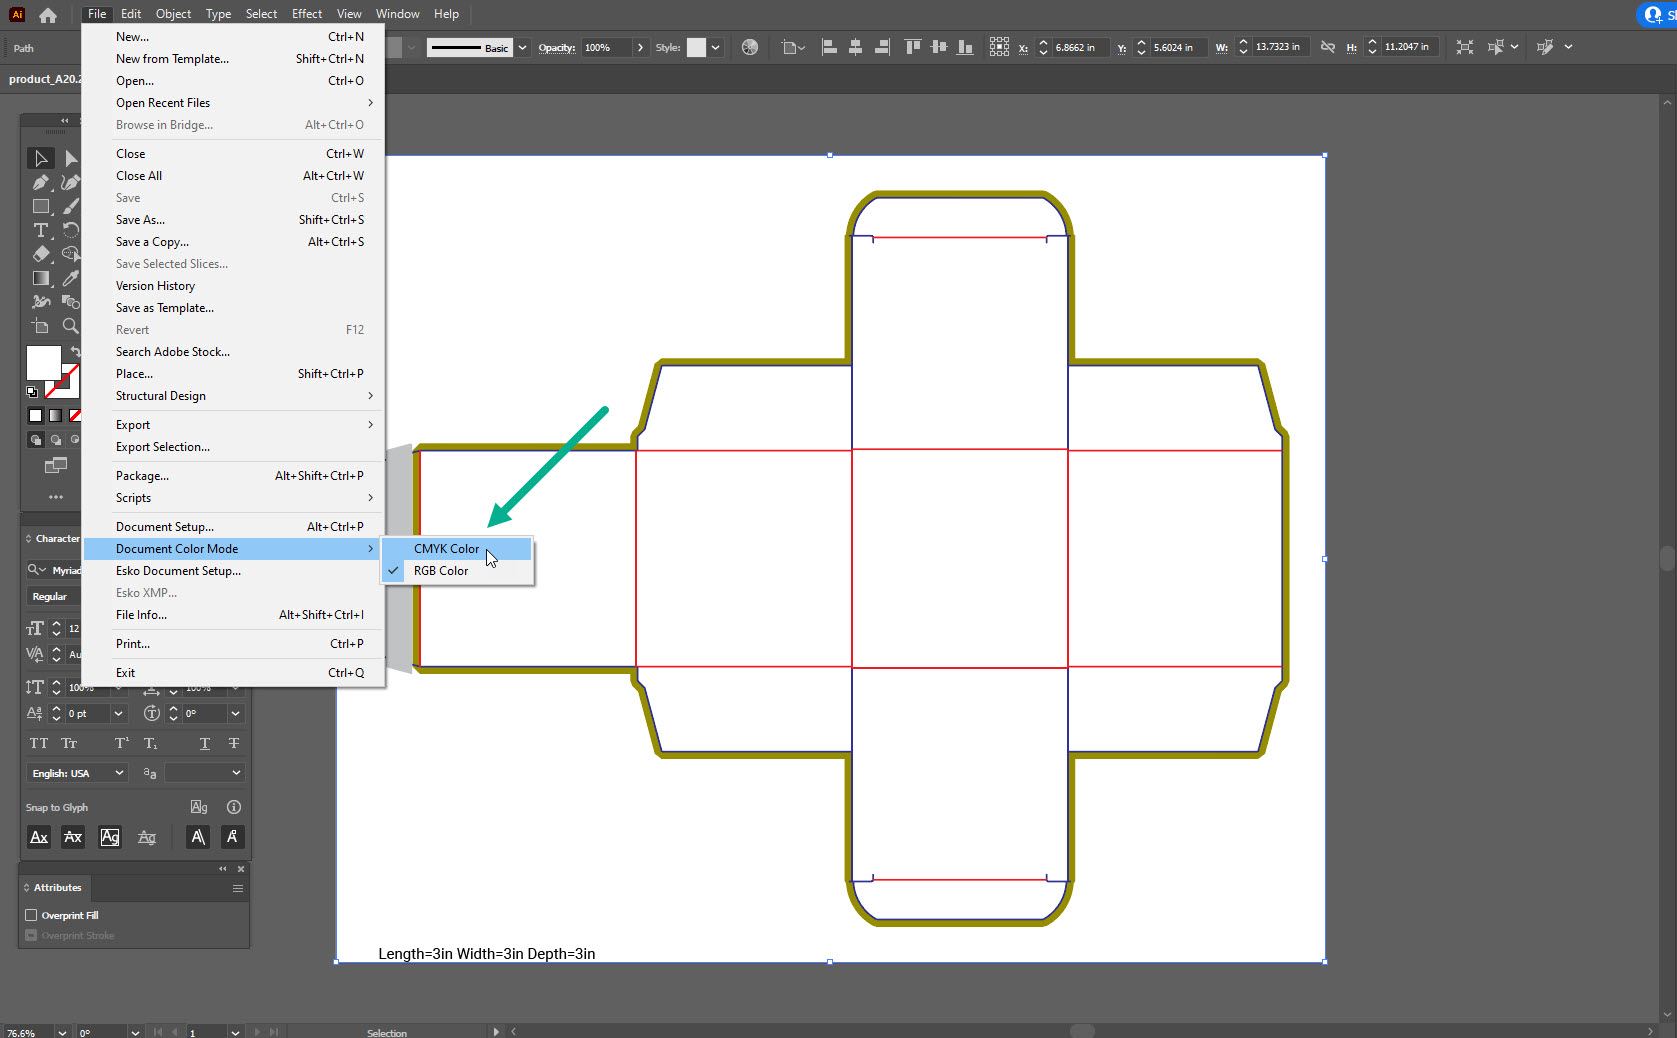
Now let’s change the color mode to CMYK. Go to File / Document Color Mode and choose CMYK Color.
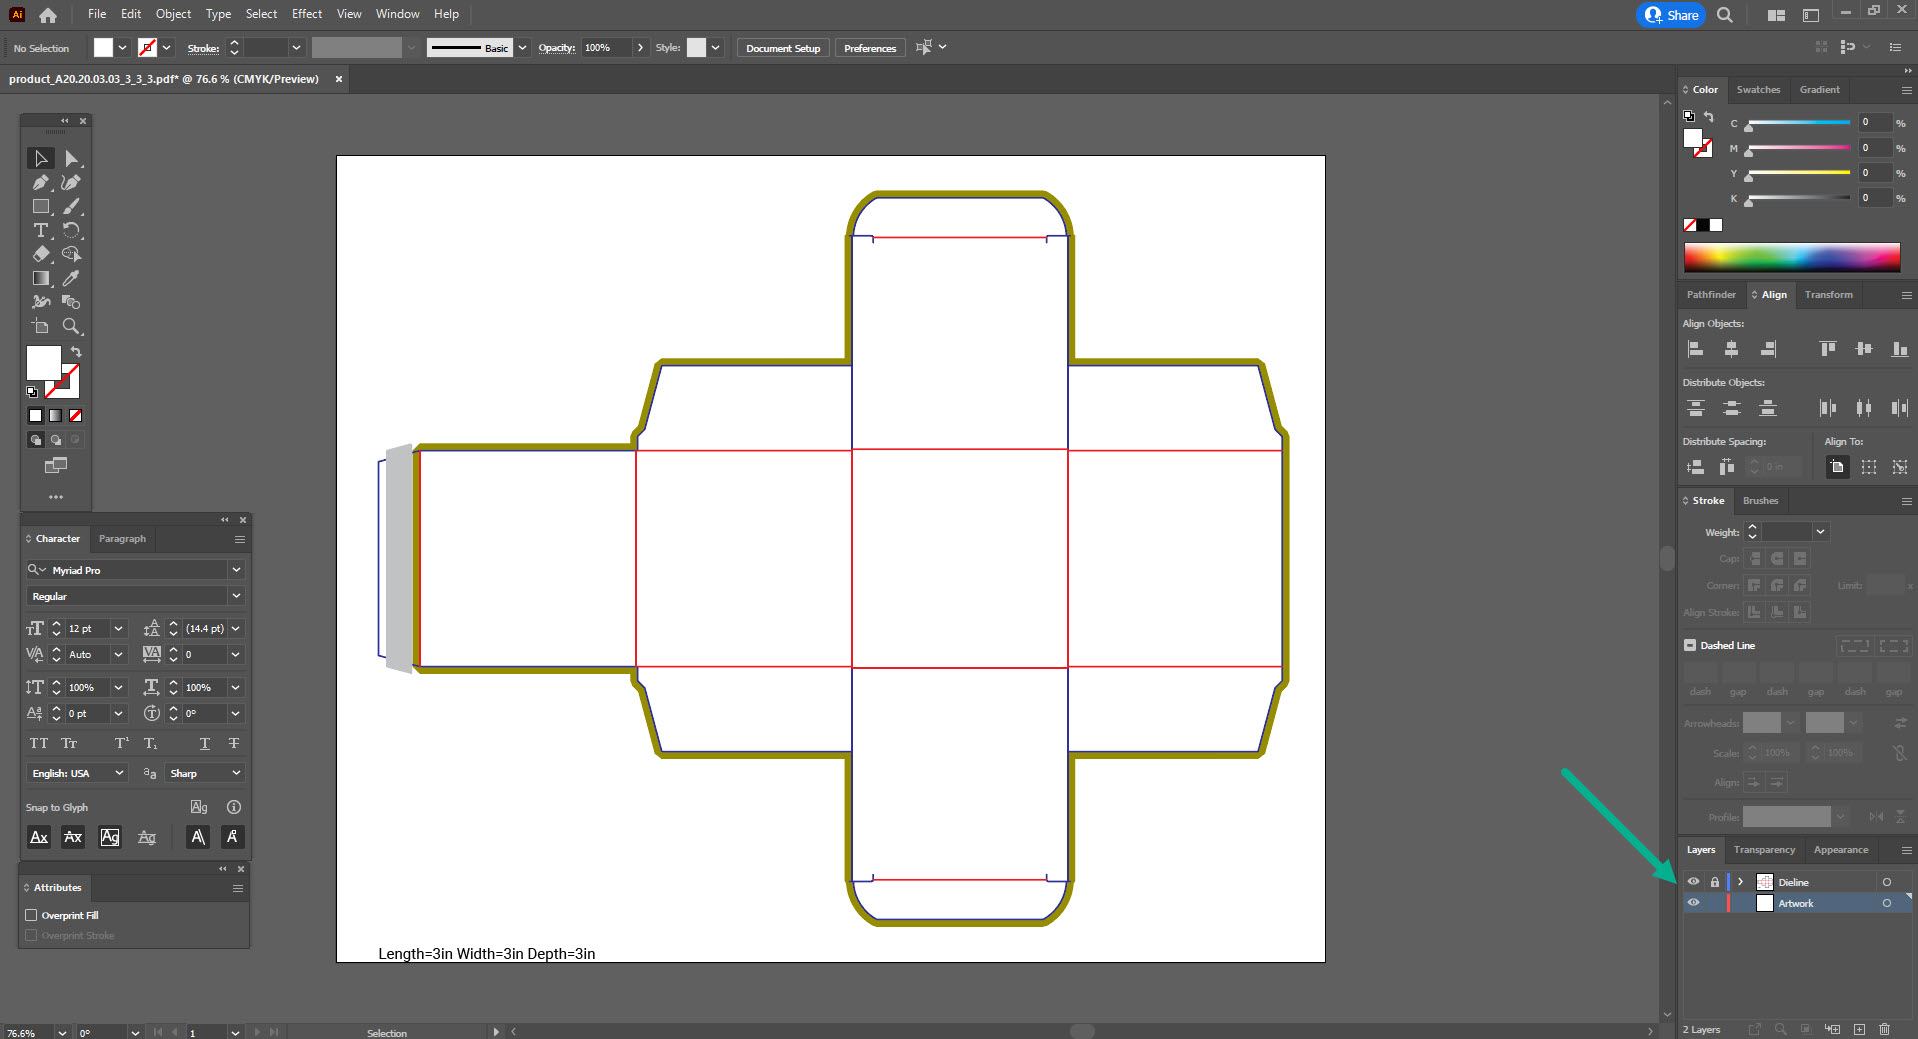
The last step in this stage is to create a new layer. This is important because your dieline elements should remain on their own layer, and your artwork should be on a separate layer (or multiple new layers). Just keep in mind that the dieline layer should always be on top, so the dieline is always visible and doesn’t get covered by your design elements. You can also rename your layers to keep your file organized. Also, we recommend locking the dieline layer and preventing moving something by accident.
Now you can do your magic and start designing your packaging. We will not cover the design process itself since there are many resources to help you achieve the exact effect you want. However, there are some technical aspects to keep in mind:
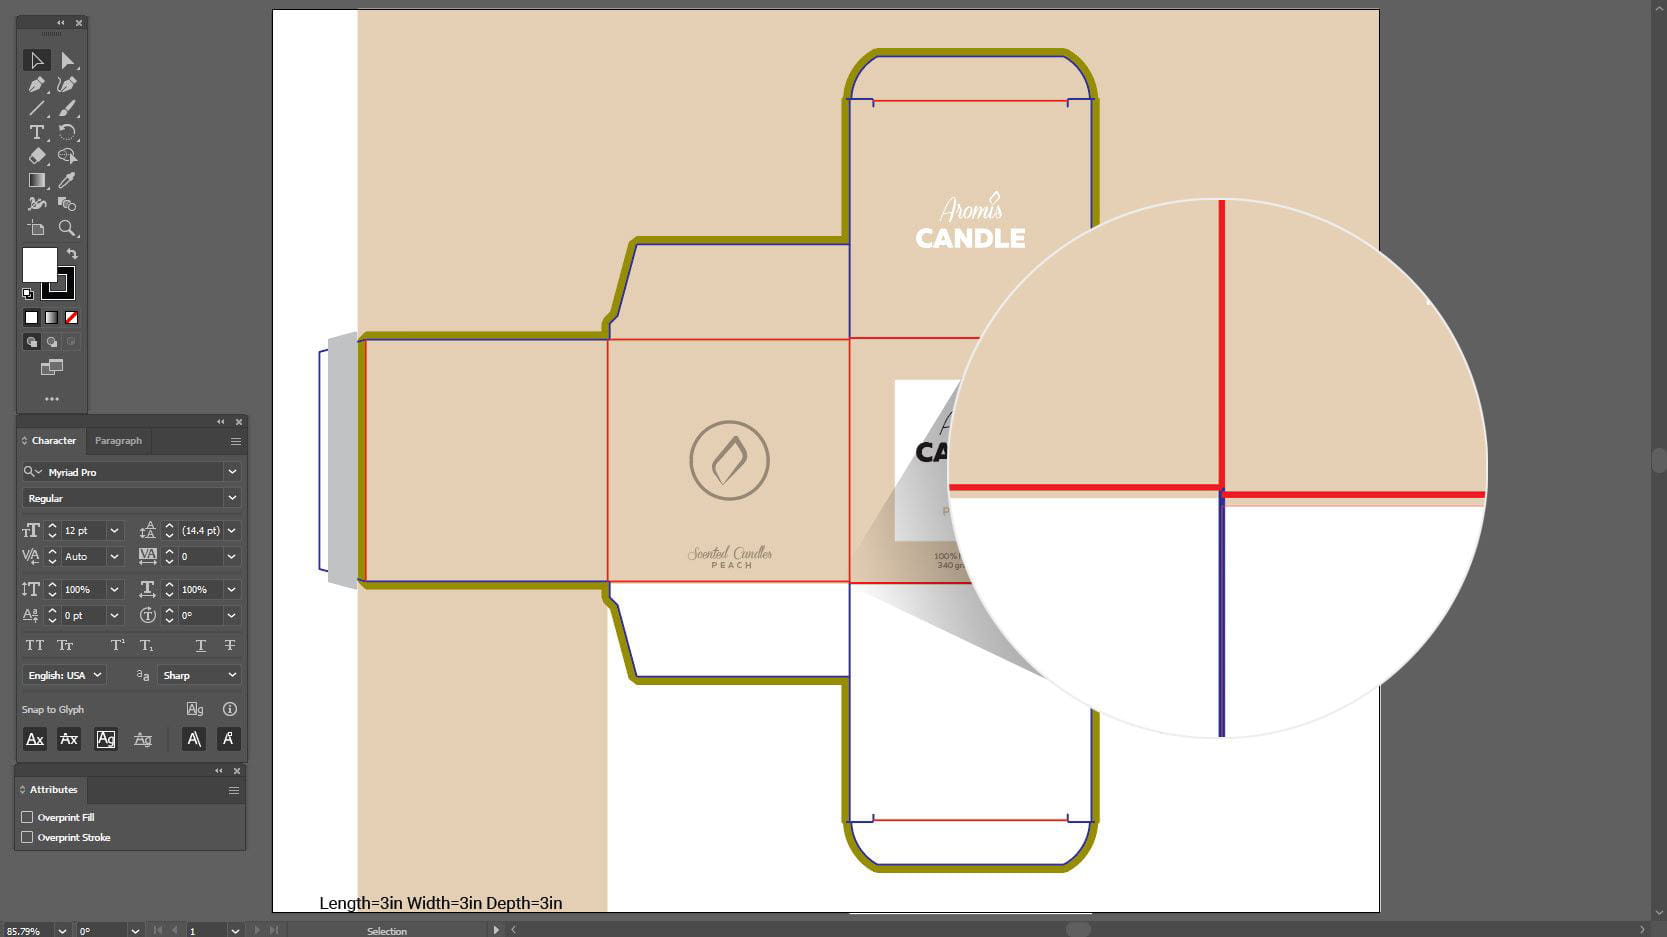
- Important design elements, such as text and logos, should be at least 0.125’’ away from trim and fold lines.
Extend bleed elements all the way to the edges of the artboard.

The glue area, indicated with a gray color on the dieline file, must remain ink-free (white).
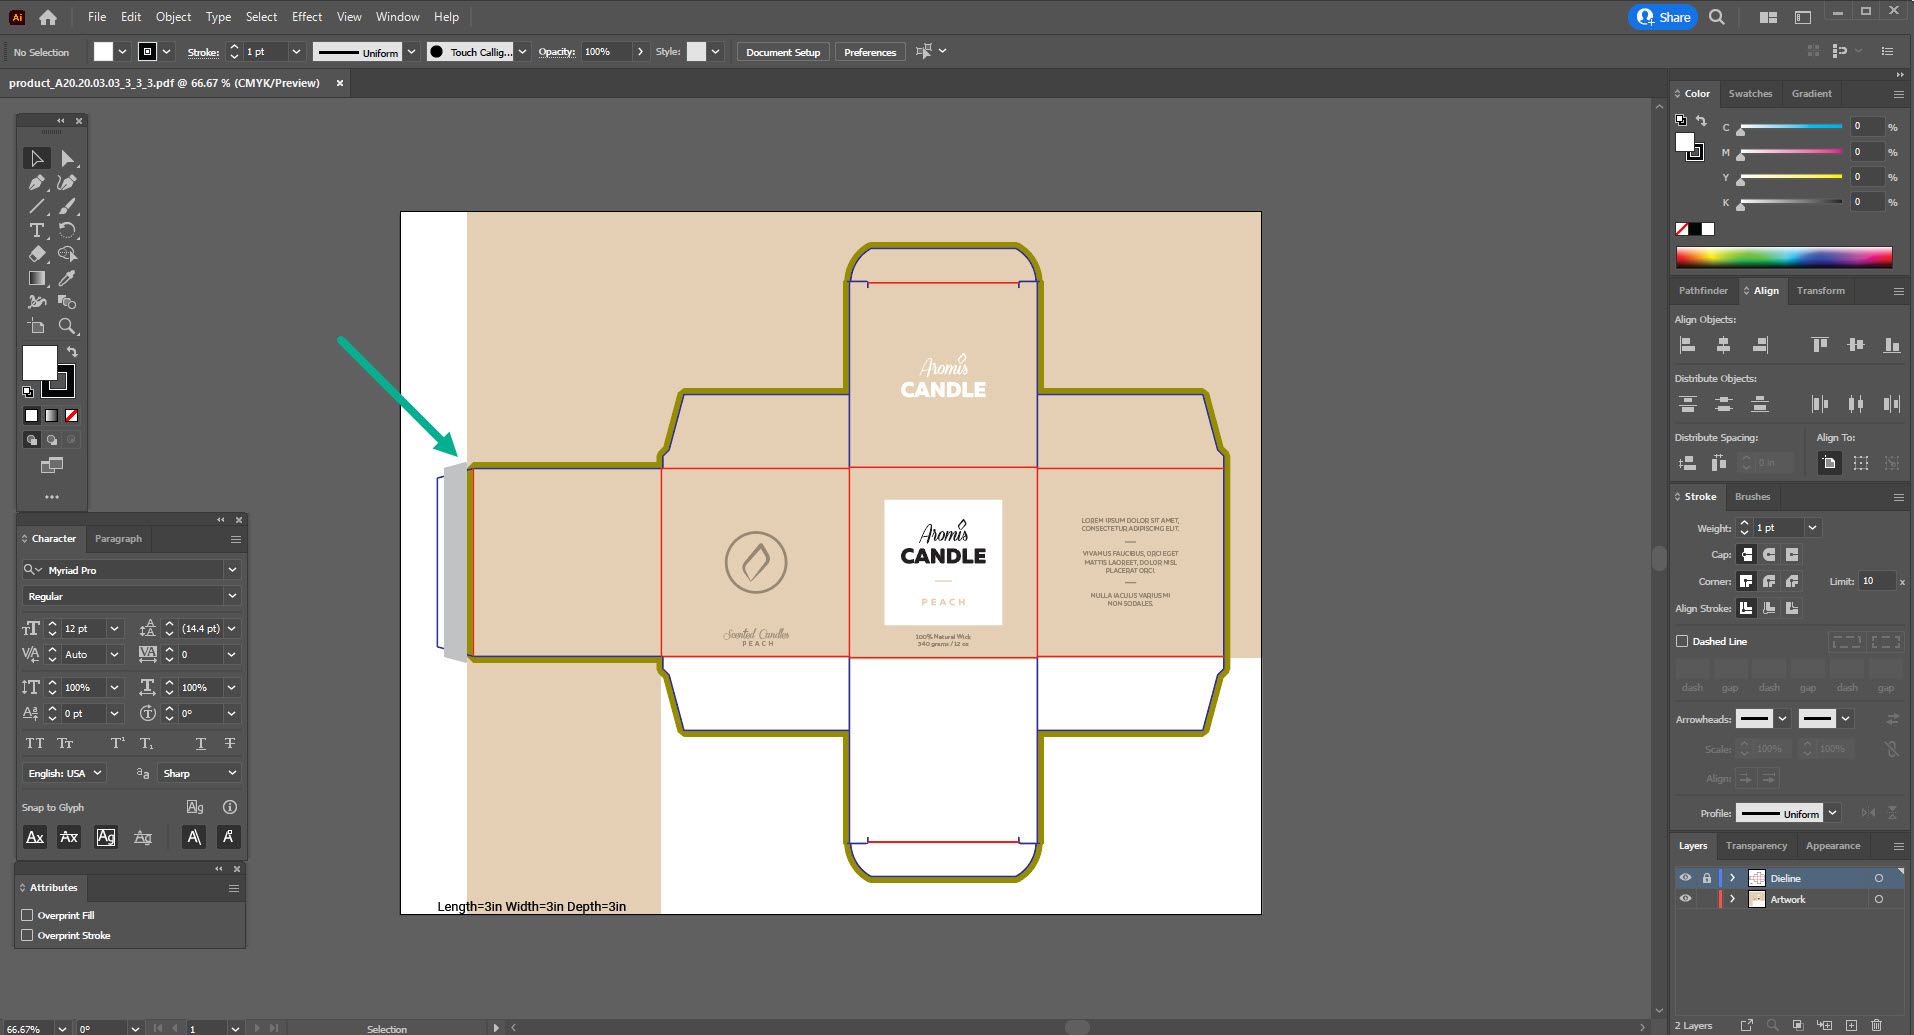
Your background elements must extend around 0.03’’ over the fold lines.
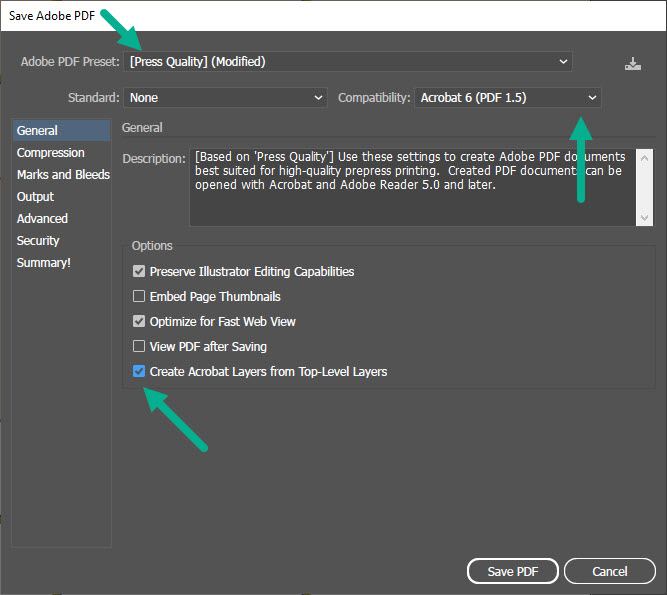
Export print-ready PDF
- Keep all layers visible.
- Go to File / Save As. Choose Adobe PDF as the file type. Click Save.
In Adobe PDF Preset menu, choose Press Quality.In the Compatibility menu, choose Acrobat 6. Check the Create Acrobat Layers from Top-Level Layers box. Click Save PDF.
The results of the “Canva vs Adobe Express vs Adobe Illustrator” battle are in. Is Canva better than Adobe Express for product packaging design? Yes. But, Adobe Illustrator is better than both, by far. So, if you are going to repeatedly design packaging, the investment of both time (to learn to use it) and money are worth it. However, if you need a short term solution, Canva will do. Just make sure you do it as described above.