Learn what a dieline is, why it is important and how to use Newprint’s free dieline generator. Starting your packaging box design has never been easier.
You have created your perfect product. And you are ready to dress it up and put it on the market. But, choosing the packaging worthy of the product inside can be challenging. You must make many decisions, from size and materials to design and finishes. This process can be overwhelming even for people who have done it many times. Even the terminology can be confusing if this is your first time doing it.
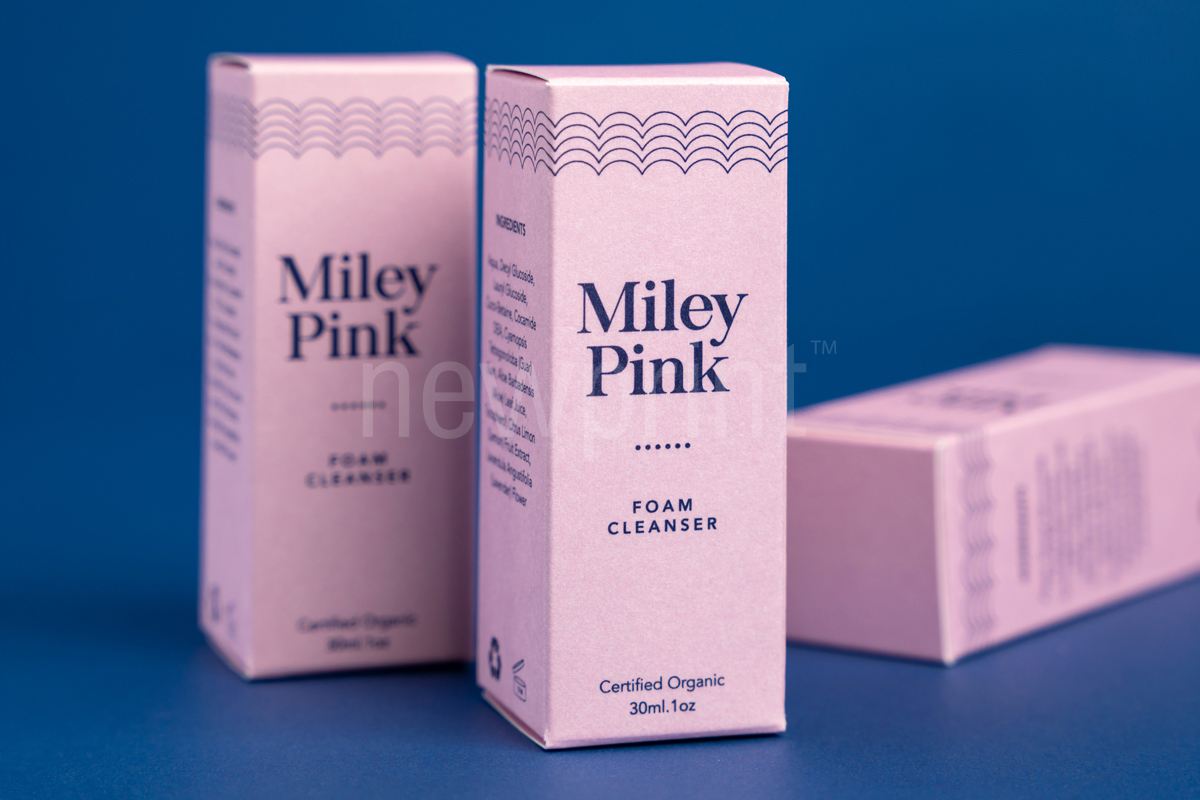
Every successful product packaging design begins with a correct packaging box dieline. The keyword here is "correct". But let's not get ahead of ourselves and start at the beginning...
What is a packaging box dieline?
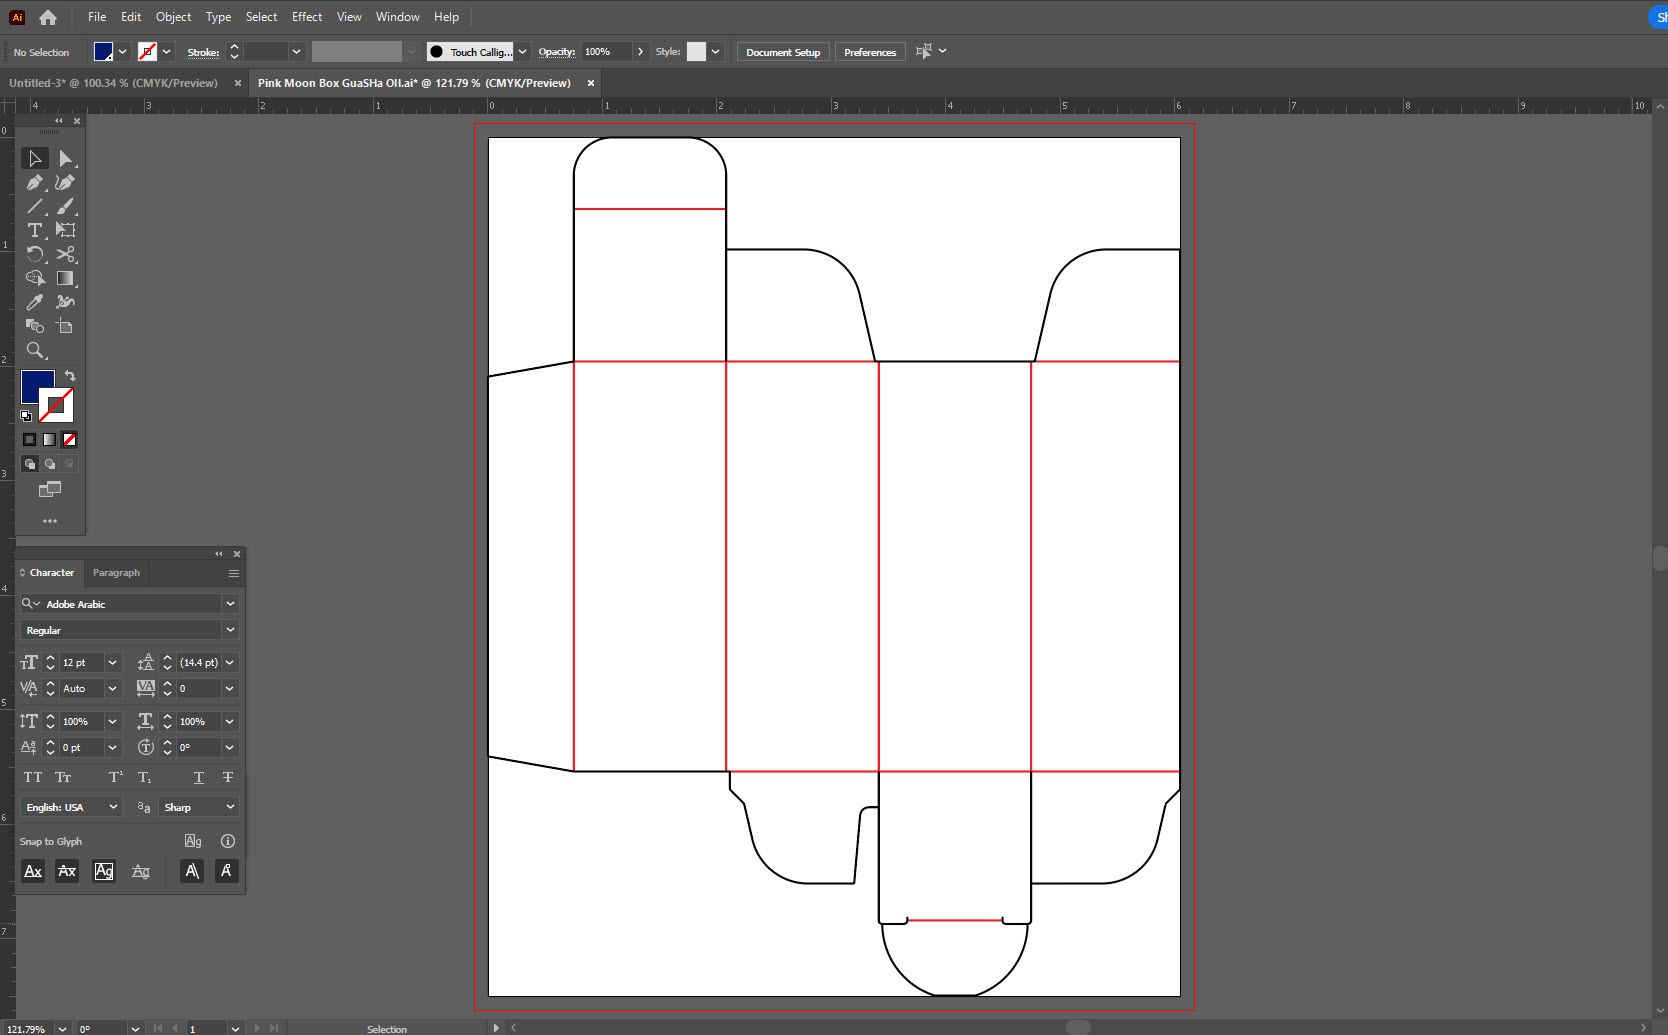
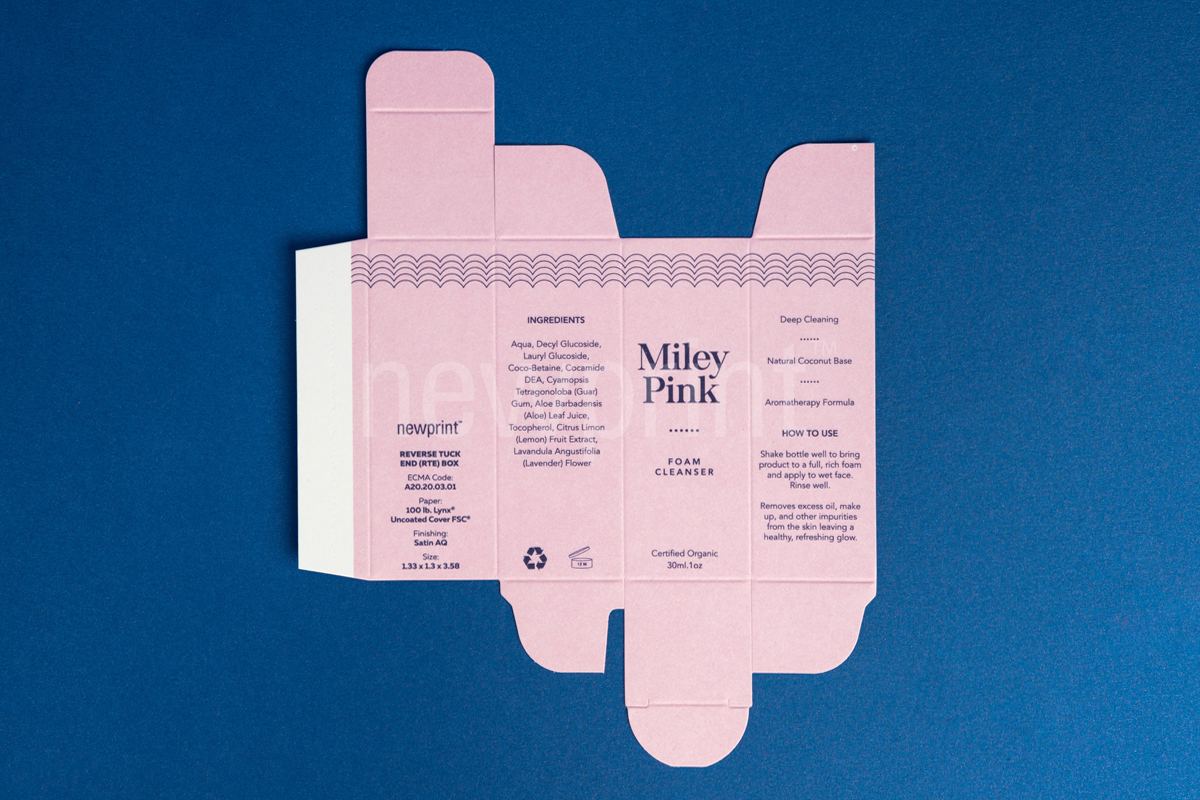
Simply put, a dieline is a template that shows the shape and dimensions of a flat packaging box. It is a guide that designers use in the design process. The printer needs the dieline to manufacture the product according to specifications. Cut, fold, and perforation lines are marked on the dieline.
Why having the correct dieline is important
A packaging box is not an easy product to design and print. Many elements must fit together perfectly to make it functional and aesthetically pleasing. And it all starts with a dieline. If the dieline is incorrect, there will be problems with design and print. And having a correct dieline ensures that delays due to incorrect placement of the design elements are minimized. If the printer does not have to fix dieline issues, it will shorten the turnaround time.
Also, having the correct dieline from the beginning will save you money because there will be no need for lengthy design sessions to make your design fit the dieline later in the process. If the design is done on the dieline the printer will use when printing the product box, everything will fit perfectly immediately.

In case you are wondering how hard it can be to put the design on the box's flat diagram, there are many possible pitfalls. Maybe one of the dimensions is slightly wrong, and the packaging box will not assemble correctly. Or there is not enough space for the gluing. Possibly some vital design element is placed where the gluing area has to be. Fold lines can split your design in an unintended way...
And all these potential problems exist even for the simplest boxes on the market. Adding more elements to the design only makes it more complicated. Different cutouts, handles, or any unusual box shape can quickly become a nightmare for the designer without the right dieline. And the result is questionable.
We cannot stress enough how important the dieline is. If you start with the incorrect one, you could end up having to implement costly and time-consuming fixes. Using the right dieline from the start will help you save time and money. Sometimes, starting the design from the beginning can be easier than adjusting the existing one to the correct dieline.
With our dieline generator, we want to ensure your design process goes as smoothly as possible. All the elements are clearly marked to minimize the possibility of mistakes. This generator is completely free to use, from beginning to end. You will be able to download the dieline file without any hidden costs.
How to generate custom packaging box dieline
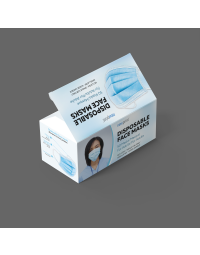
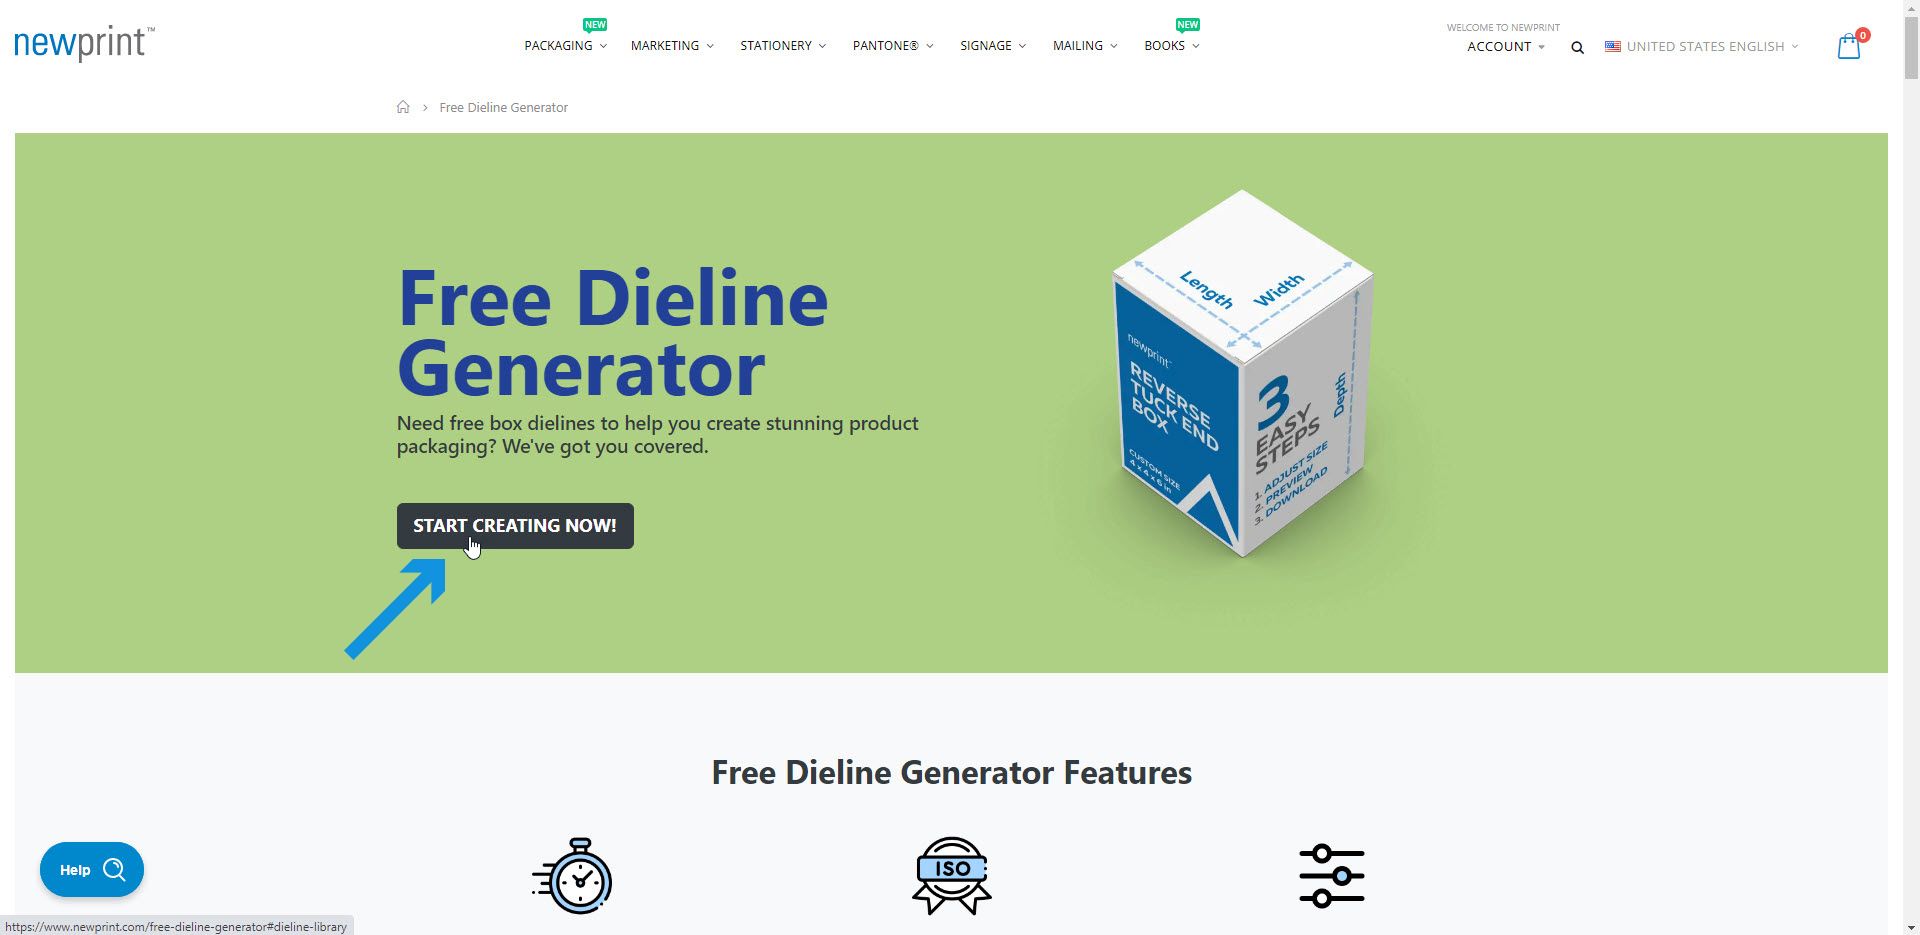
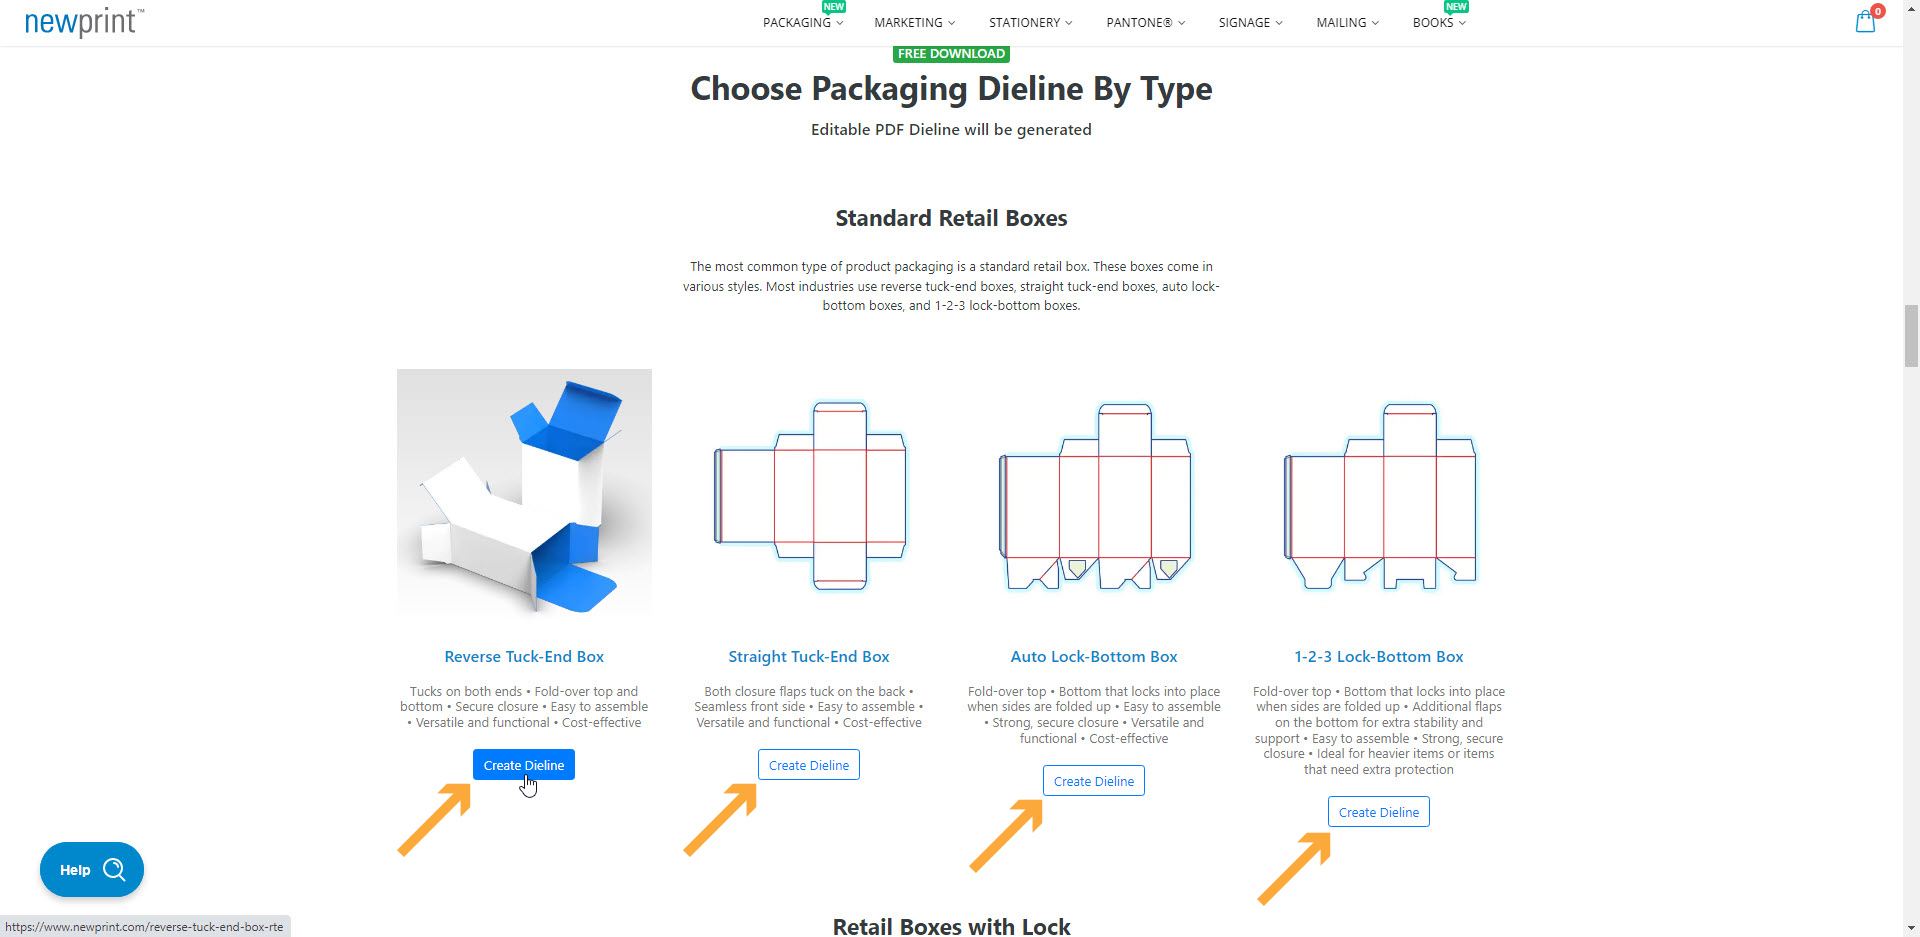
Fortunately, getting a professional dieline file no longer has to be a frustrating task. On our website, we have a free dieline generator tool. It allows you to generate and download a custom dieline file based on the type of box you need and on the box size you specify. The tool offers a wide range of commonly used retail boxes that can be used in cosmetic, health, beauty, food, cannabis and many other industries.
Step 1
Go to our Free Dieline Generator page. We encourage you to scroll through as you may find many useful information there. But if you want to skip right ahead to the generator, click ‘Start Creating Now’.
Step 2
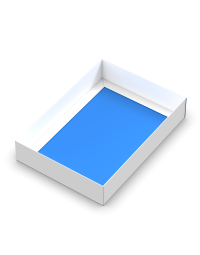
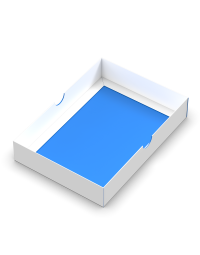
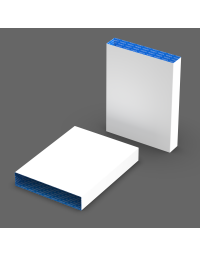
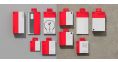
Select your preferred box type. In this section of the page you will be able to see all the box types that our dieline generator supports. By default, viewers are shown the flat dielines, which is how your generated file will look. But when you hover over a dieline you will be able to see a 3D render of every box, which is very helpful in visualizing the final product. Once you are set on the type of box, click ‘Create Dieline’.
Step 3
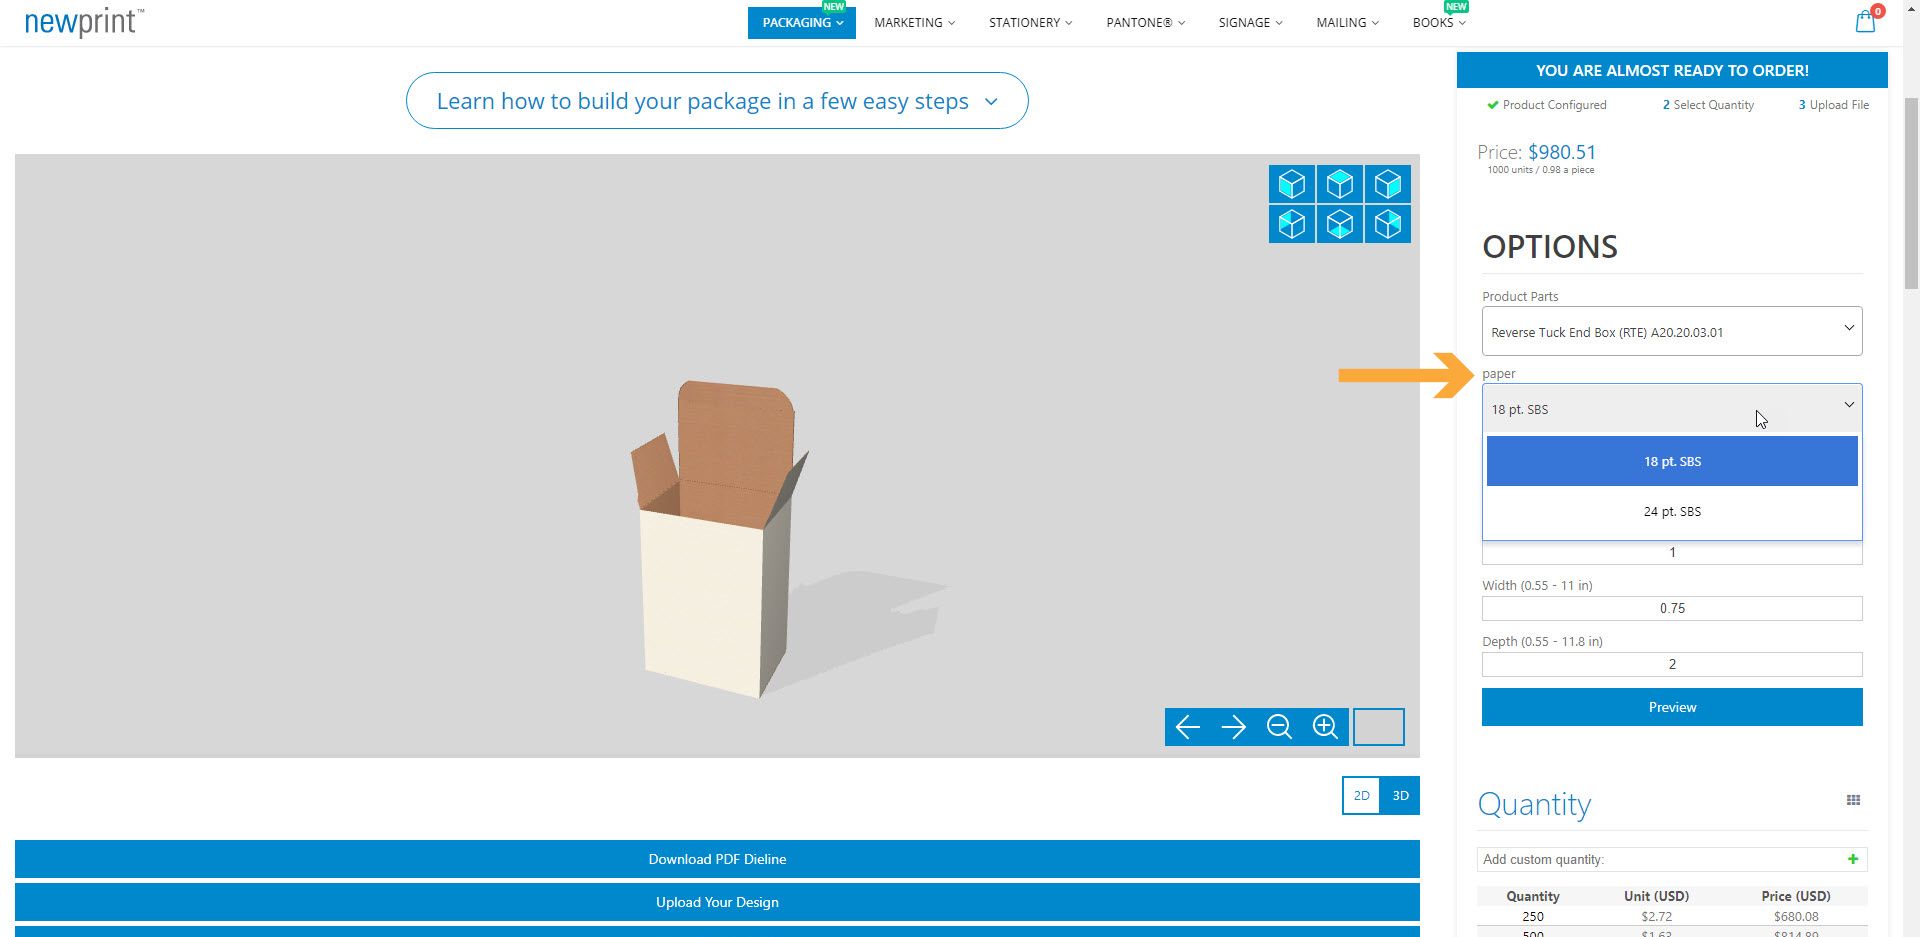
Choose the paper for your packaging. Our dieline generator tool allows you pick between 18 pt. and 24 pt. paper stock. 18 pt. paper is suitable for small to medium items that are not too heavy. Most commonly, this paper is used for boxes that hold various jars, tubes, small plastic and glass bottles, blister packs etc. On the other hand, 24 pt. paper is usually used to create bigger boxes that need to hold a bit more weight. This paper is harder to fold, so it is not suitable for smaller boxes.
Step 4
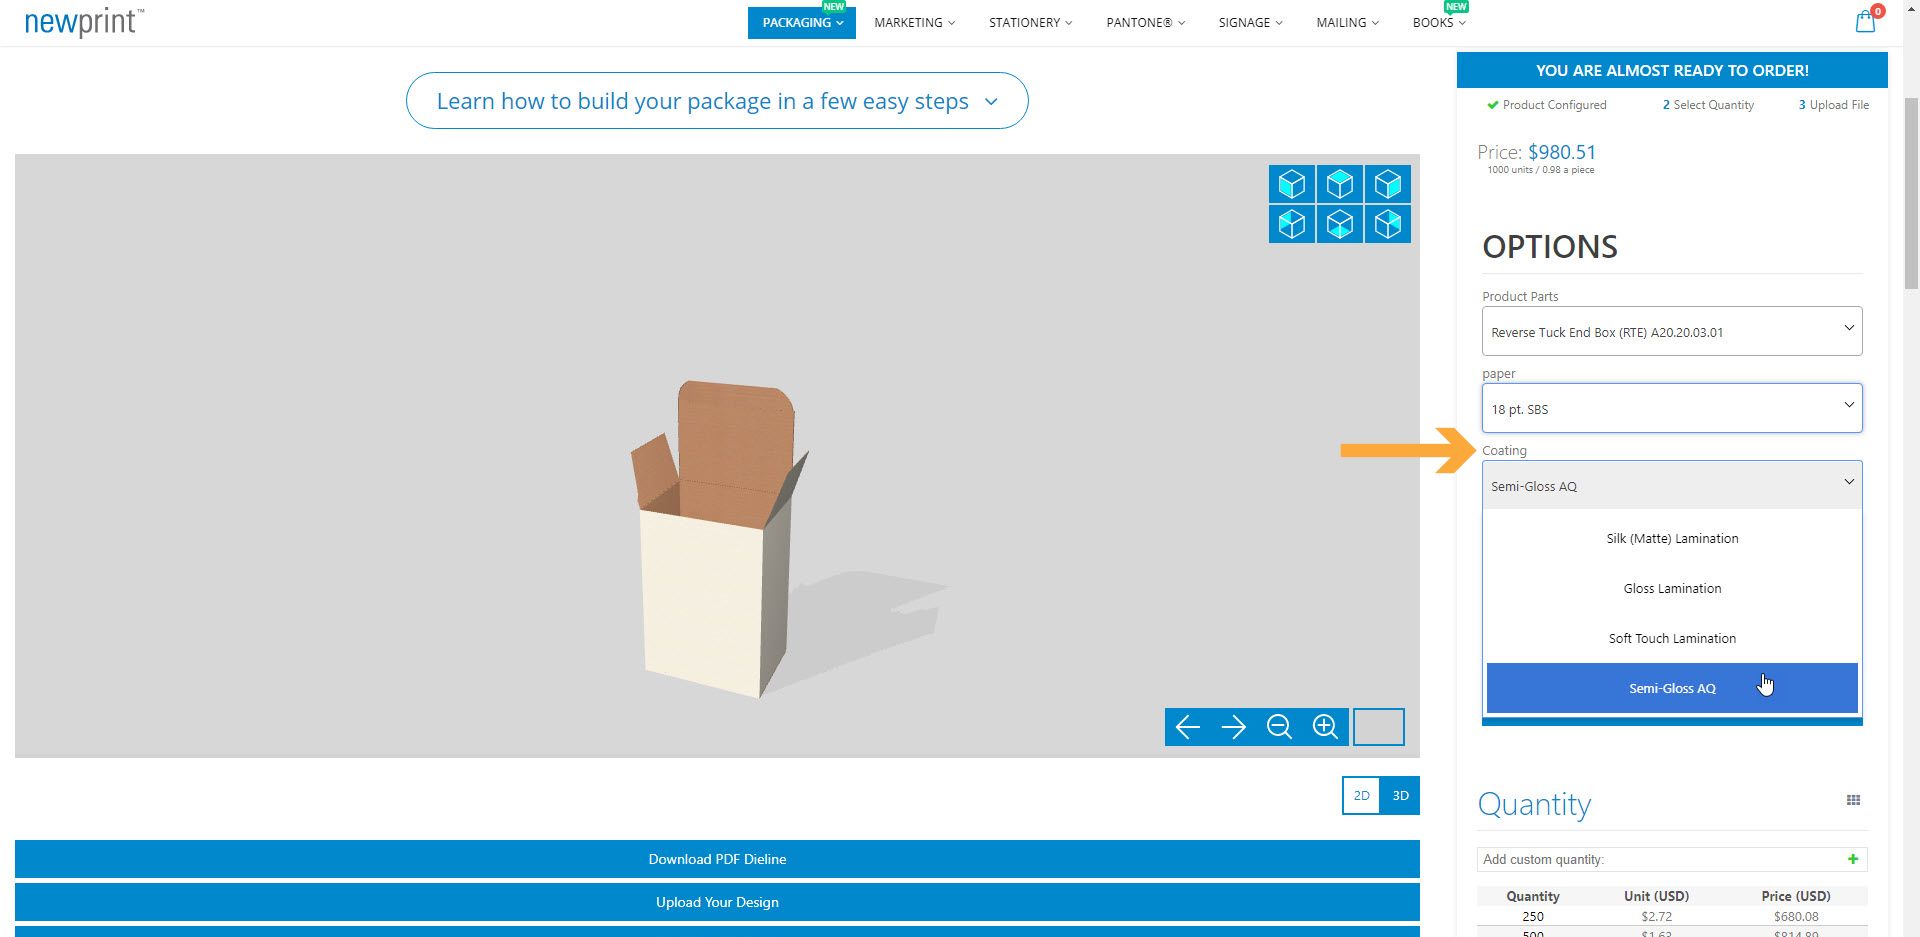
Add coating. Here you have the option to add different types of coatings to your boxes. However, this step is only important if you using our website to order the printing of your boxes. If you just want to generate the dieline file, this step will not affect the its final look.
Step 5
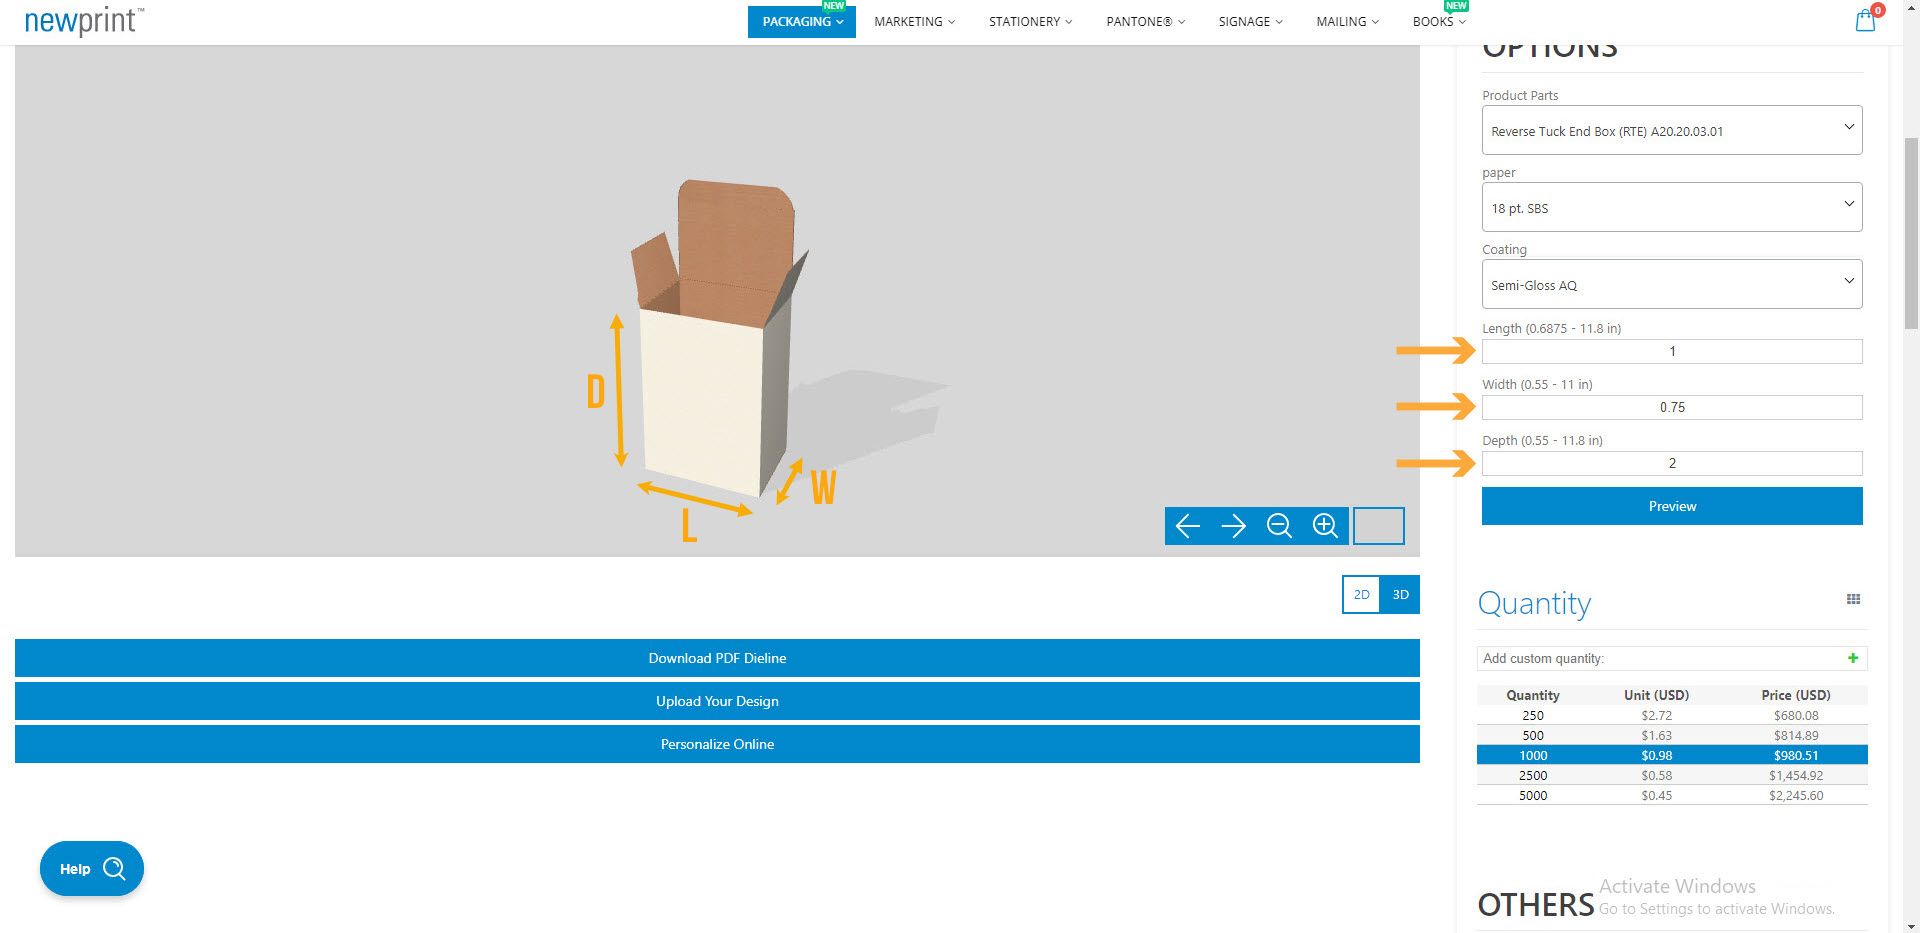
Input your custom box size. The dieline generator tool allows you to input any custom size, as long as the overall flat box size does not exceed the size of a paper sheet used by printing machines. The size of your box should fit your product perfectly, so it is crucial to measure your product precisely in order to determine the box size that will be a perfect match. More often than not, our clients ask us for a prototype of the box first, to make sure the box dimensions are spot on before printing an entire run.
Step 6
Download the dieline file. You have chosen the box type, the paper type and the dimensions of your box. All that is left to do now is click the ‘Download PDF Dieline’ button. A dieline file will be generated instantly based on the options and dimensions you have chosen. Just select the destination folder for your dieline PDF and start designing.

If you are not sure what kind of box you want
Custom packaging is very diverse, and the choice can become overwhelming. If you prefer to see and touch the packaging to make sure it is everything you need, you might need more than just looking at the packaging on the screen. If that is the case, we have a sample box you can order. In it, you will get an ECMA standards book and sample boxes. The book contains 2D and 3D schematics for many industry-standard packaging boxes. They will help you visualize and understand different types of paperboard boxes. Sample boxes include all our standard dynamic dielines in a small-size format. This allows you to get familiar with them and see the quality of our packaging before you make a purchasing decision.
We hope we have helped you understand why the correct packaging box dieline is important to have from the beginning of the design process. And that our free dieline generator will be a helpful tool you will return to.