Language
 United States
Upcoming Scheduled Maintenance July 3 2025 between 7 and 11 AM. The website may experience slower response rate. Thank you for your understanding.
How To Use ProofHQ Proof Reading Tool
Whether you have a design that requires alterations or require Newprint to create a design from a conceptual idea, the tools we use will help accelerate the approval process with your team.
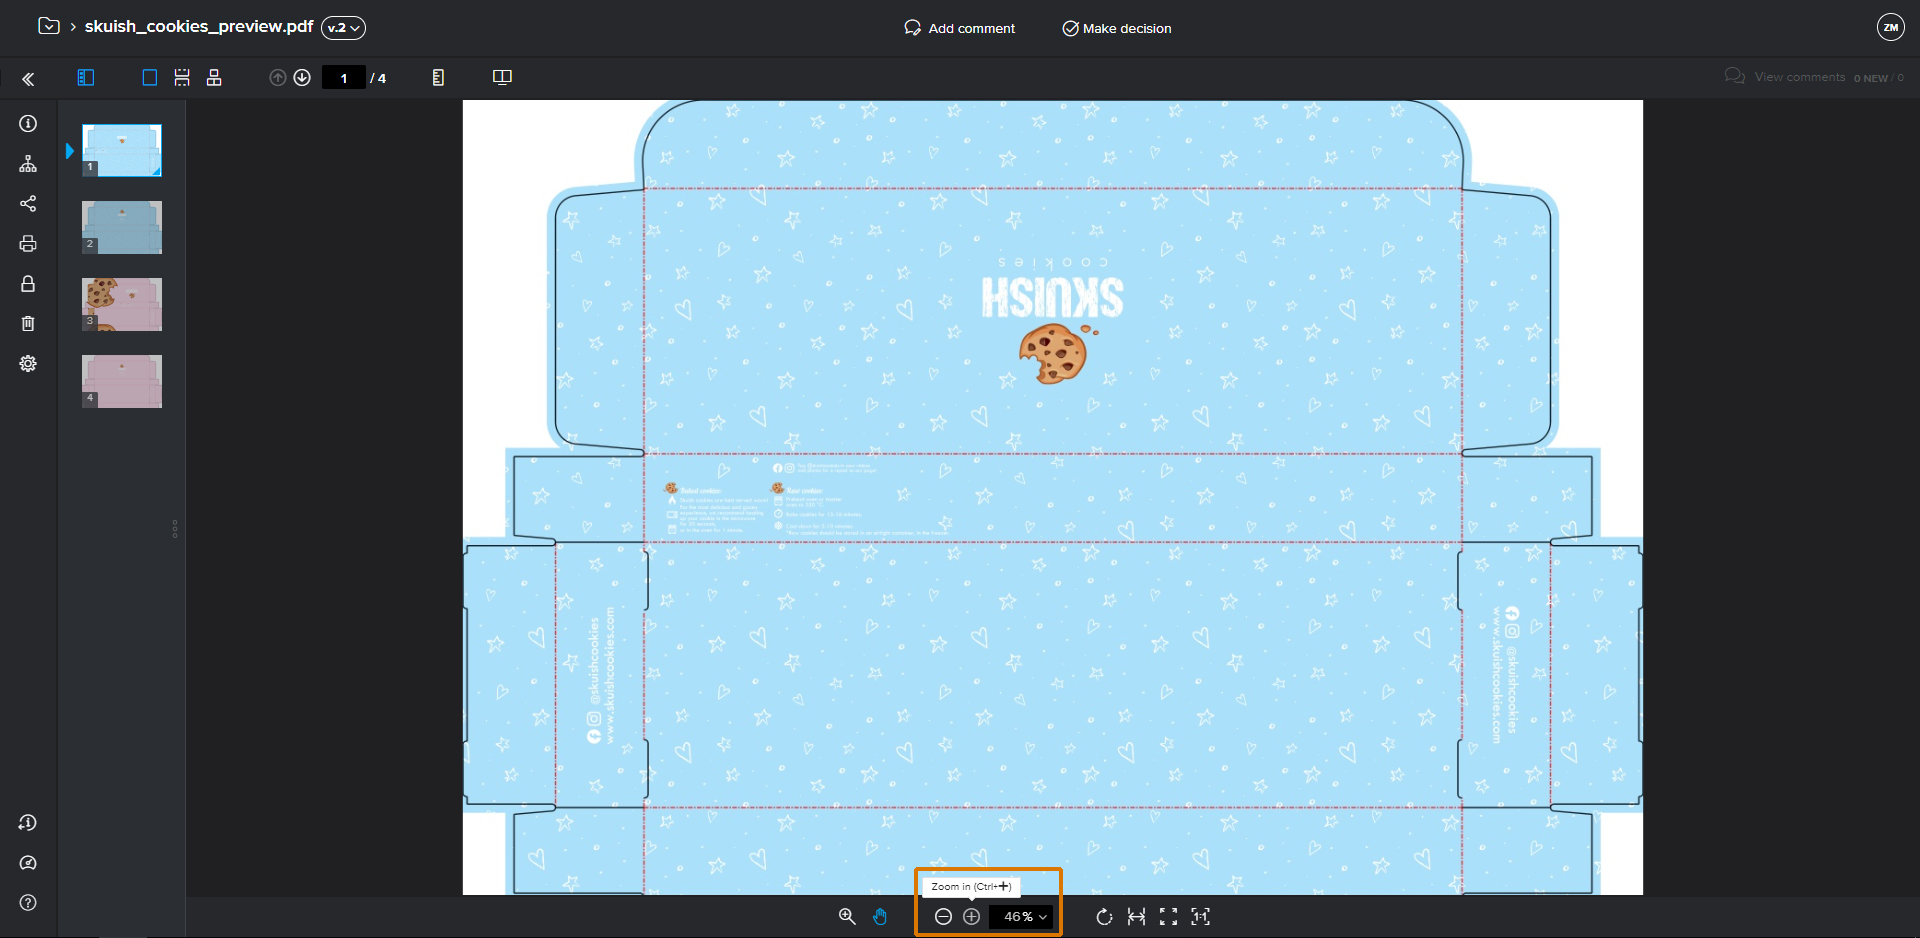
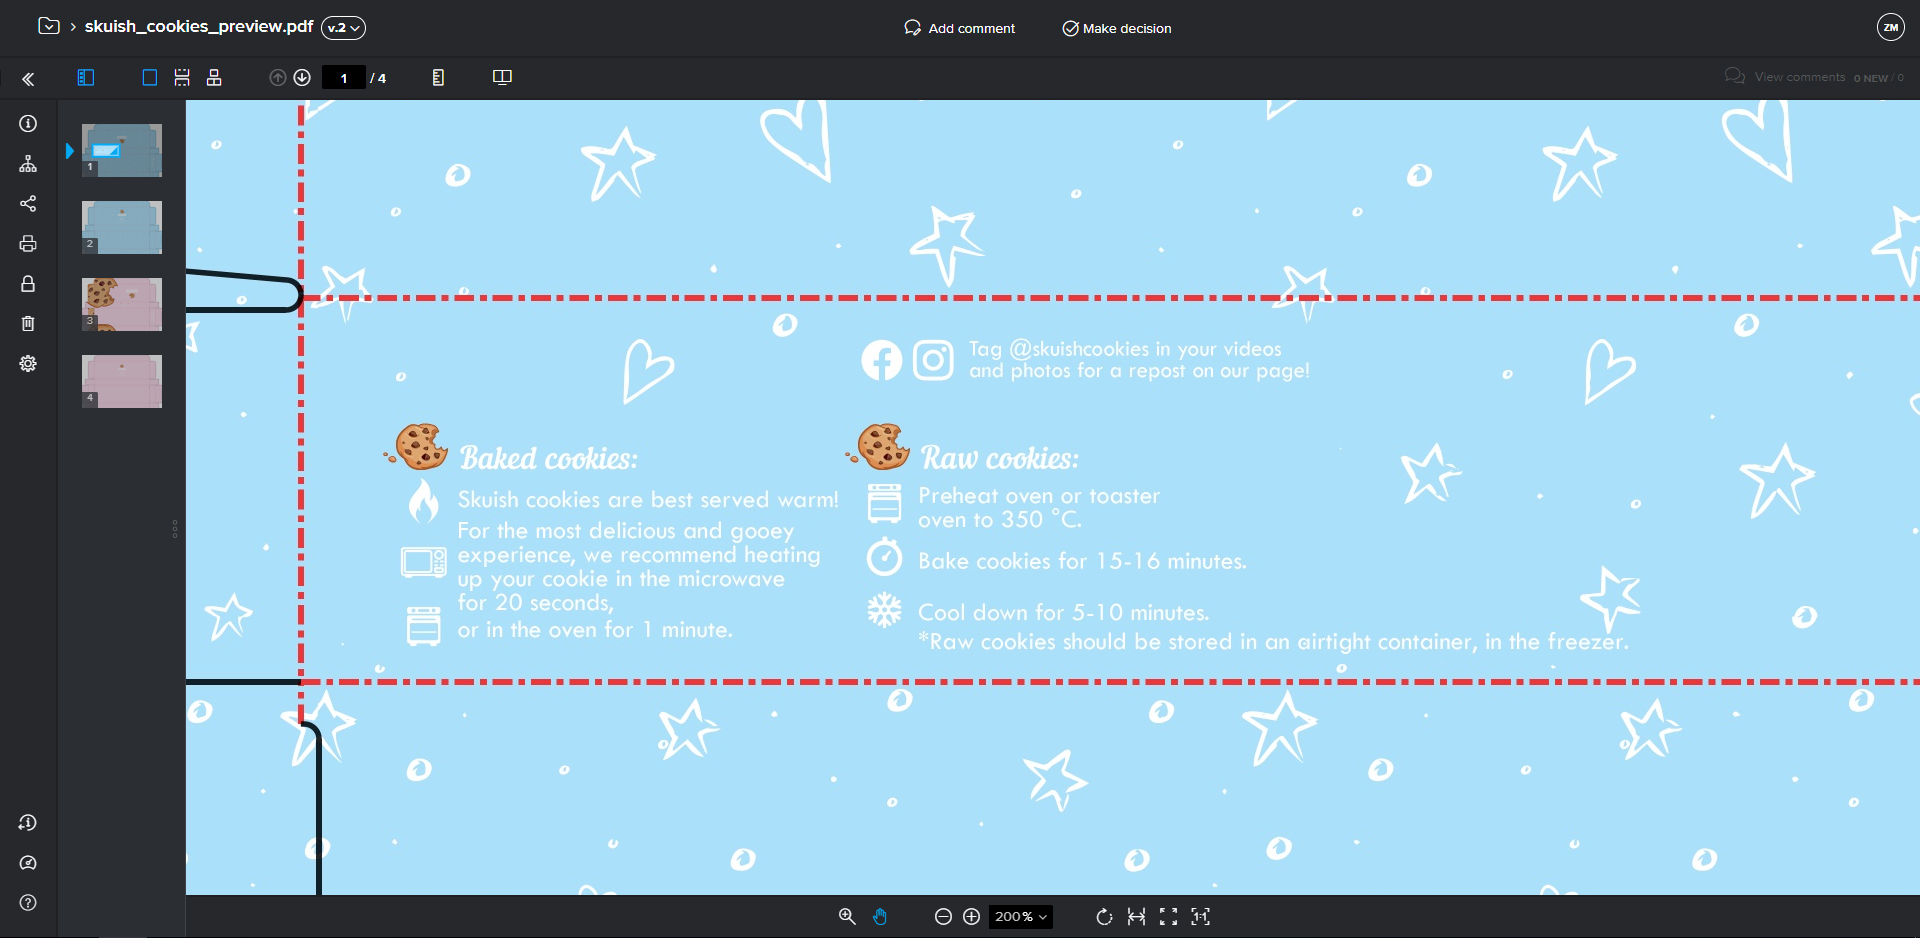
In this example, we have a cookie box that requires alterations before we go to print. My first request will be to change the baking hours to "14 to 16" on the back of the box.
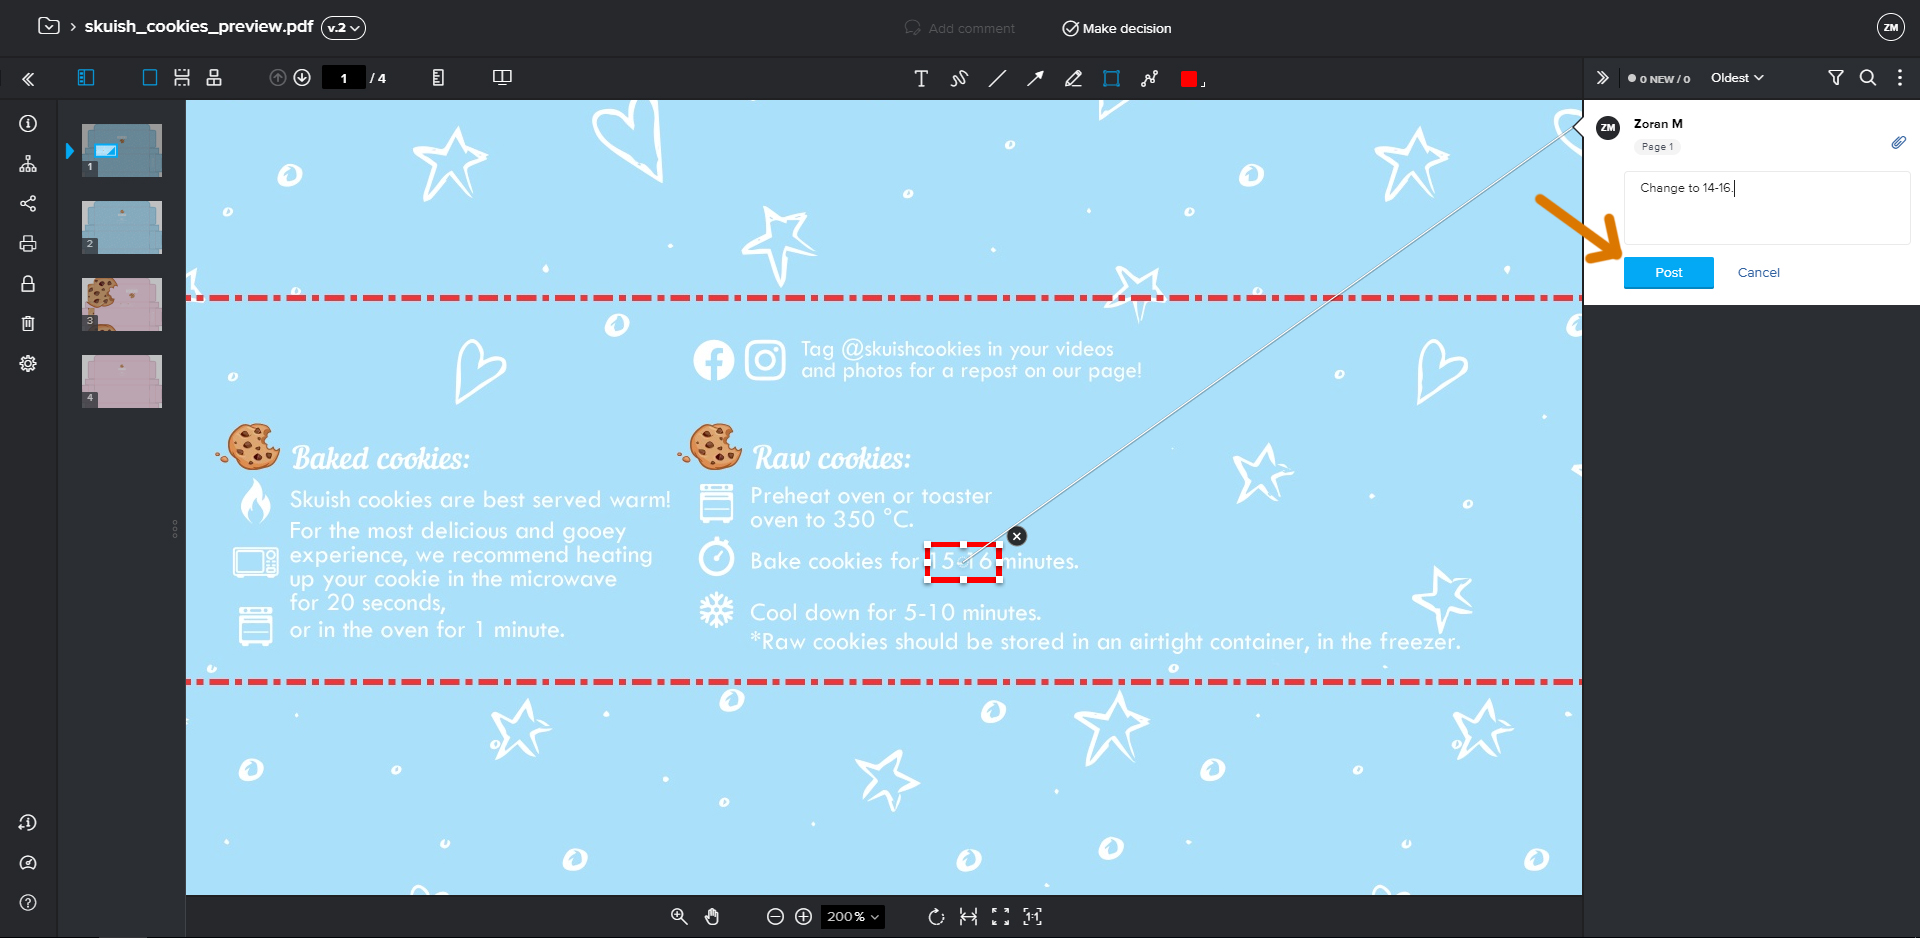
I will go ahead and zoom in and pan to the area of my text and highlight the 14-16.
I can use my text tool or draw simple shapes.
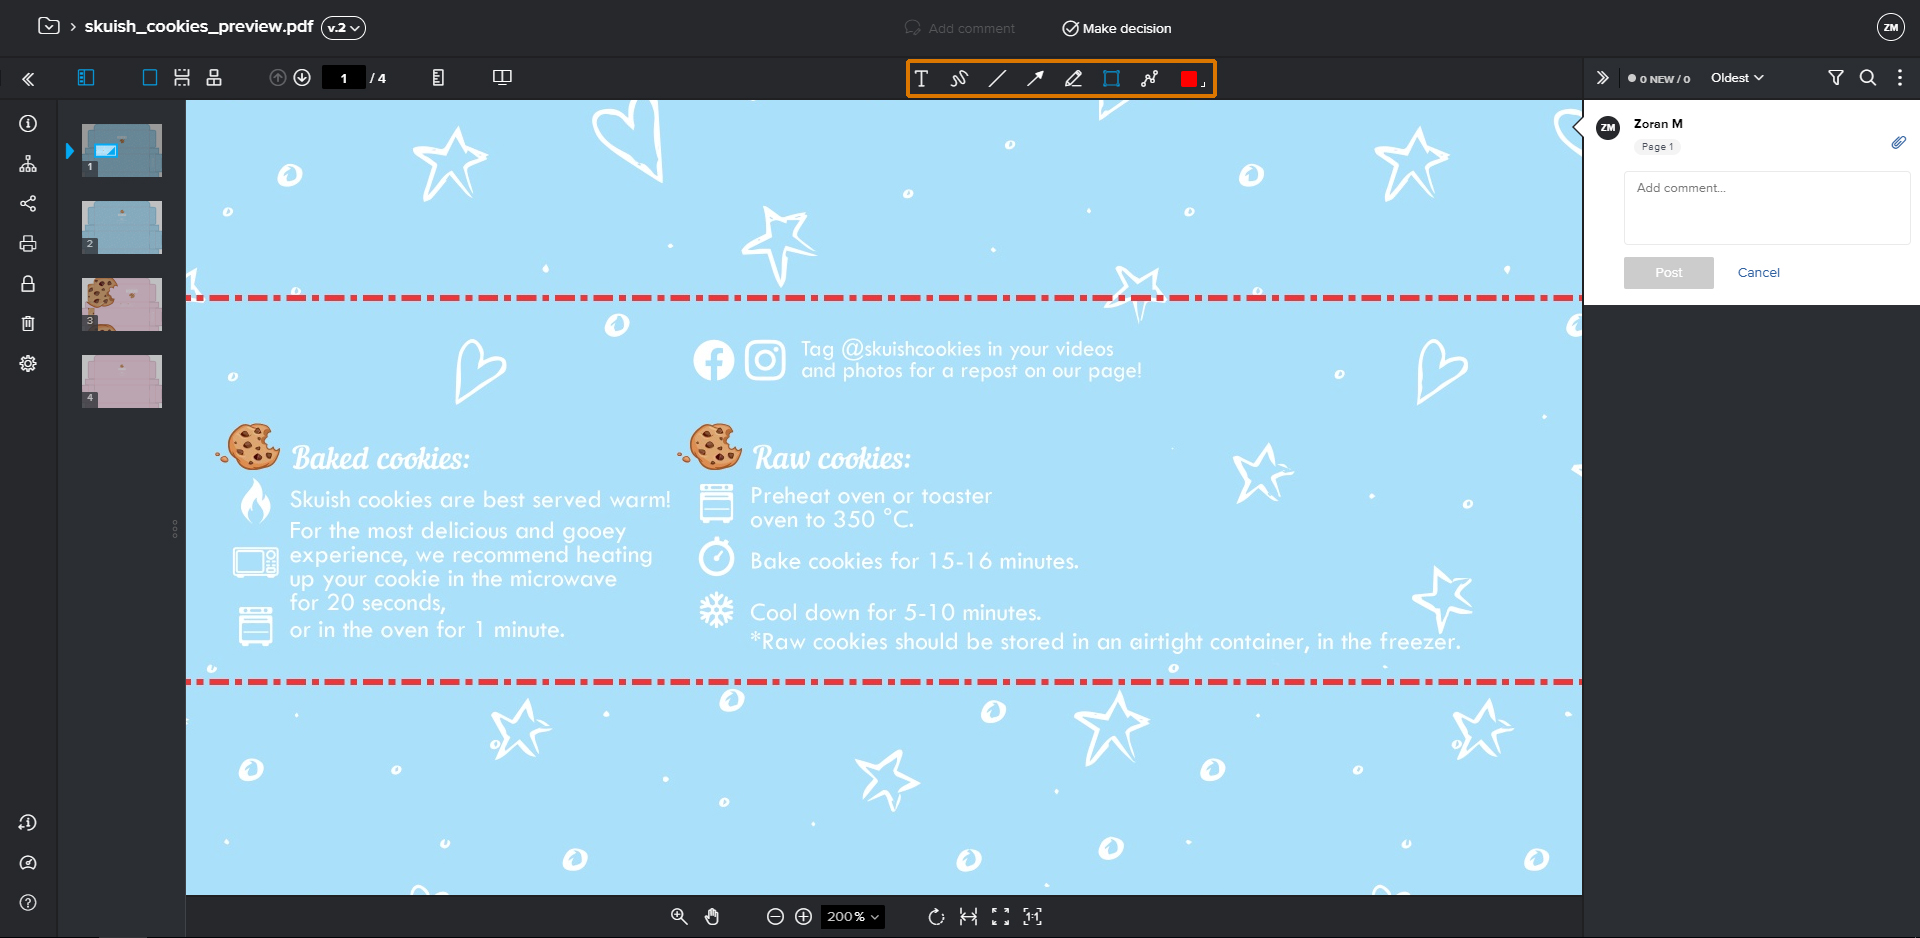
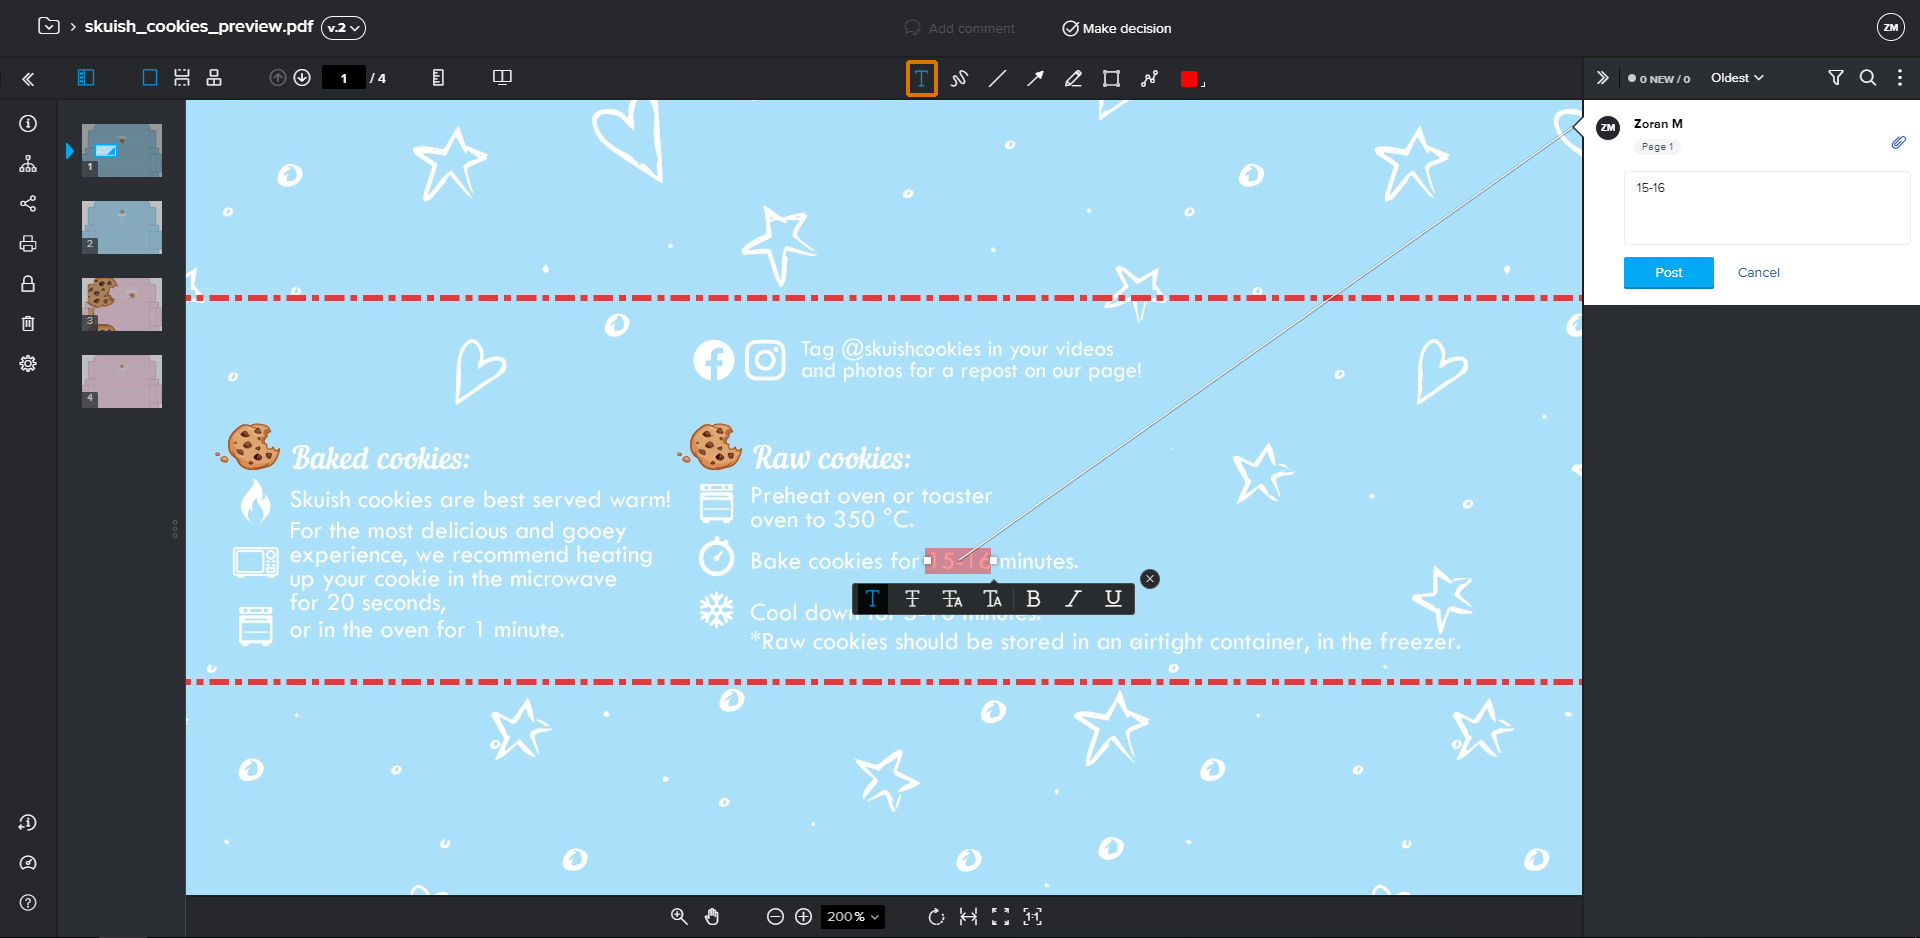
Some artwork may not permit highlighting text with the text tool if the text is set to an image, instead you can switch the tool to draw a box around the object you are commenting on.

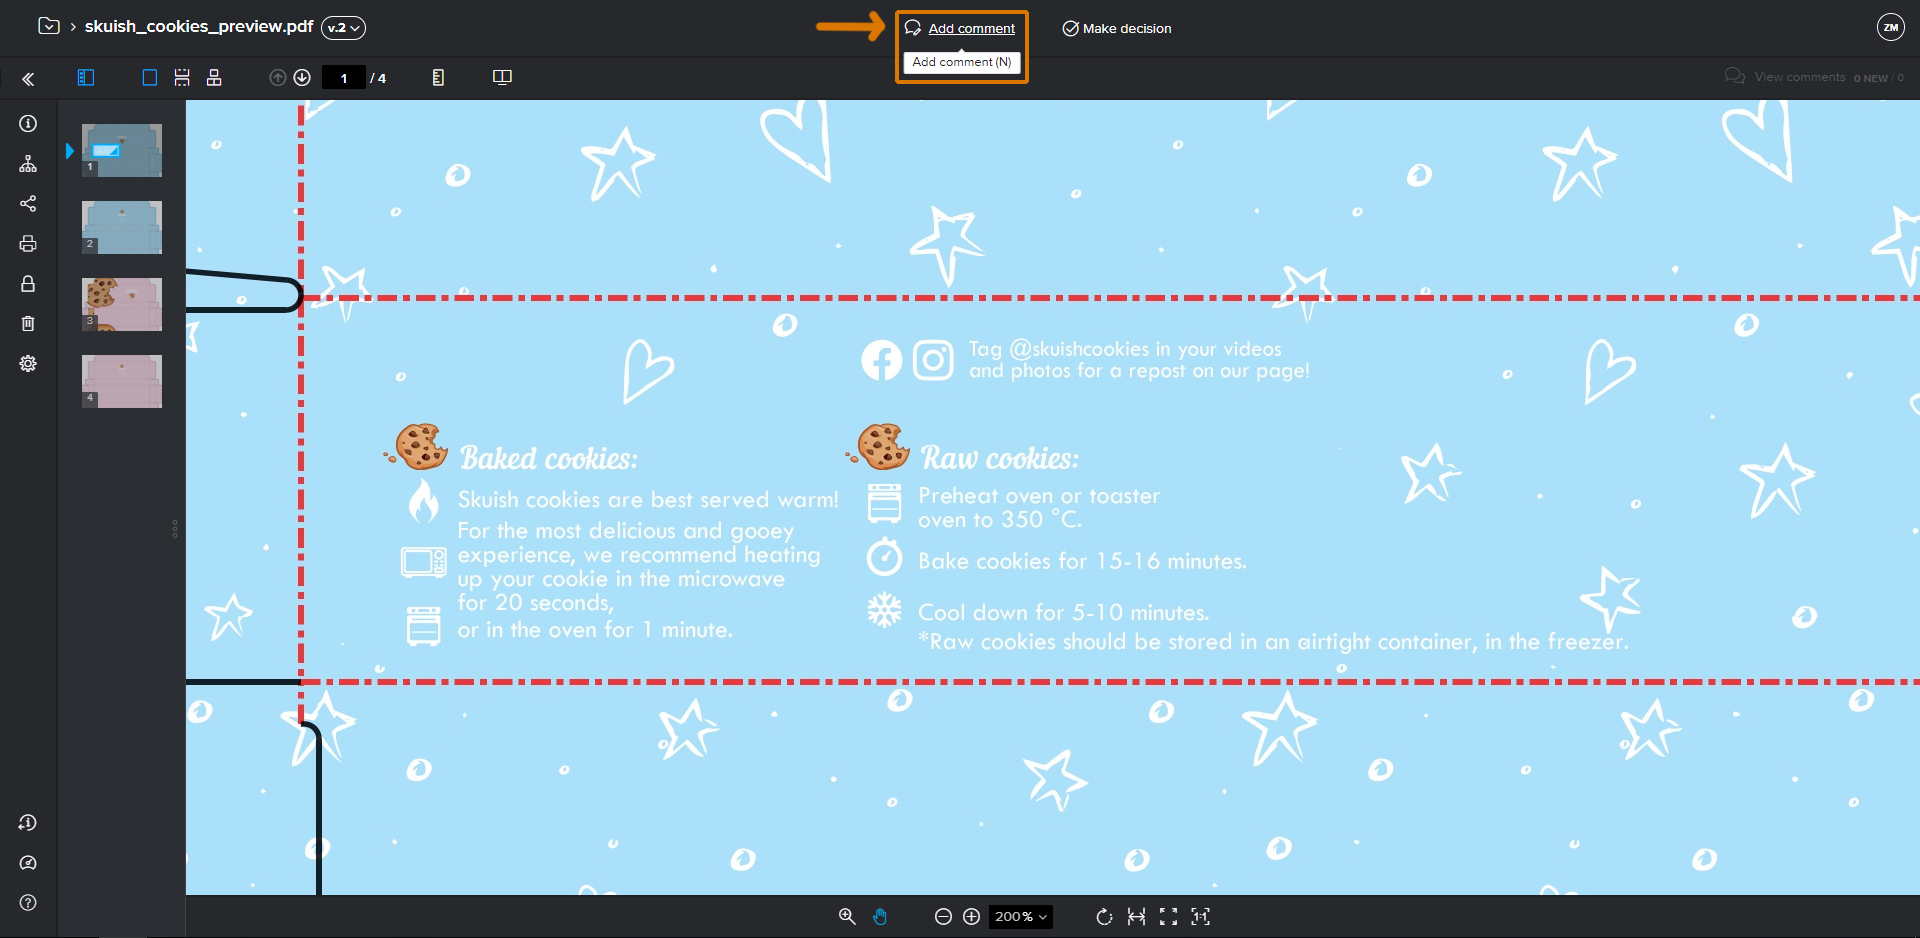
Once you complete writing your comment, click the post button to save and continue proof reading the rest of your artwork.
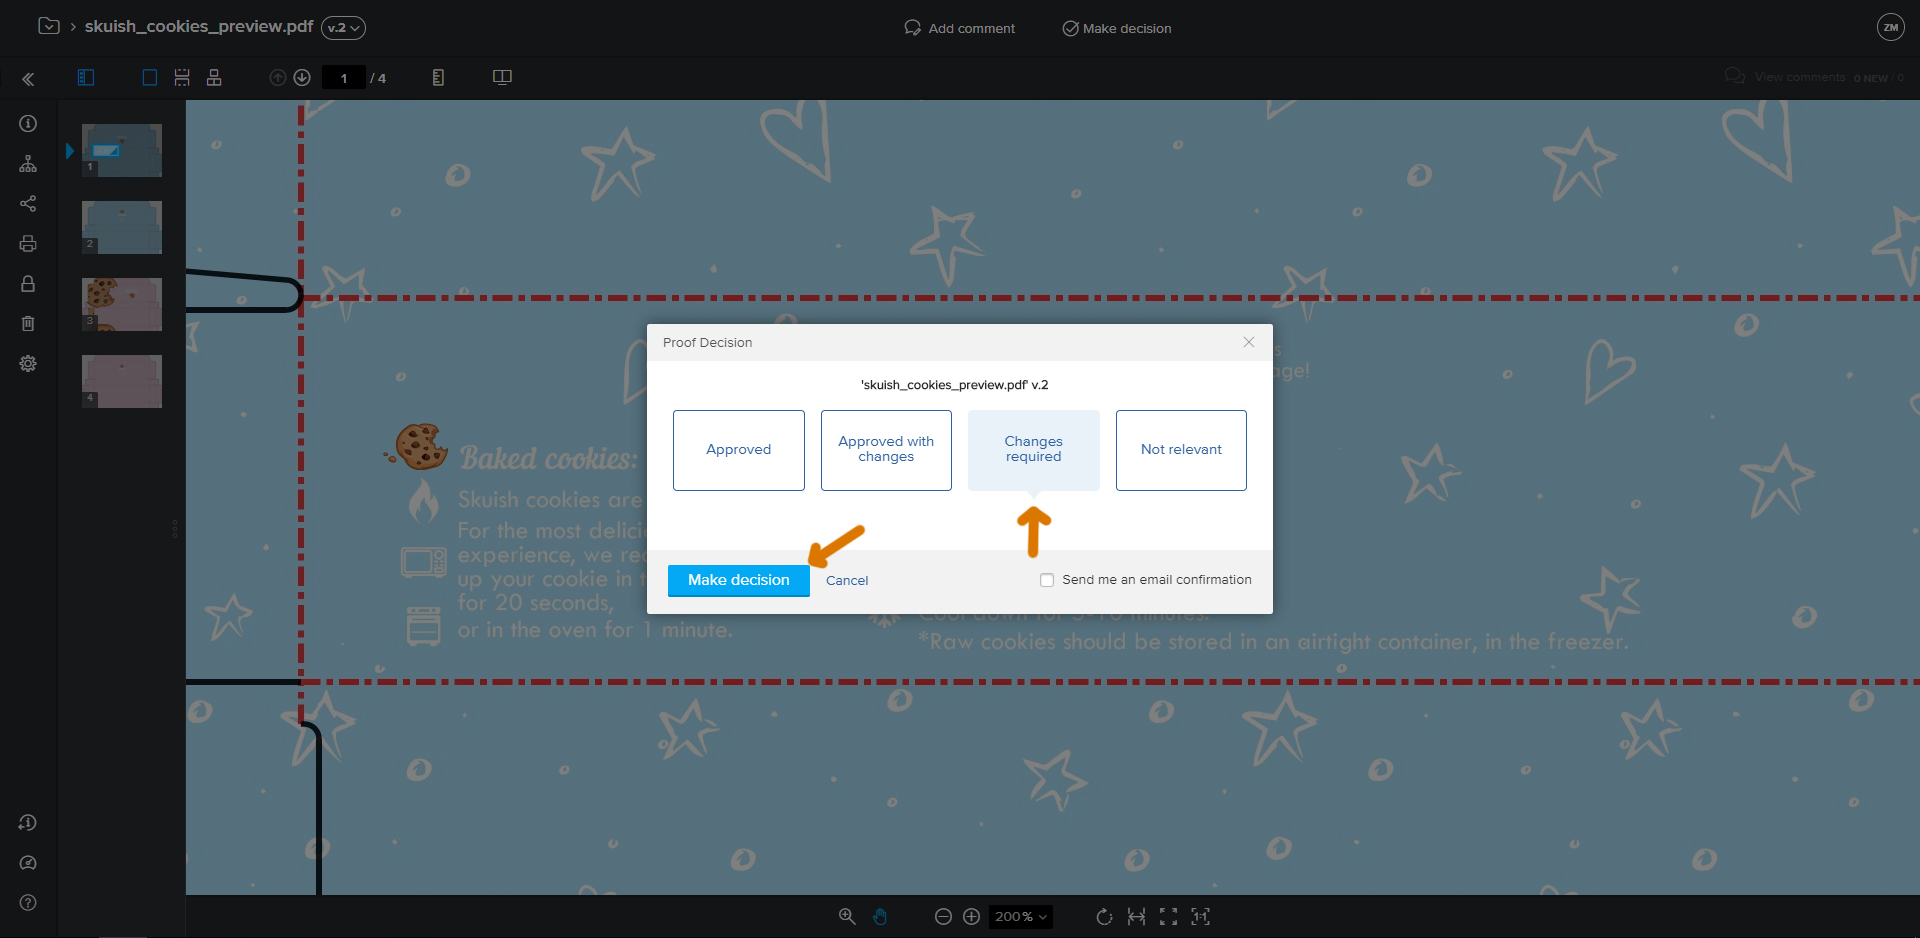
Once you are done with all the comments, click the "Make Decision" button.

Select "Changes Required" and hit "Make Decision". The artist working on editing your artwork will be notified and begin making the requested changes once you save your decision.
Within a short period of time, you will receive a new email notification of a new proof version for you to review, finalize and approve your design to print.
This is a short demonstration on Newprint's proof reviewer by ProofHQ. It's fairly straight forward to use, however, if you have any questions you can send us an email to [email protected] or click the Knowledge Base button at the bottom left corner of your screen to learn more.